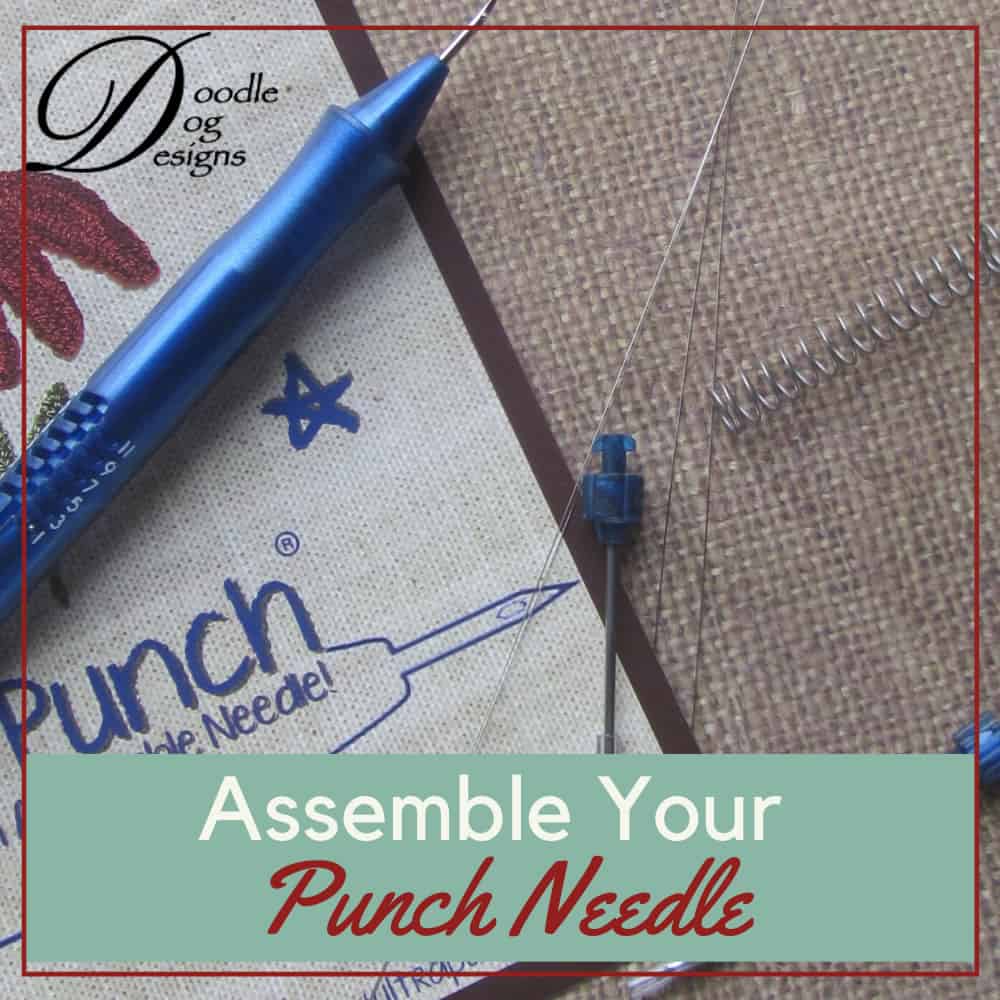
My Ultra Punch came assembled,
but it must be taken apart to change the needle size.
You will want to change the needle if you decide
to punch with a different width of string.
It’s not hard, but with all of the different parts, it can be confusing at first.
Matching Springs & Needles:
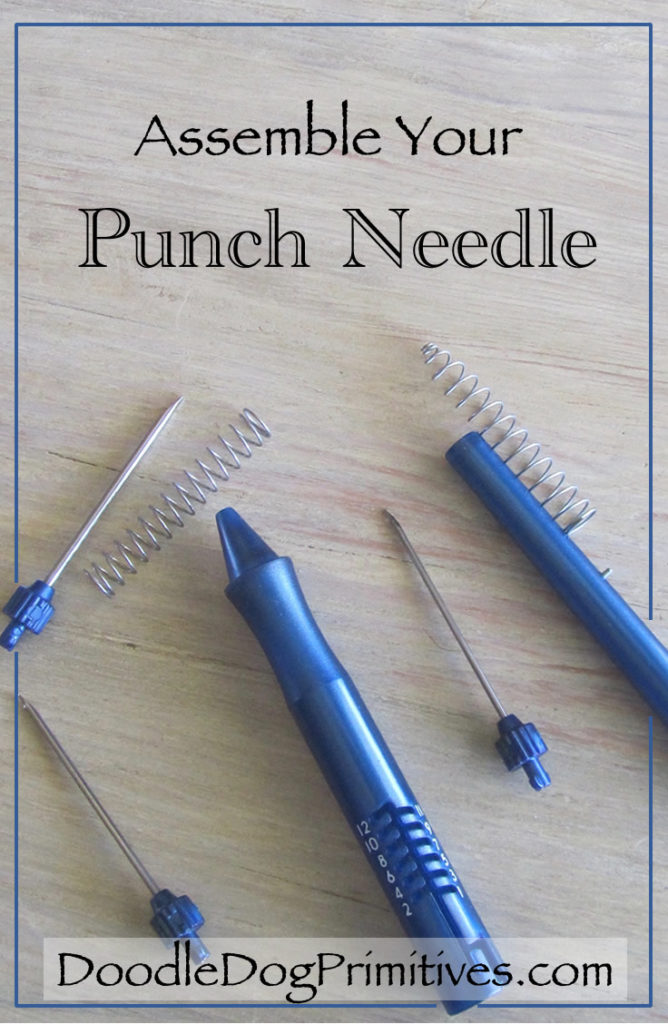
The Ultra Punch comes with the Small, Medium, and Large needles
and two different sized springs.
One spring is the same on both ends; it goes with the large needle.

The other spring is tapered at one end;
it goes with the small and medium needles.

If you aren’t sure which needle is which,
there is a letter in the blue plastic part of the needle
to indicate the size – S M L.
How to Assemble Ultra Punch Needle:
I am going to show you how to assemble the Ultra Punch needle
using the small needle,
but the process is the same for all of the needles.
Slide the spring over the needle with the smaller coils
at the pointed end of the needle.
Make sure the needle goes right through the middle of the spring.

Notice the inner shaft (the narrower tube without numbers on it)
has a hole in the end exactly the same shape as the blue plastic piece at the end of the needle.

Slide these two pieces together and twist slightly to lock them into place.

Slide the inner shaft into the outer needle tube
with the needle and spring going in first.

Slide it all the way in and line up the pin so it slides into the channel.

You can then adjust the needle to your desired punching depth
by twisting and pushing the inner shaft.

Now you are ready to get started punching!
You might also find this Introduction to the Ultra Punch Needle helpful.
Blessings~
Amy
Pin this Punch Needle Tutorial for later!

