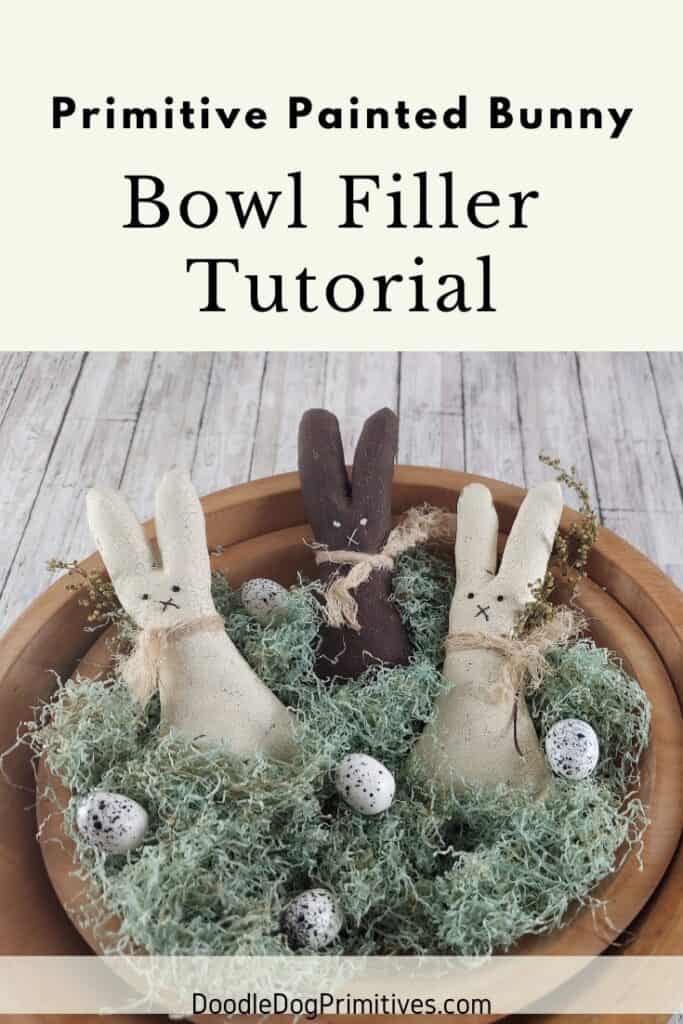
In this post, I have a tutorial for primitive painted bunny bowl fillers. I created the crackled look with a crackle medium and used a needle and thread to add the facial features. They look great in a wooden bowl of aged Easter grass!
I prefer to use muslin fabric when I paint on fabric because it is an easy to find, inexpensive fabric. Check out these painted carrot bowl fillers.
I have included step by step instructions (with lots of photos) and a video. You will also find a link to the the bunny pattern below.
Watch the Video:
This post may contain affiliate links for your convenience, which means if you make a purchase after clicking a link I will earn a small commission but it won’t cost you a penny more. For more information, please visit our Privacy Policy.
Get and Trace the Bunny Pattern:
The bunny pattern is available for free. Just click this link to download the pdf printable file.
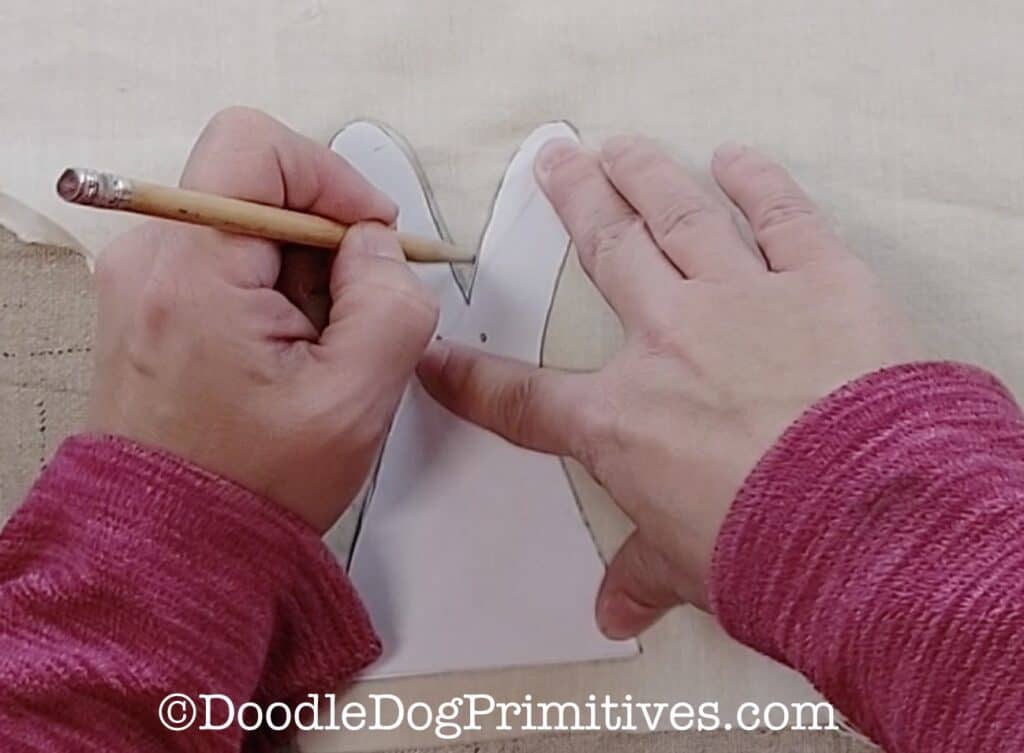
Cut out the bunny pattern and trace around it onto a piece of muslin fabric. The tracing line will be the sewing line so be sure to leave some room around the edges for a seam allowance.
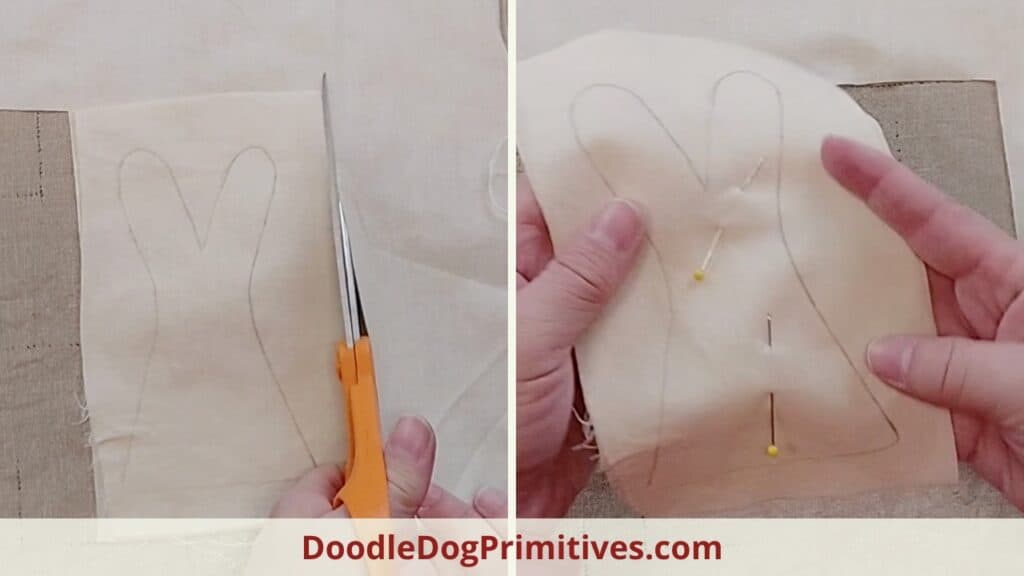
Cut out a rectangle around the traced bunny, leaving extra room for seam allowance. Cut a second muslin rectangle the same size for the back of the bunny. Pin the two pieces together.
Sew the Bunny:
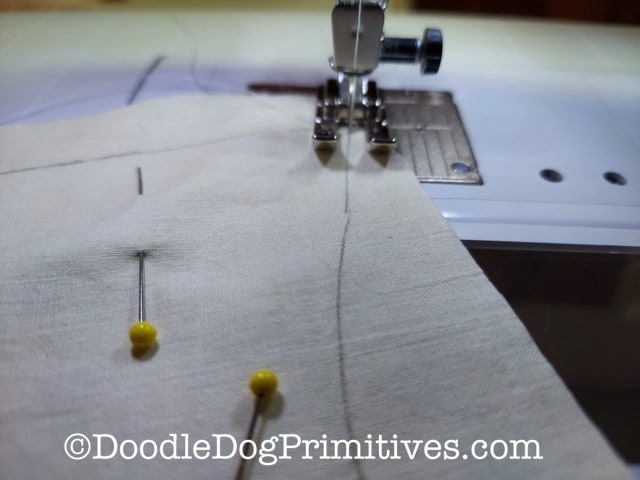
Use the tracing line as the sewing line. Sew all the way around the bunny, leaving the bottom open for turning.
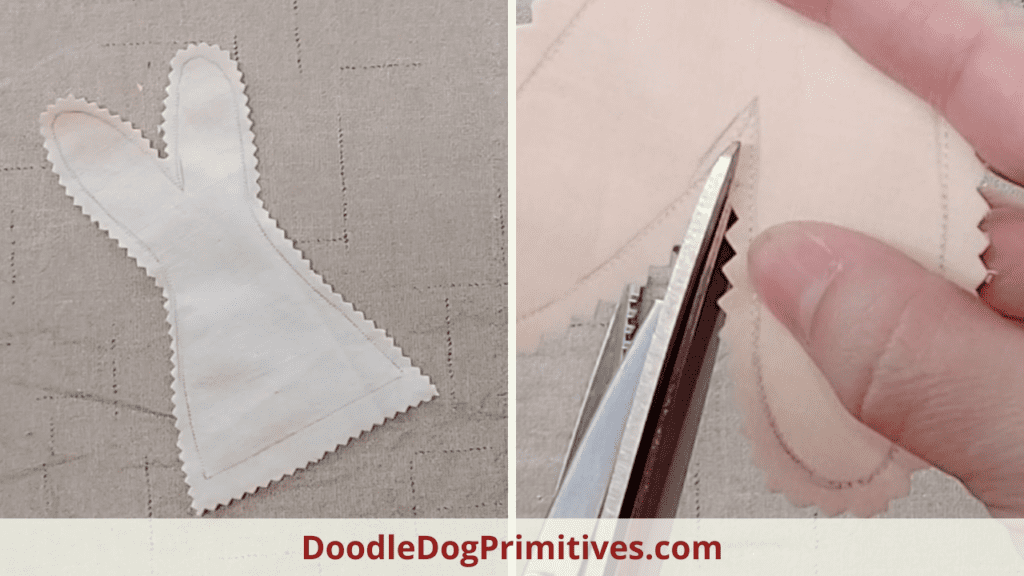
Use pinking shears to cut all the way around the bunny. Leave 1/4″ seam allowance around the top and sides. Leave a little bit longer of a seam allowance on the bottom.
Use regular scissors to clip a notch in the inner ear area. Clip up to the stitching but not through it. This will help with the turning process. You can also clip around the sides of the face.
Turn the bunny right side out, press the seams, and stuff the bunny.
There are a few options for finishing the bottom. You can turn the edges under and hand sew it closed or machine sew it closed (will leave an exposed seam at the bottom). For an even more primitive look to your bunny, you could also NOT turn it under and sew a straight stitch across the bottom tracing line and leave the bottom to ravel.
I chose to hand sew the bunny closed.
Paint the Bunny Bowl Fillers:
To give the bunny bowl fillers a primitive look, I used crackle medium craft paint. The crackle medium takes a 3 step process. Paint a base coat, paint the crackle medium, paint the top coat, letting each layer thoroughly dry before proceeding. The top coat will crackle, exposing the base coat beneath.
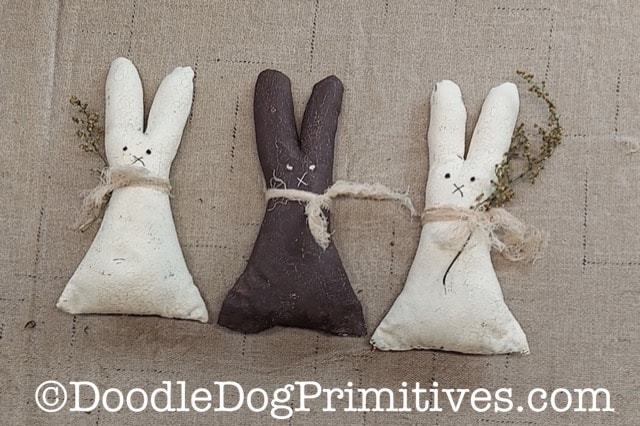
I wanted to end up with two cream bunnies and one brown bunny. So, I painted 2 brown and one cream for the base coats. I used Folk Art Burnt Umber craft paint and Apple Barrel Antique White
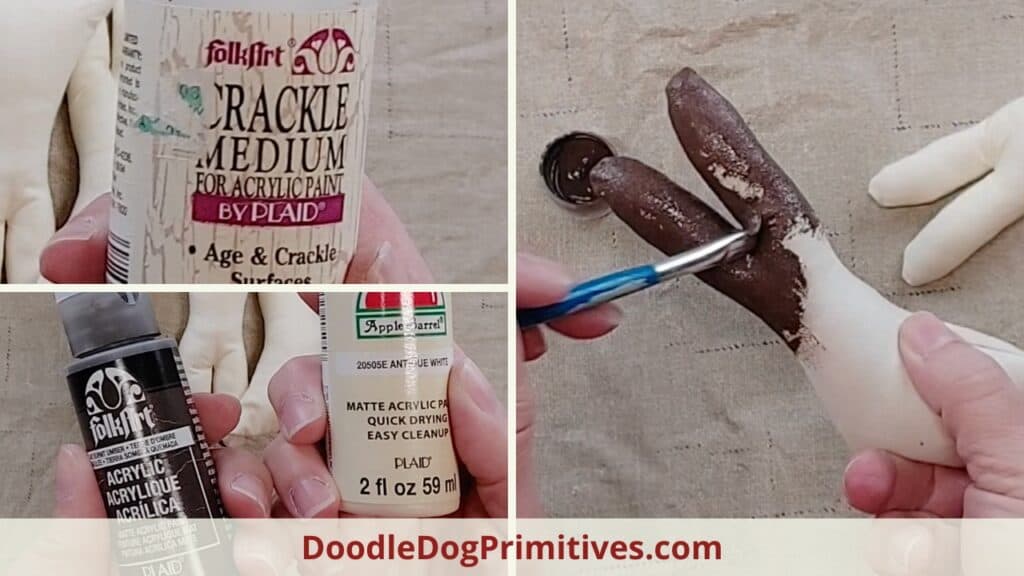
After the base coat was completely dry, I painted on a coat of the crackle medium.
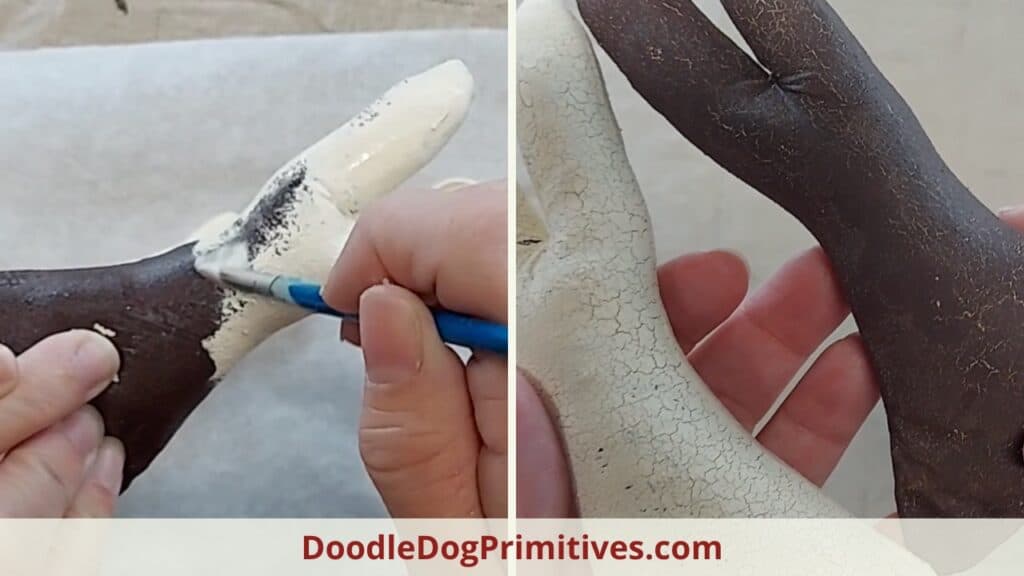
After that was dry, I painted the top coat of paint. For the top coat, I did the opposite color of the base coat. On the cream bunny, I painted brown and on the brown bunnies, I painted cream.
As the top coat starts to dry, it will start to crackle!
Decorate the Bunny Bowl Fillers:
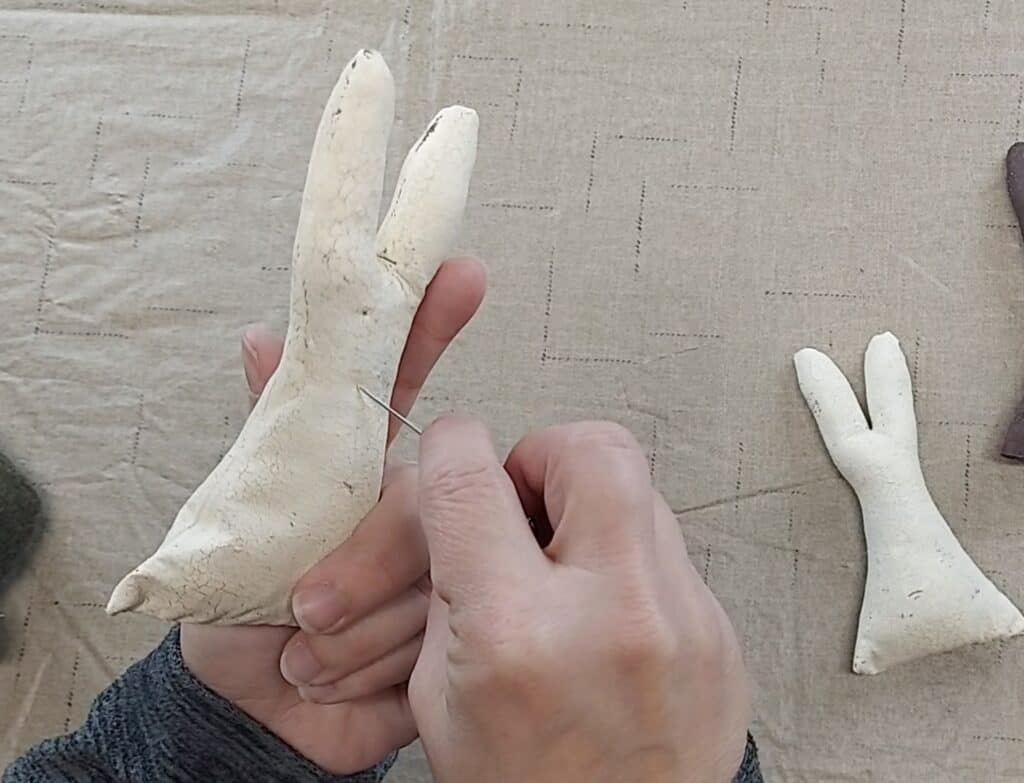
I used button thread to add the features – black thread on the cream bunnies and cream thread on the brown bunnies. I used french knots for the eyes and a simple X for the nose. To hide the knot I brought my needle up in the back of the bunny on his neck right where I later added a “scarf”. Then I tied it off in the same place.
I added a strip of coffee dyed cheesecloth for a ribbon around his neck and added a bit of sweet annie to two of them.
I hope you enjoyed this primitive painted bunny bowl fillers tutorial! Be sure to check out our other primitive craft tutorials.
Be sure to Pin this Primitive Craft Tutorial: