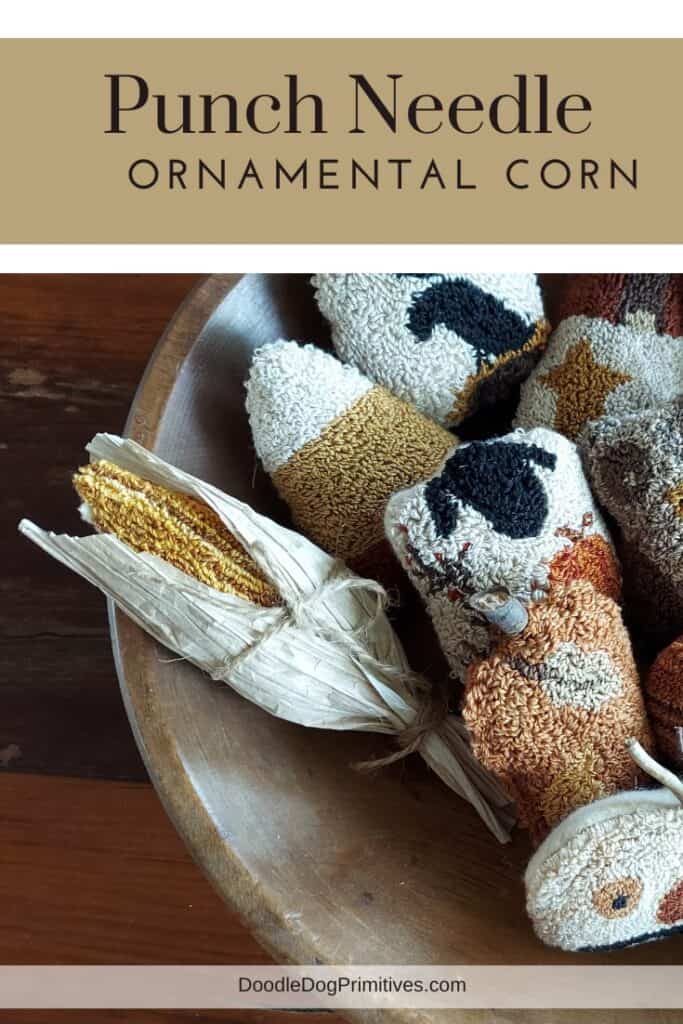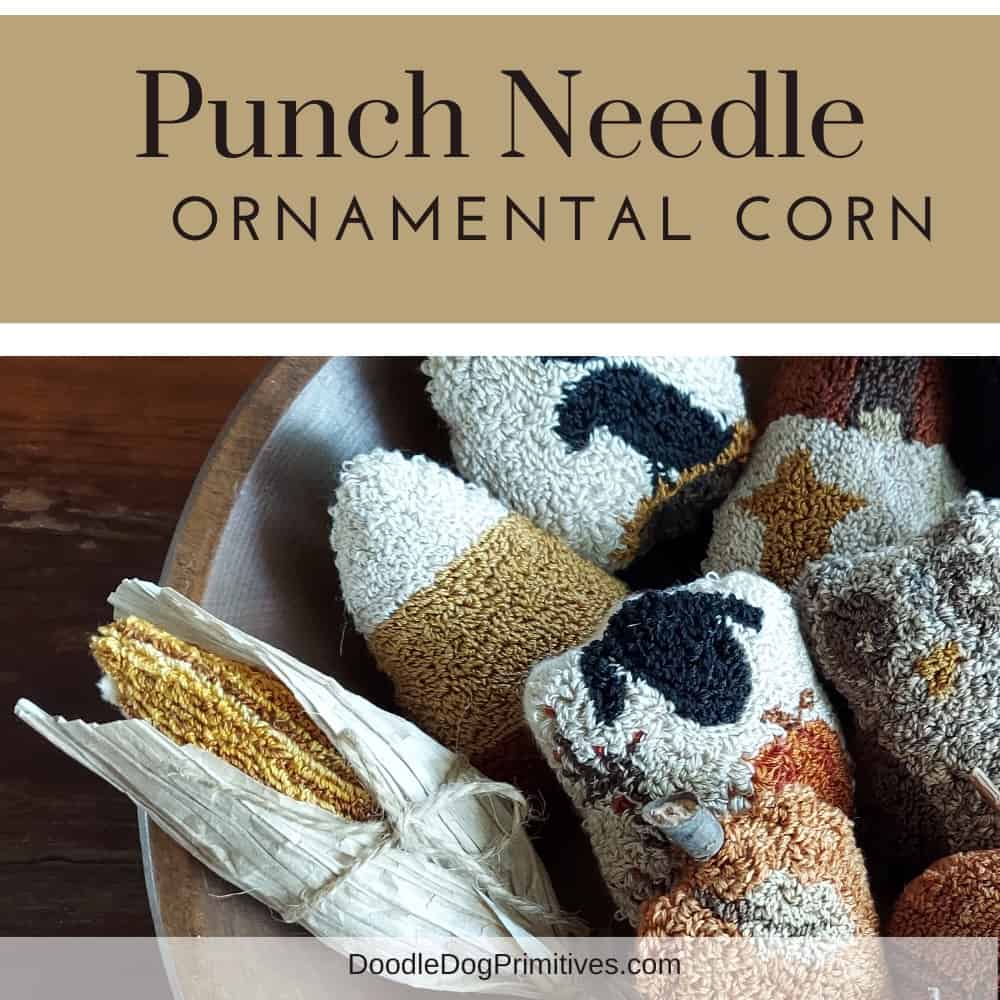
In this post, you will find a link to the free pattern for this punch needle ornamental corn bowl filler and an easy to follow DIY tutorial for making the the project. It looks just perfect nestled in among all of my other fall punch needle bowl fillers!
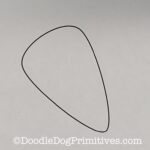
The Corn Punch Needle Pattern:
I drew a rounded triangle that is about 3-5/8″ long and 2-1/4″ wide. It looks a lot like a candy corn!
You can draw your own or download my punch needle corn pattern for free.
Watch the Ornamental Corn Video:
This post may contain affiliate links for your convenience, which means if you make a purchase after clicking a link I will earn a small commission but it won’t cost you a penny more. For more information, please visit our Privacy Policy.
Punching the Ornamental Corn Bowl Filler:
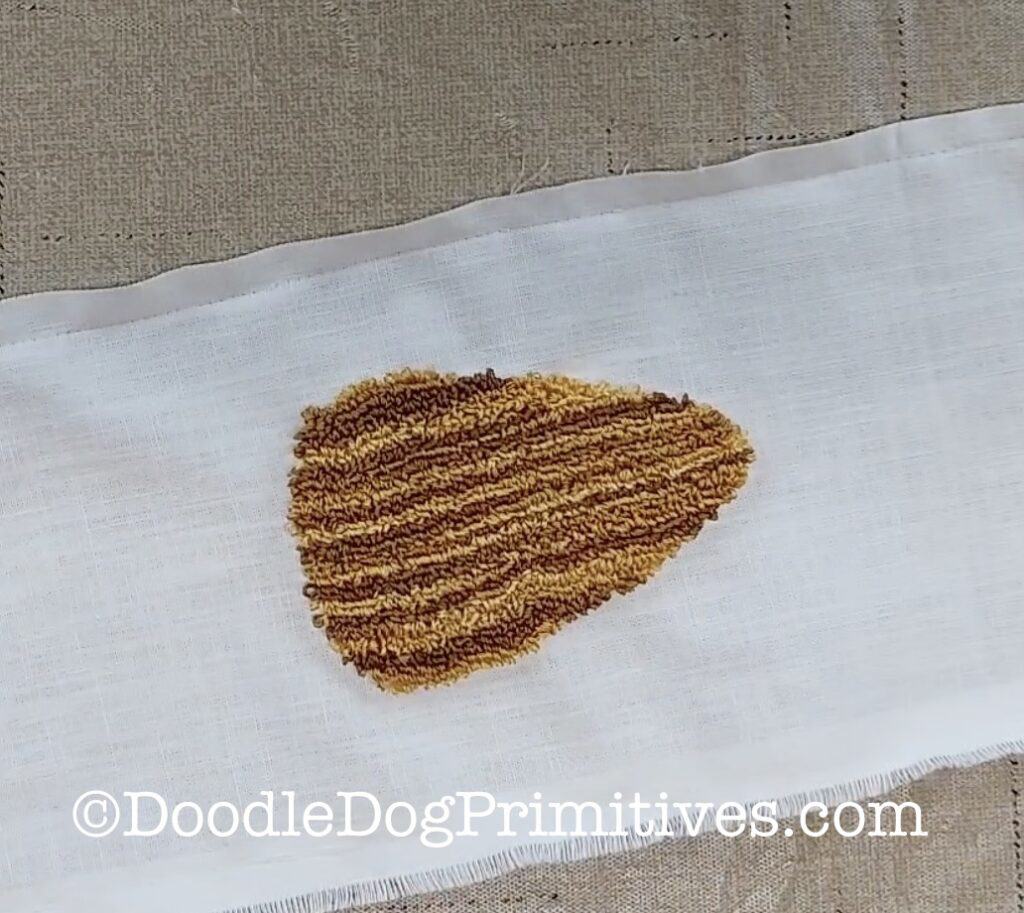
I punched the corn bowl filler using my Smart Punch on the level 2 punching depth. I punched with 3 strands of DMC variegated thread #111 on a scrap piece of weavers cloth.
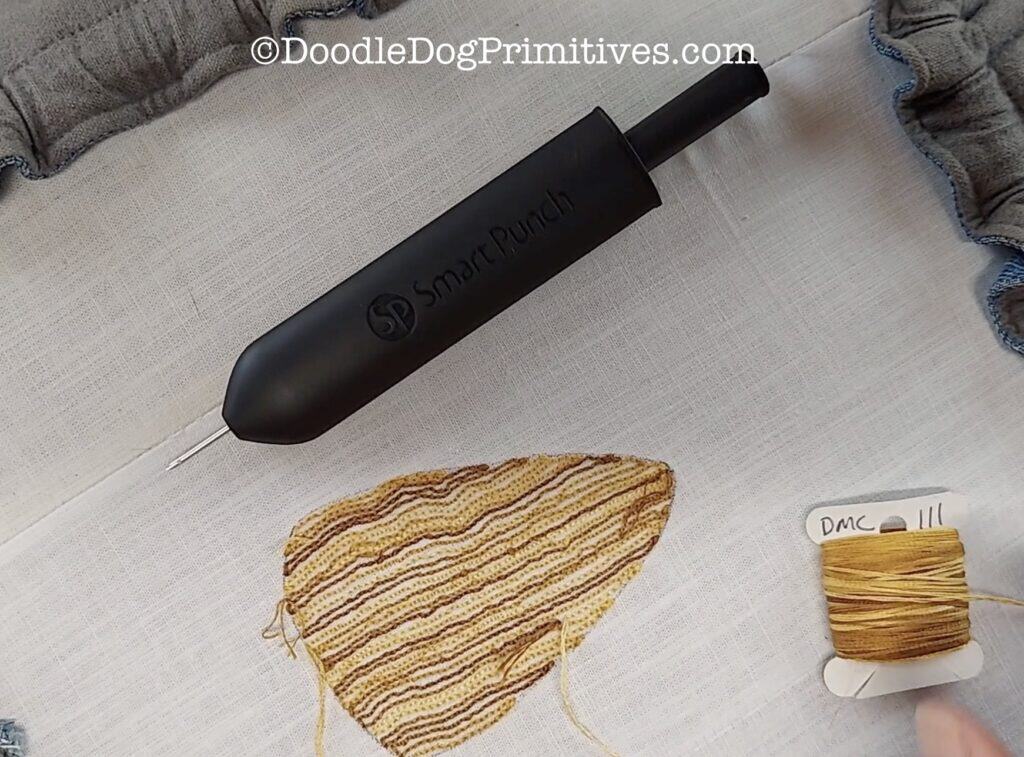
Since this is a variegated thread, it matters which direction you punch. First, I punched it around in circles but quickly realized that wasn’t going to look like an ear of corn at all! I took that punching out and re-punched in straight rows across long ways.
Sewing the Corn Bowl Filler:
I finished the ornamental corn just like I finish bowl fillers by hand sewing. I used my pinking shears to trim around the punched project, leaving about a quarter inch of unfinished weavers cloth all the way around. I then pressed the empty weavers cloth to the back of the punched piece.
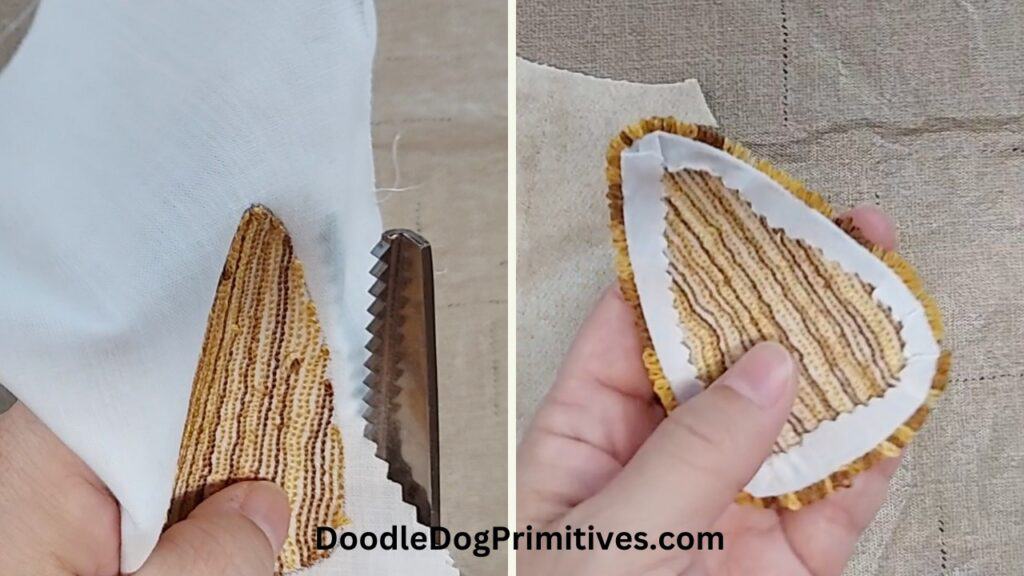
Using the finished punched project as a pattern, (you could also use the original punching pattern) I cut a piece of felted wool the same size and shape as the punched corn to use as the backing.
I used thread that matched the wool backing. With the wrong sides together, I whipstitched the punched piece to the backing, leaving an opening for stuffing.
You want to catch the edge of the folded over weavers cloth and the edge of the felted wool with your stitches but not any of the punched loops.
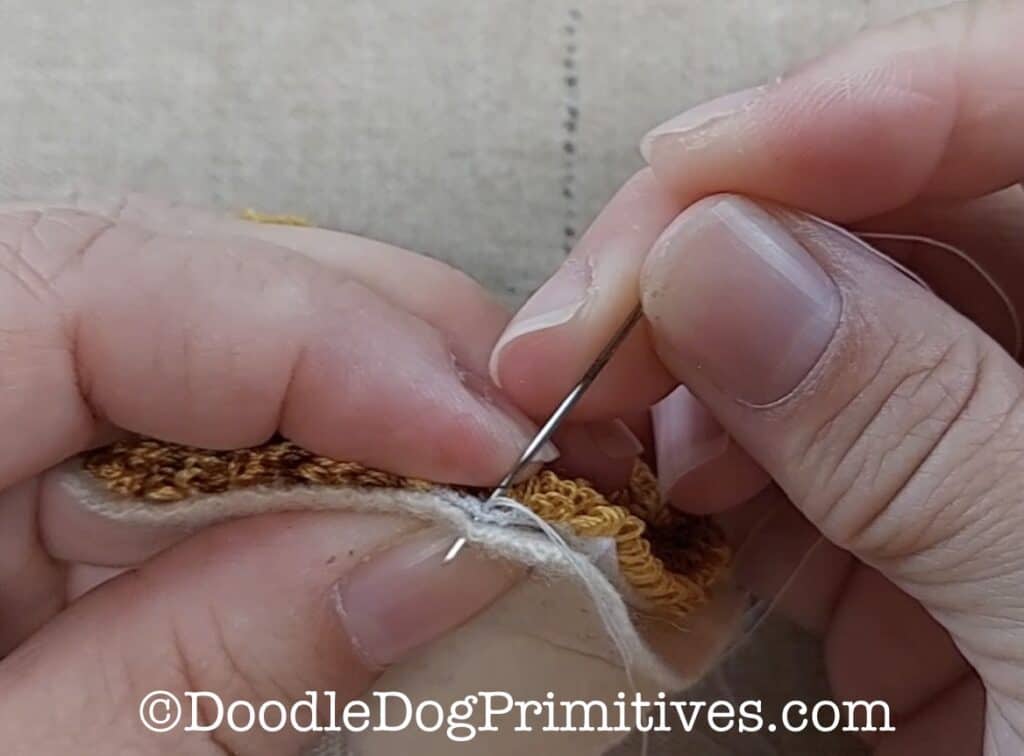
I stuffed the ornamental corn and finished sewing up the opening with more whipstitching.
Adding the Corn Husks:
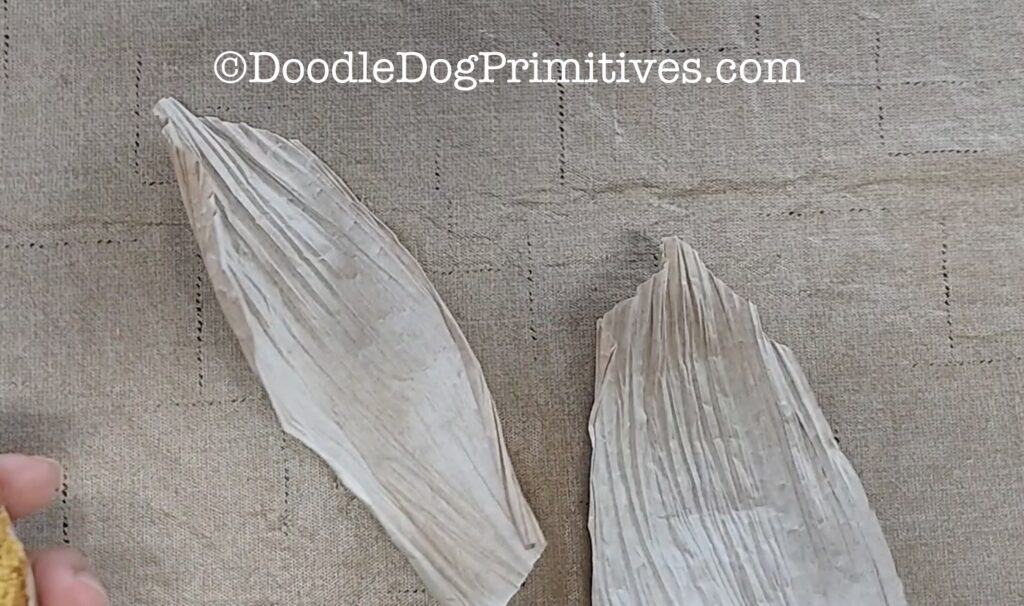
I used some twisted paper raffia in a tan shade to make the corn husks. When you are looking for some, make sure to choose some that untwists to around 3 inches in width.
I cut two pieces slightly longer than my finished corn – each 6 inches long and untwisted them.
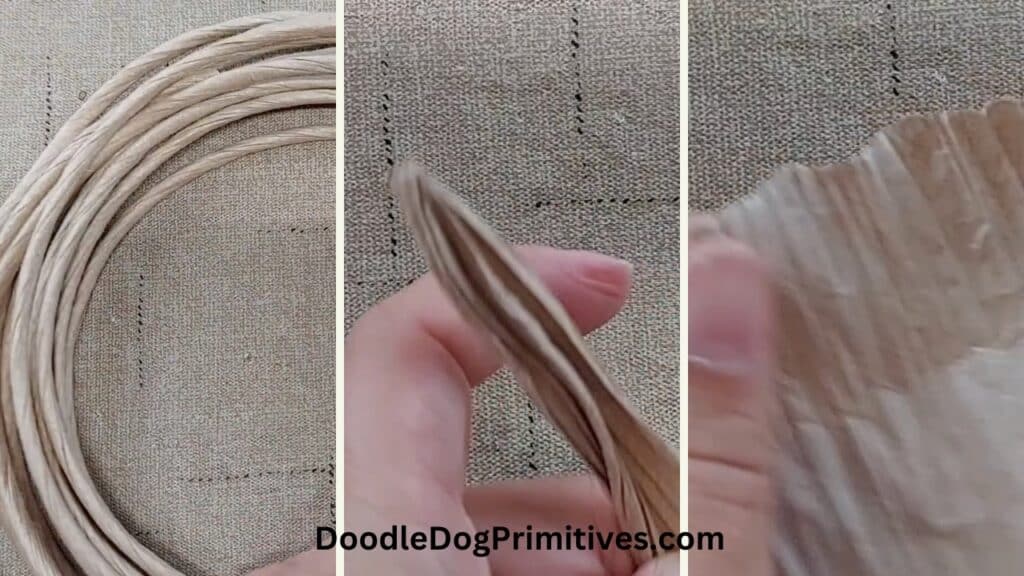
I cut one end on each husk to have a pointed, leaf like look.
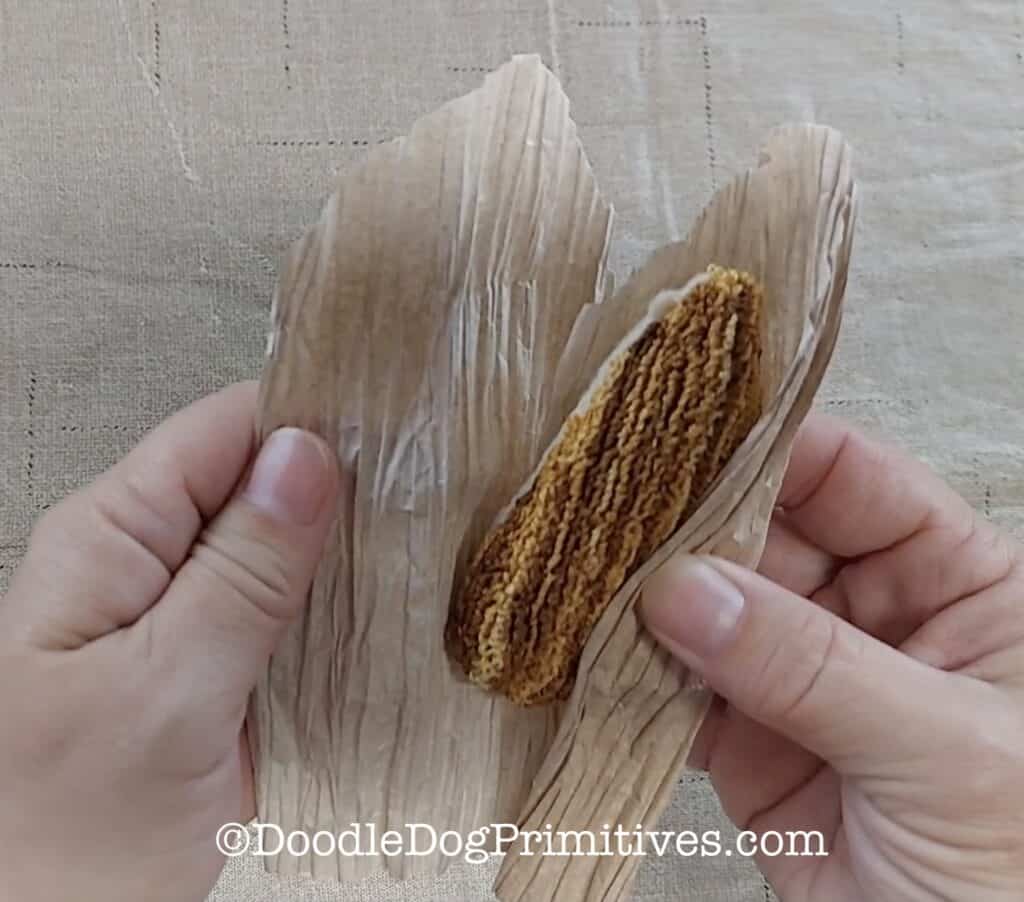
Next, I wrapped one husk around each side of the corn, overlapping the husks on both the front and back.
Then I gathered the paper under the corn together and tied it with some jute, first with a knot, then wrapping the jute around the paper and then finishing with a double knot.
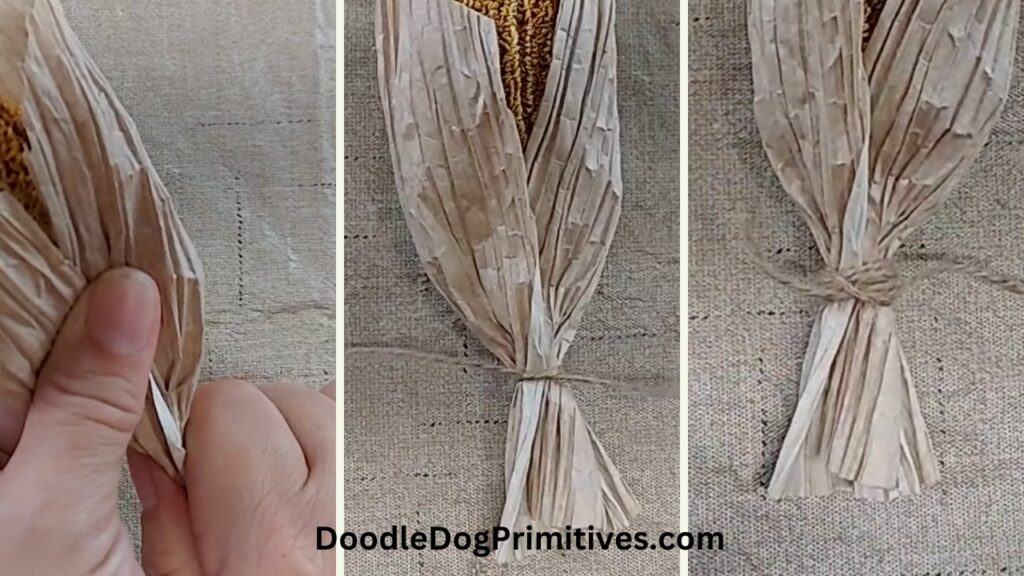
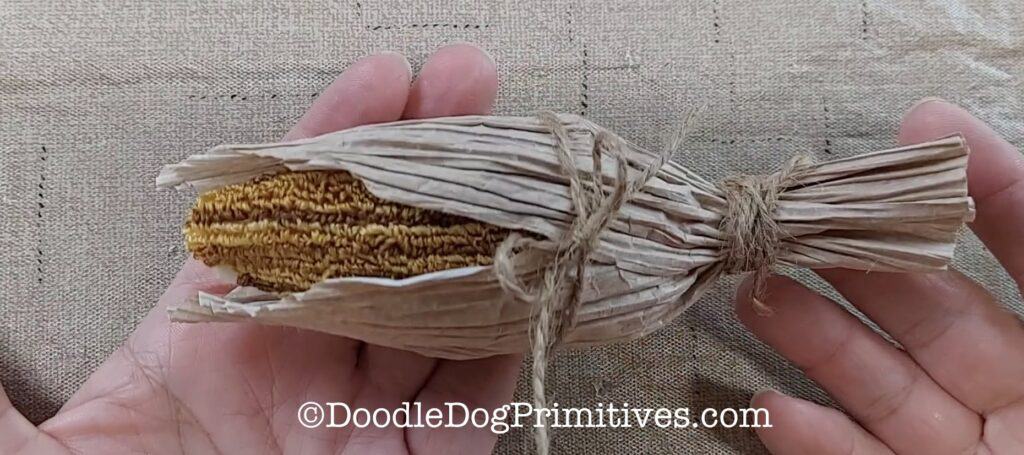
I added another piece of jute in the middle of the corn and tied with a bow to hold it all together. You could also use some glue instead of this second piece of jute.
This paper raffia is very pliable so you can mold it around the corn to get a nice, corn like look.
Be sure to check out our other punch needle tutorials!
Blessings~
Amy
Pin this Punch Needle Tutorial:
