This is an Introduction to CTR Punch Needles.
I wanted to share with you some of the features of the CTR needles
for those that are either new to punching or just new to the CTR needles.
I will show you the different needles,
how to adjust the punching depth
and how to thread the needles.
CTR Needle Features:
The CTR needle comes with the punch needle,
a threader, a storage tube and a plastic needle tip protector.
You can purchase additional threaders that come in sets of five
in their own plastic storage container.
The CTR needles are an all metal design
with a silver bevel to show you which way is the front of the needle.
(Which is really handy once you start punching!)

Watch the Introduction to CTR Punch Needles Video:
CTR Needle Sizes:
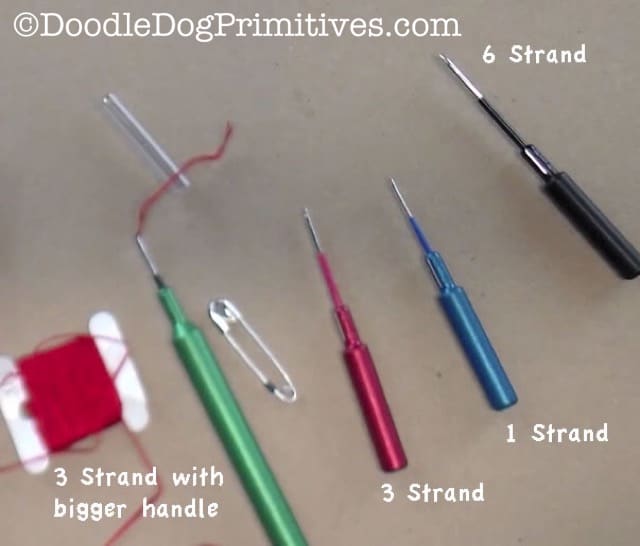
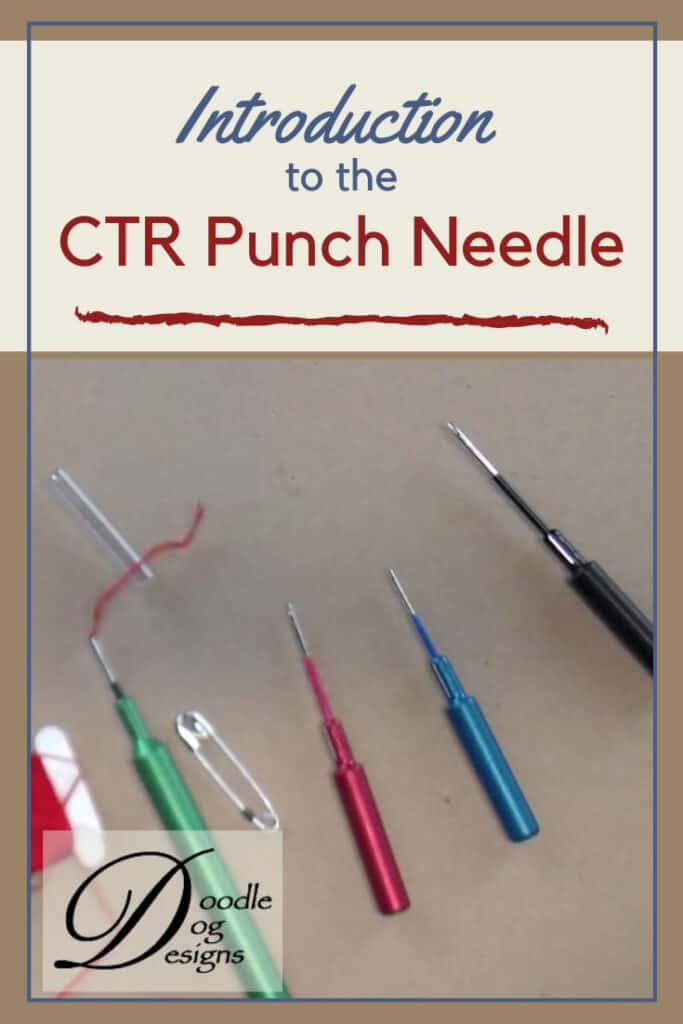
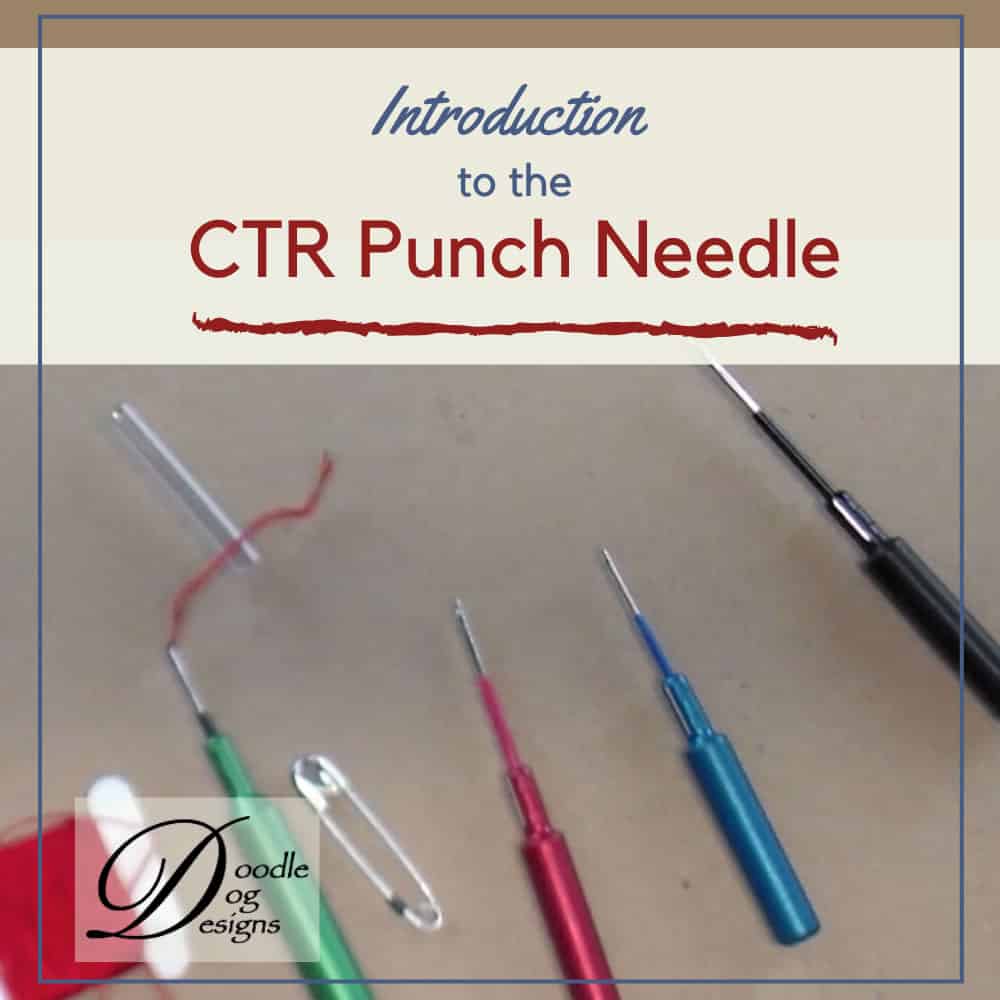
The CTR needles come in three different sizes:
one strand, three strand, and six strand.
There are two different sizes of three strand needles.
The handles on the one strand, red three strand, and six strand needles
are all about the same size.
All three are the perfect size to add a pencil gripper if you want.
The larger handled, green three strand needle
has a longer and fatter handle.
Adjusting the Punching Depth:
The punch needle tools have depth adjustors that will slide off the needle.
Just slide them off to get to the punching depth you would like.
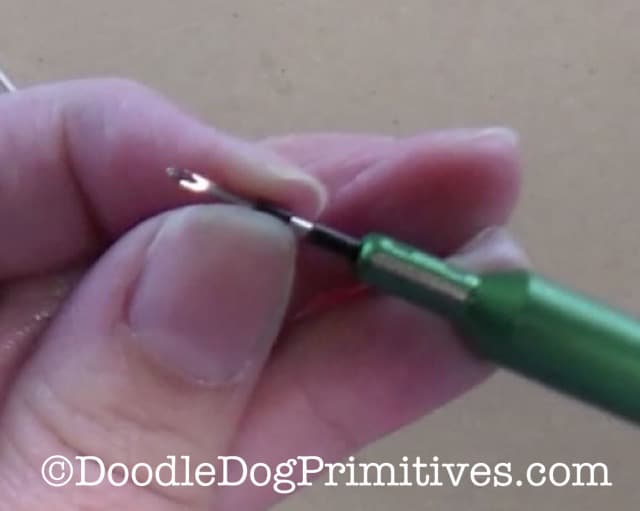
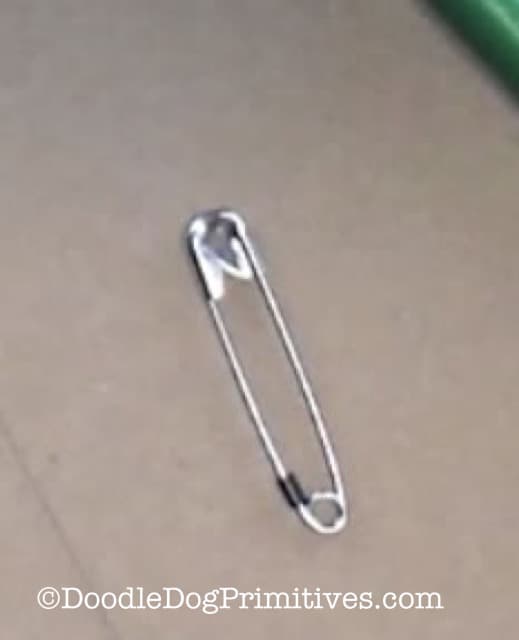
Store the depth adjustors on a safety pin so you don’t lose them!
Threading the Punch Needle:
The threaders have one end with a loop in the wire.
Slide the end with the loop up through the needle
until the loop comes out the other end of the tube.

Slide your floss through the loop in the wire.
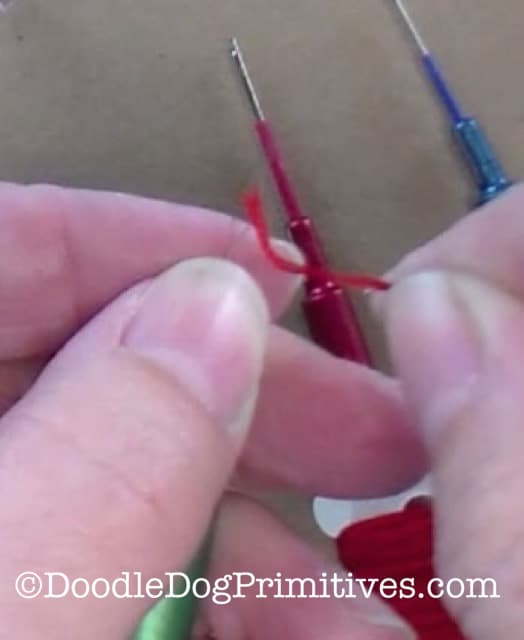
Pull the wire and thread through the tube.
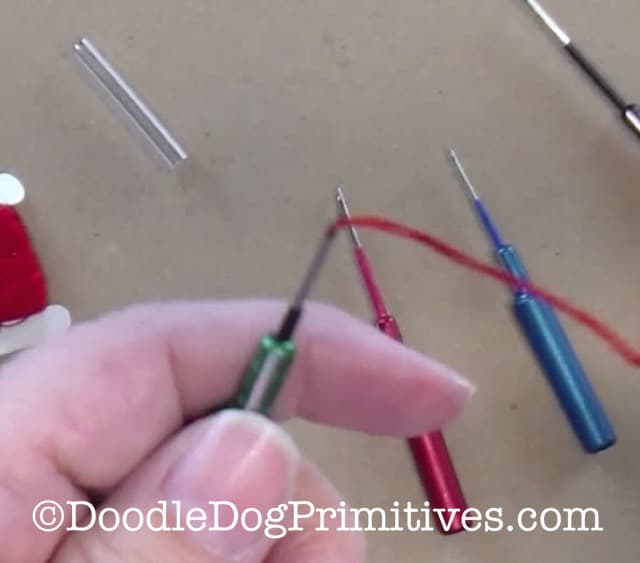
Take the other end of the threader (the one without the loop)
and pull it through the eye of the needle

to bring the thread through the eye.
Now you are ready to start punching!
You might also like our Introduction to the Ultra PunchNeedle
and beginner punch needle supplies post.
Blessings~
Amy
