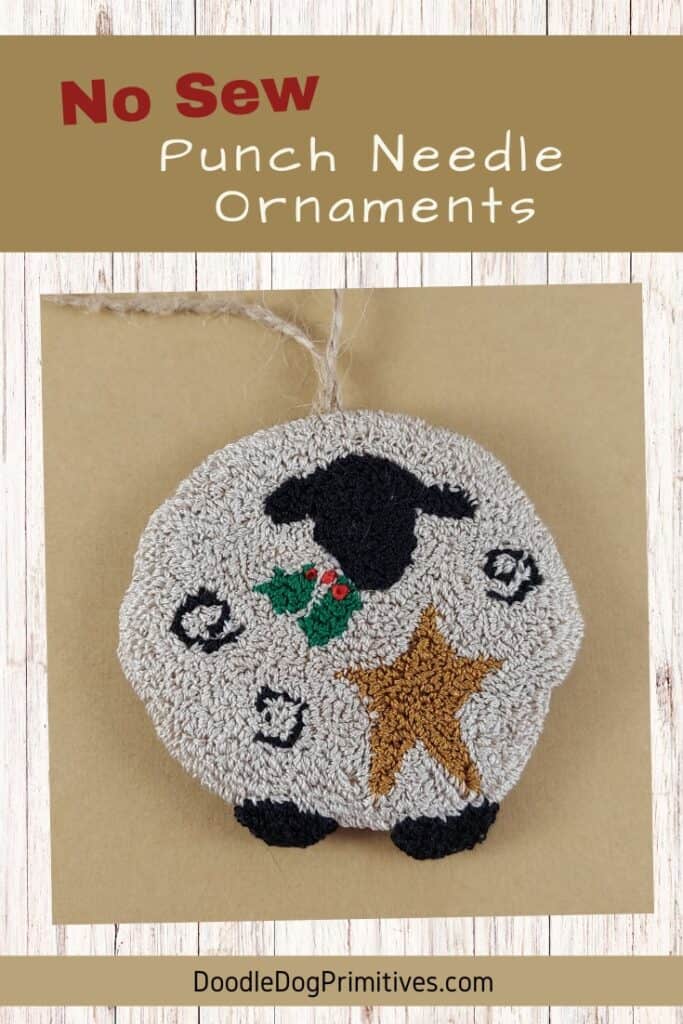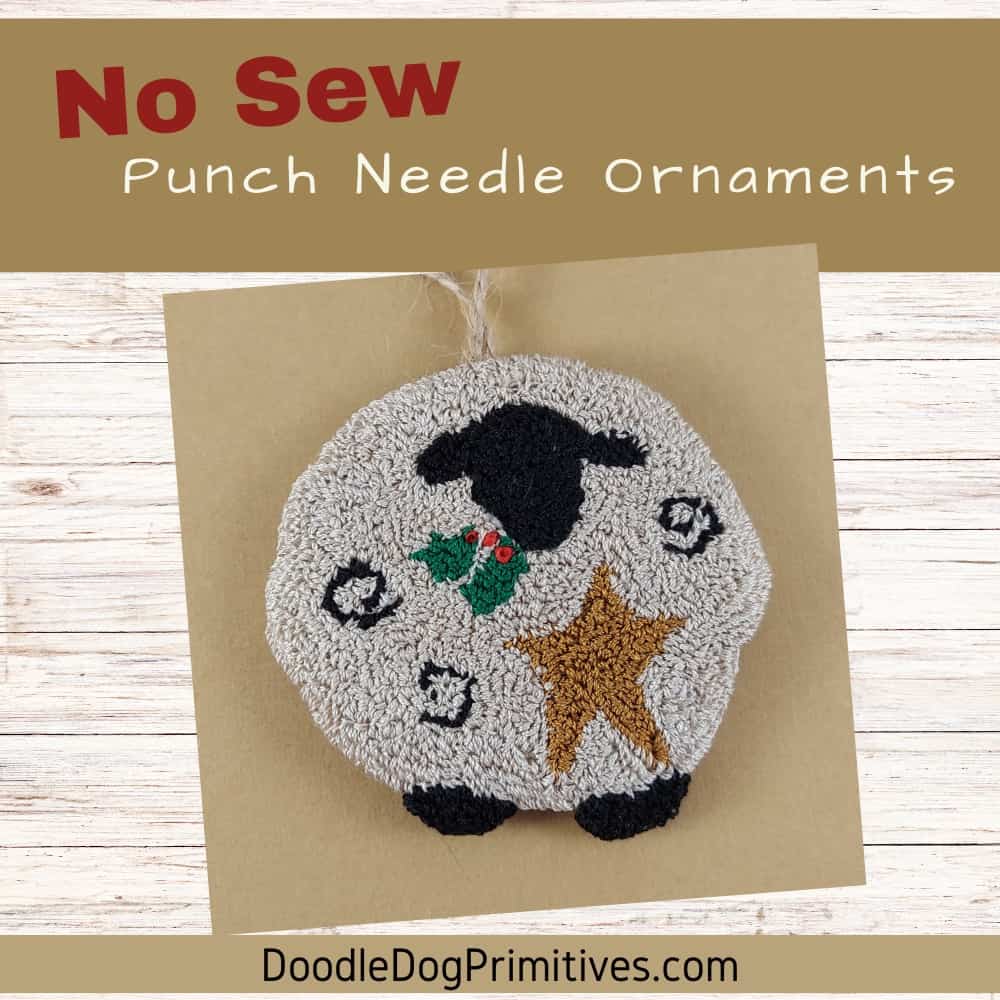
I usually make punch needle ornaments by hand sewing a backing onto the weavers cloth. But I know that some of you don’t sew – or just don’t feel like sewing all the time. In this post I will show you an easy way to make no sew punch needle ornaments.
Watch the Video:
This post may contain affiliate links for your convenience, which means if you make a purchase after clicking a link I will earn a small commission but it won’t cost you a penny more. For more information, please visit our Privacy Policy.
Prepping the Punched Ornament:
I chose to punch one of the sheep from this 3 sheep ornament pattern. If you need some inspiration, check out my other Christmas patterns.
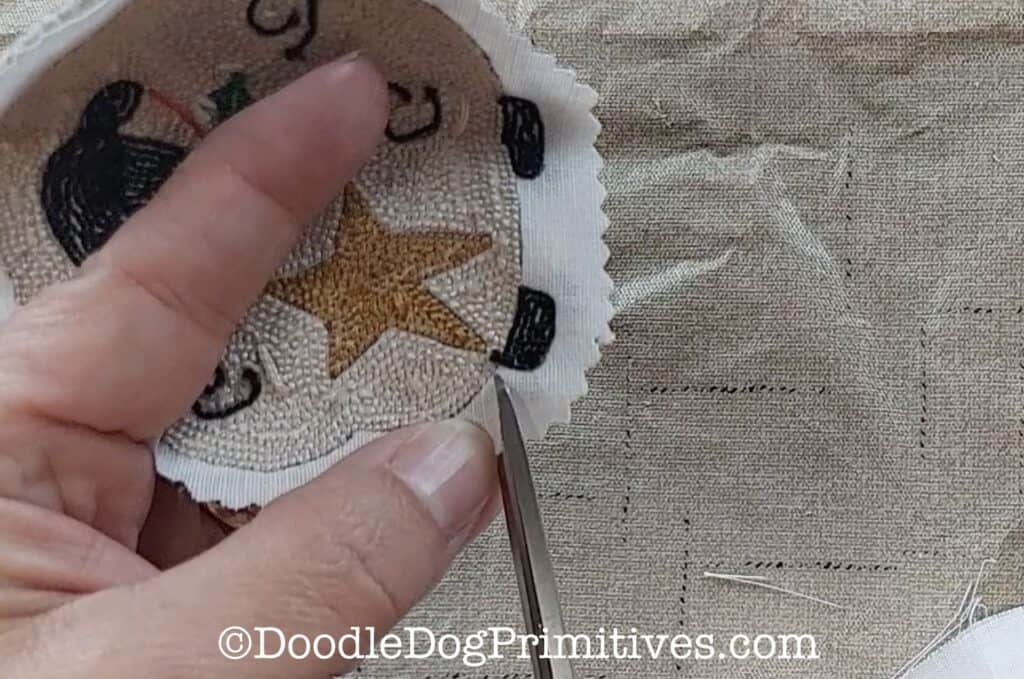
After you are finished punching the ornament design, use pinking shears to cut all the way around the punched edge of the project, leaving 1/4″ to 3/8″ of empty weavers cloth all around. Cutting the weavers cloth with pinking shears helps keep the fabric from unraveling.
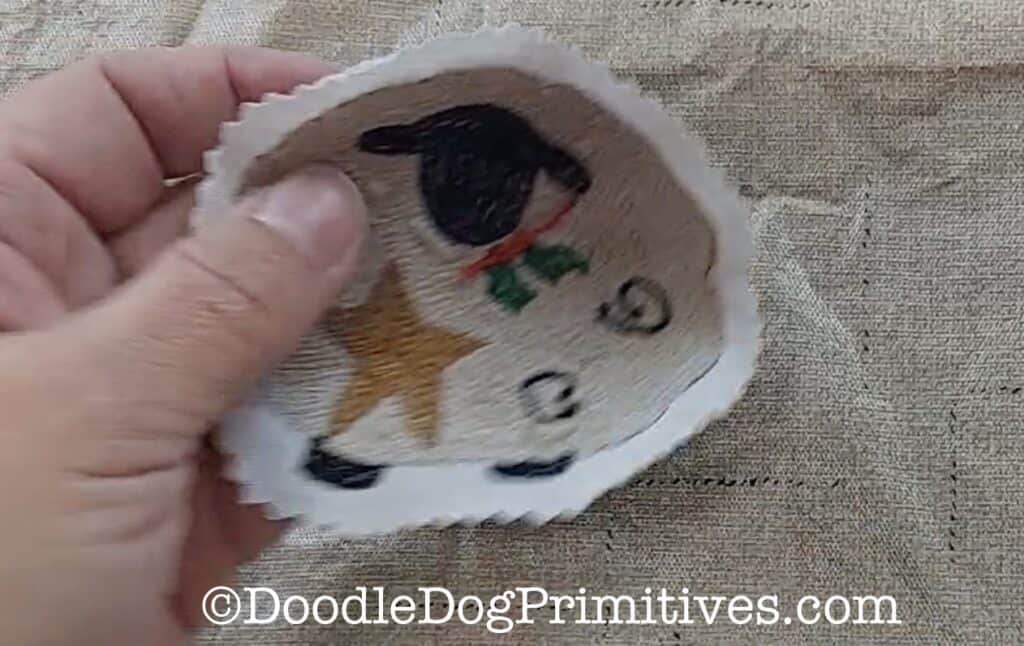
Cut clips on the weavers cloth on the inner corners. That will help you to completely turn the empty weavers cloth to the back.
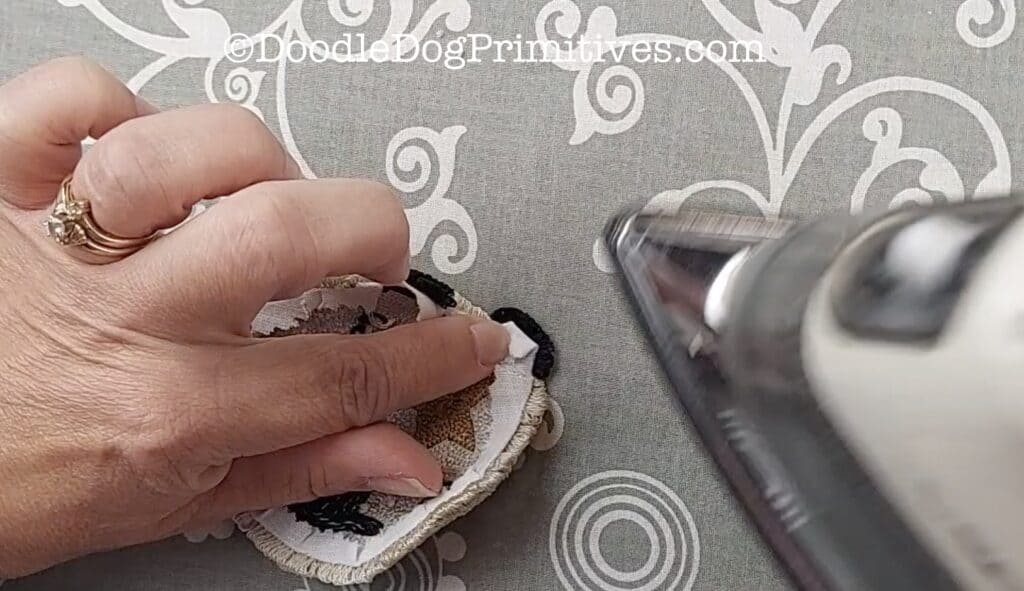
Press the empty weavers cloth to the back of the punched project.
Cut the Backing:
The backing needs to be a fabric that won’t unravel. Felt or felted wool are good choices.
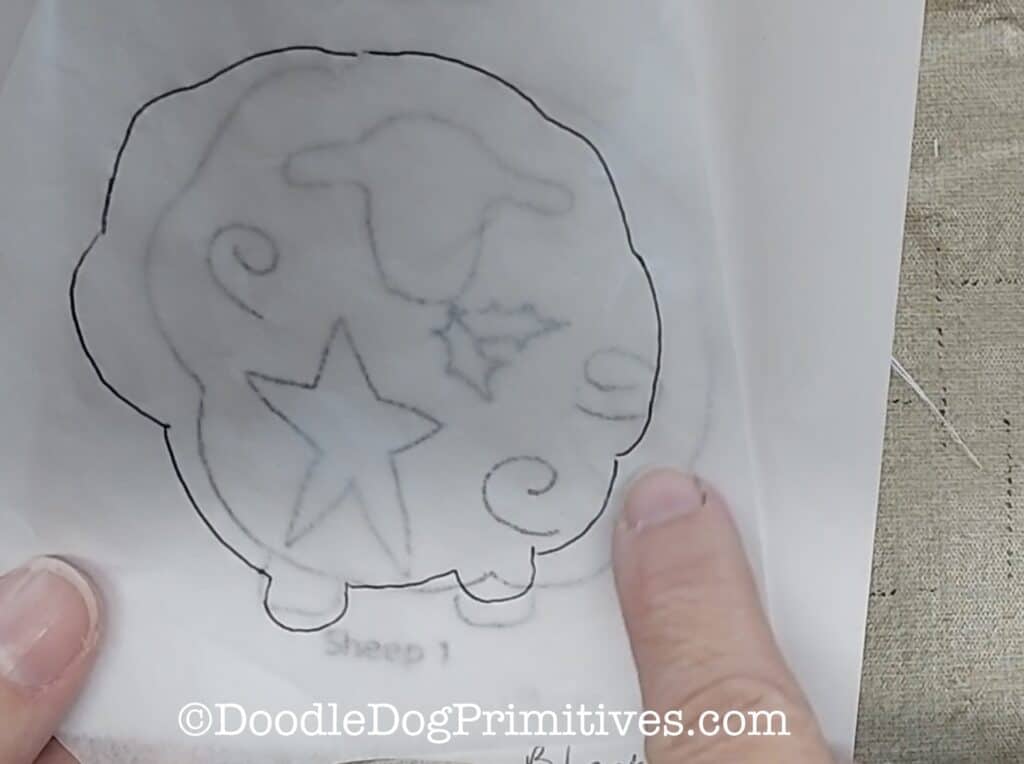
Trace the outline of the original punching pattern onto a piece of tissue paper for the backing pattern.
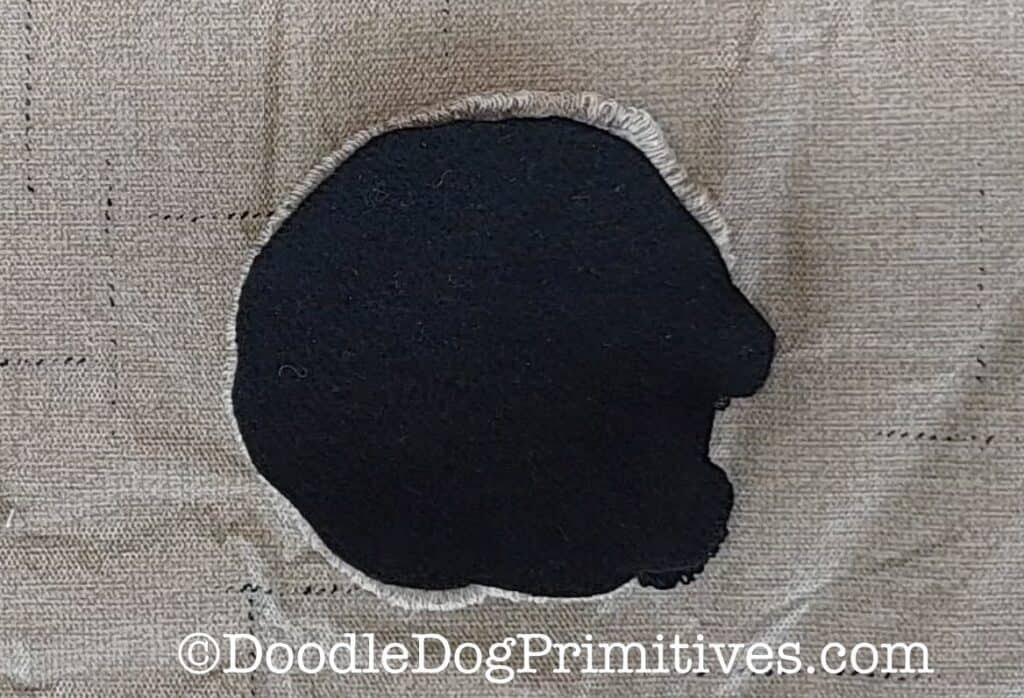
I am using a black felted wool to back my sheep punch needle ornament.
Don’t cut on the pattern lines! Cut the backing slightly larger than the traced pattern so it will be sure to completely cover the back of the ornament. You can always cut it smaller if needed.
Place the backing onto the back of the punched piece and trim if needed.
Assemble Punch Needle Ornament:
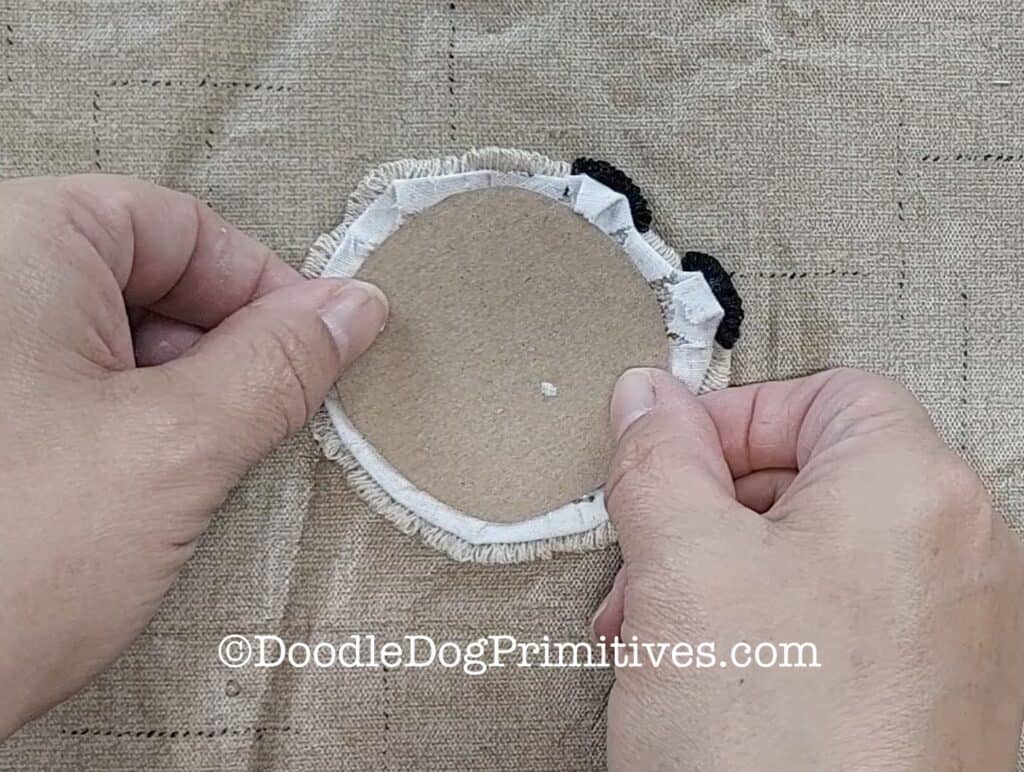
I like to add a bit of cardboard to the inside of the punch needle ornament to keep it from being floppy. Take some thin cardboard (cereal box) and use the traced tissue paper pattern to cut a middle for the ornament.
This time you want to cut smaller than the pattern. For the sheep, I didn’t cut out the legs. I just cut a basic circle shape slightly smaller than the sheep.
Cut a 10″ length of your hanger material. Jute and thin ribbon make nice hangers.
Use tacky glue to glue down the pressed back weavers cloth.
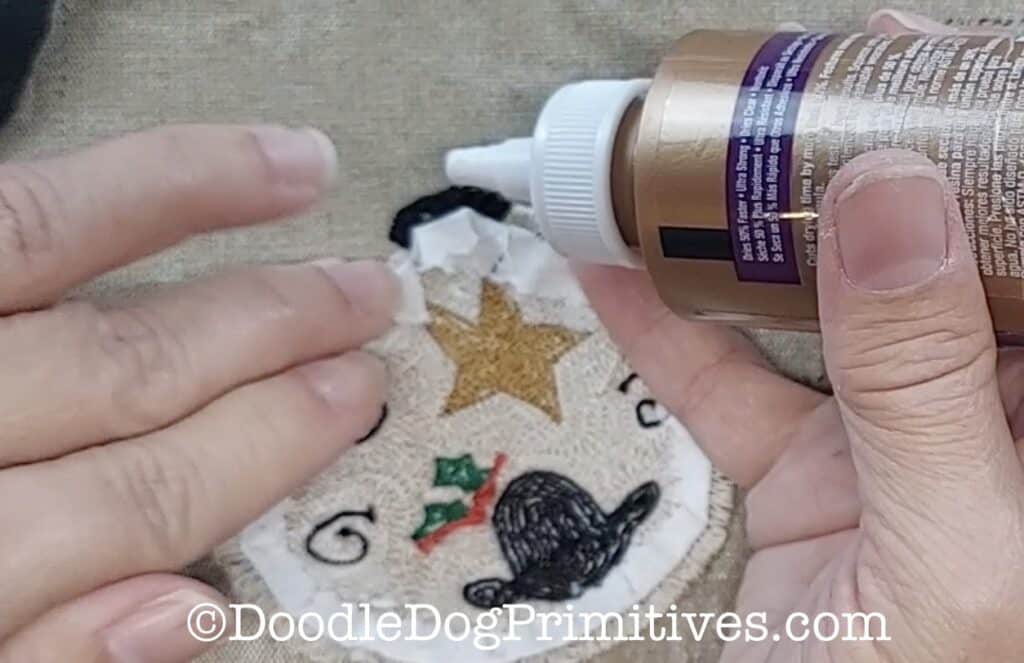
Glue the thin cardboard to the middle of the back of the ornament.
Apply glue to the back of the ornament. Fold the hanger in half and put the two ends onto the top of the ornament and then apply the backing.
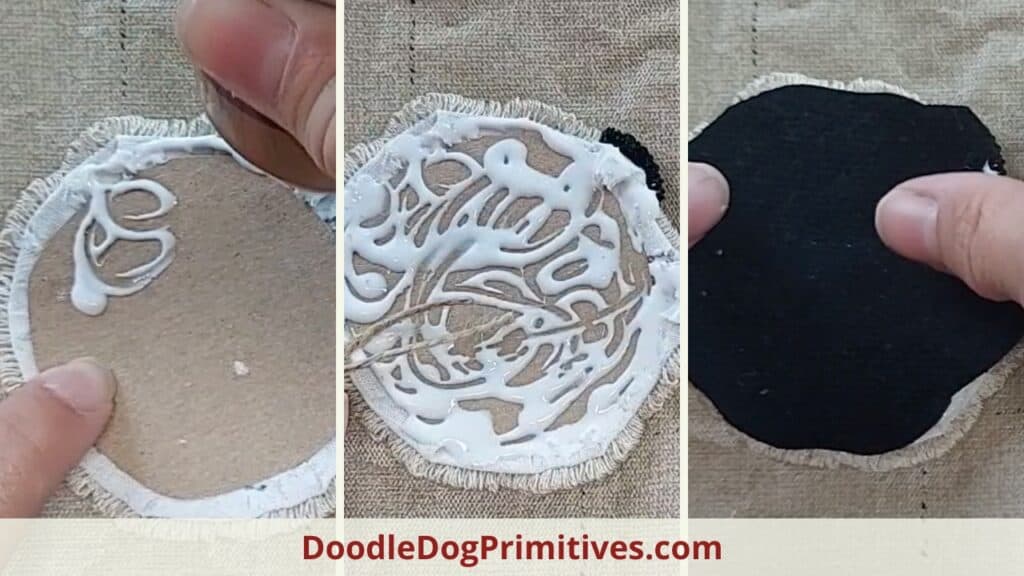
This is a quick and easy way to finish a punch needle project!
You might like our other punch needle tutorials.
Blessings~
Amy
Be sure to Pin this Punch Needle Tutorial:
