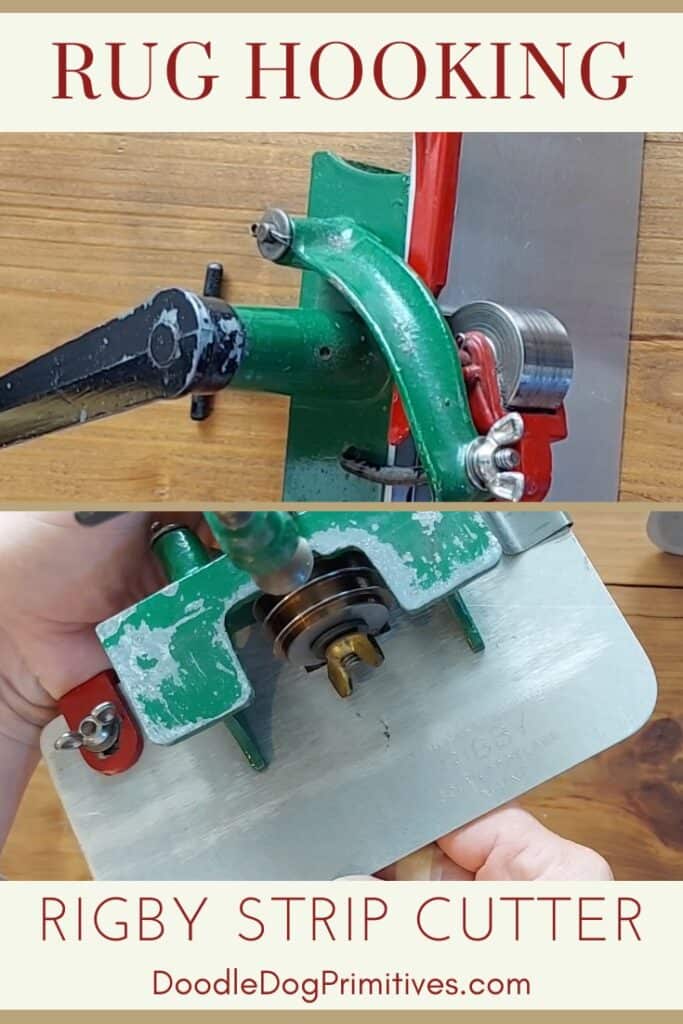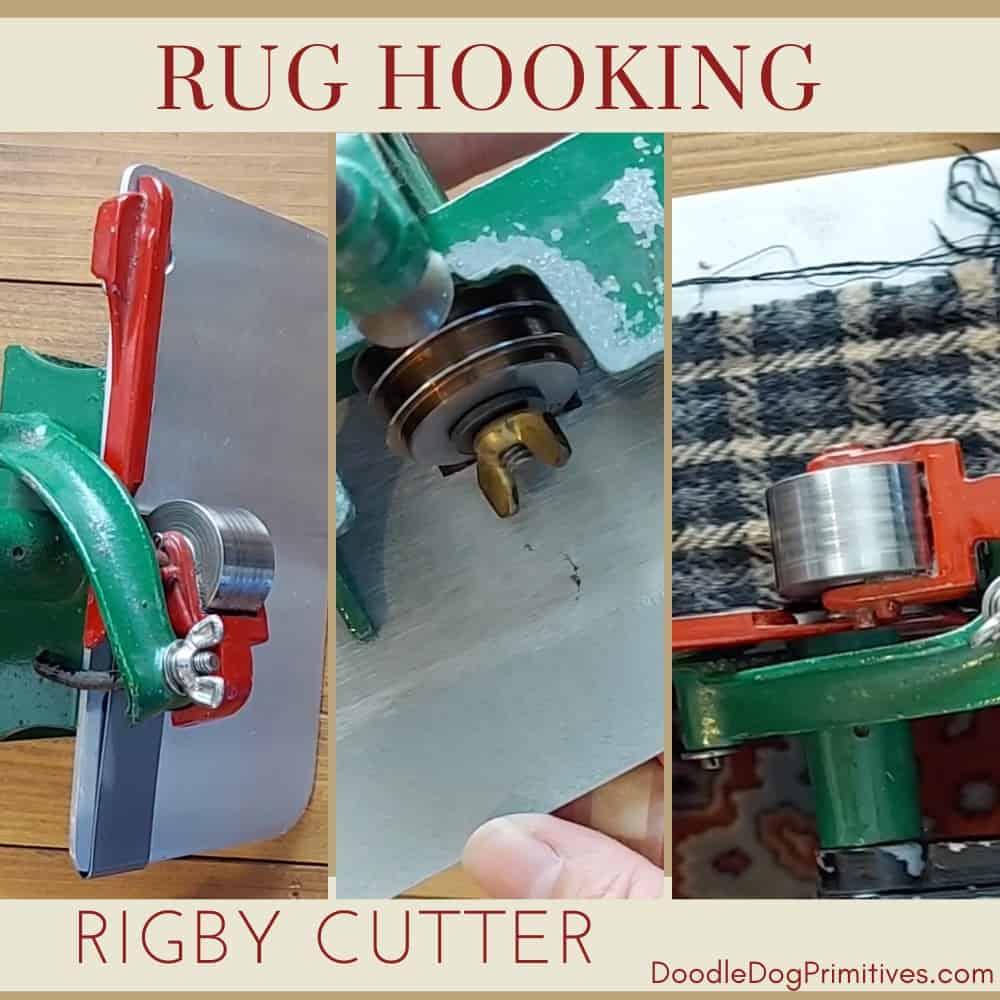
In this post, I will show you two different Rigby wool strip cutters. These are both older vintage machines that my Mother has acquired throughout her years of rug hooking and crafting.
If you are interested in getting started in rug hooking, finding an older cutter is an economical way to get started!
Watch the Video:
Rigby Model B:
In a box of other sewing and crafting items at an auction, my Mom purchased this Rigby Model B strip cutter.
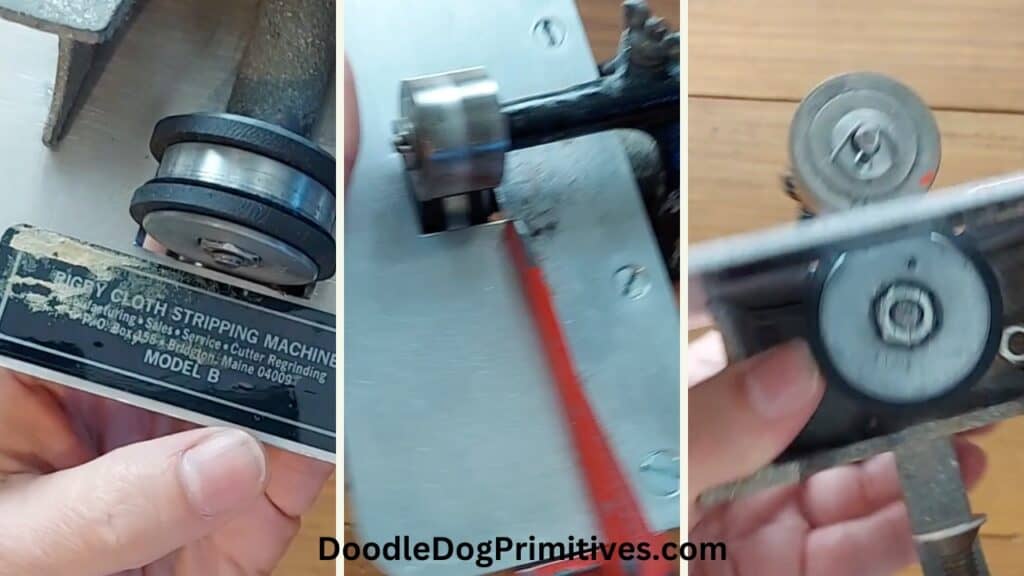
The Rigby Model B is made for cutting braided rug materials with widths from 1/2″ to 1-7/8″. You can vary the cutting width by adjusting the red cloth guide. This does NOT make it the ideal cutter for rug hooking.
Rigby Rug Hooking Strip Cutter:
Her other Rigby strip cutter, however, is perfect for rug hooking. It has interchangeable blades in varying cutting widths. I can easily look at this cutter and tell the blades can be changed because of the wing nut holding on the blade.
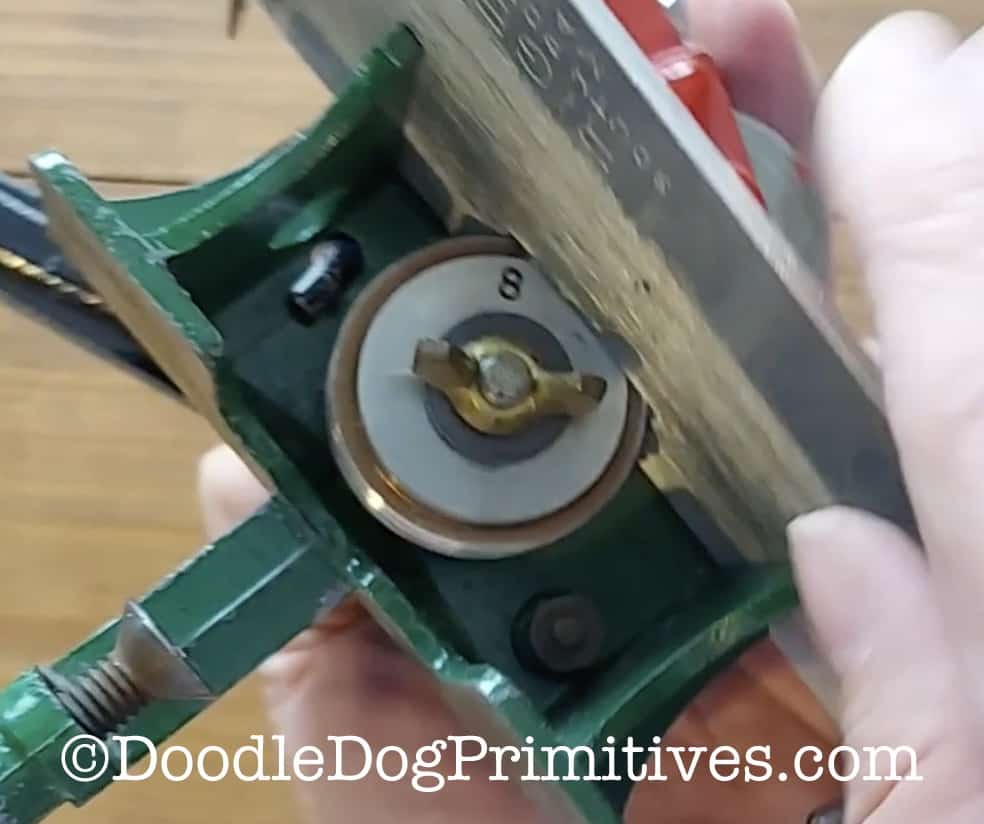
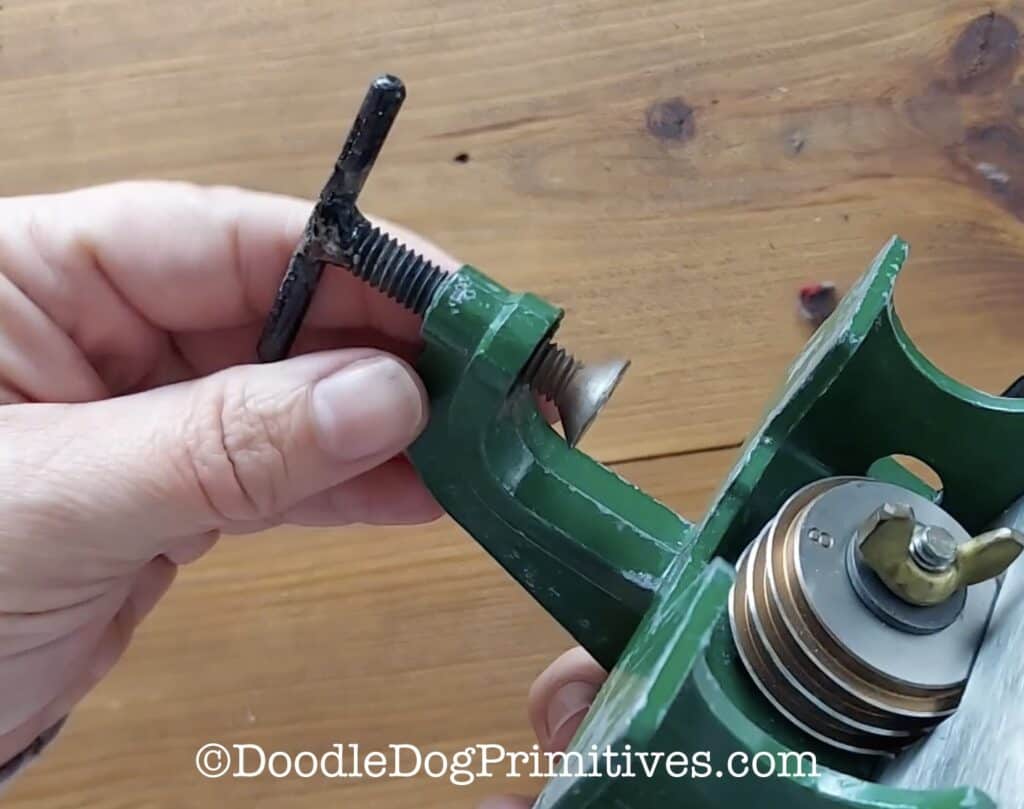
Notice also in the above picture the number 8 on the round blade. This signifies it is a #8 cutting blade, so it cuts 1/4″ worms.
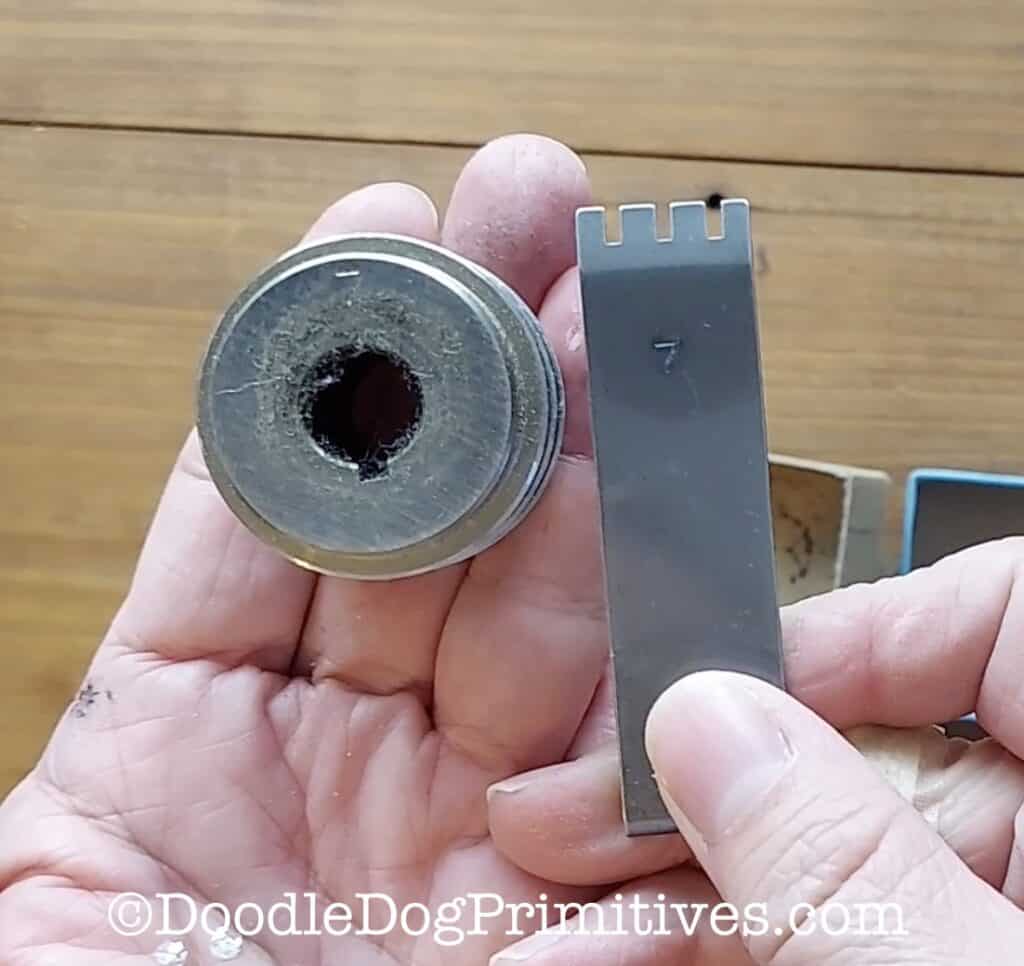
For each cutting blade, you will also need a corresponding “finger”. The blade and finger will each have the same number and will fit together. The grooves on the end of the finger will fit into the grooves on the blade. The blade and finger below are both #7, indicating they will cut fabric strips 7/32″ wide.
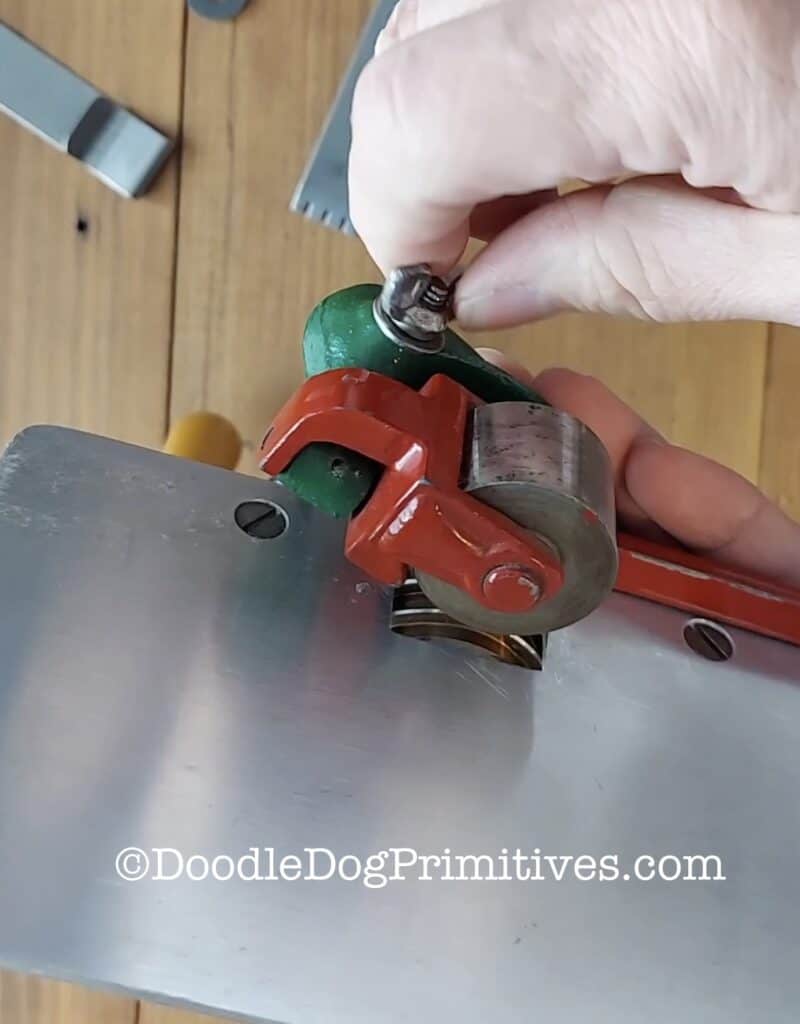
To cut the fabric strips, the metal roller on top pushes down the fabric onto the blades as the fabric is fed through the machine. If the metal roller is kept too tight against the blades, it can damage the blades. So, when you aren’t using the machine, it is best to keep unscrew the top wingnut some (but not all the way off). You can re-tighten it when you get ready to cut.
Changing the Rigby Cutter Blade:
In order to remove the cutter blade, first unscrew the wing nut that is holding on the blade and remove the washer. Slide off the finger. Loosen the wingnut on the top holding on the roller and then pull out the handle. The blade should then slide right out. Be careful – the blade is sharp!
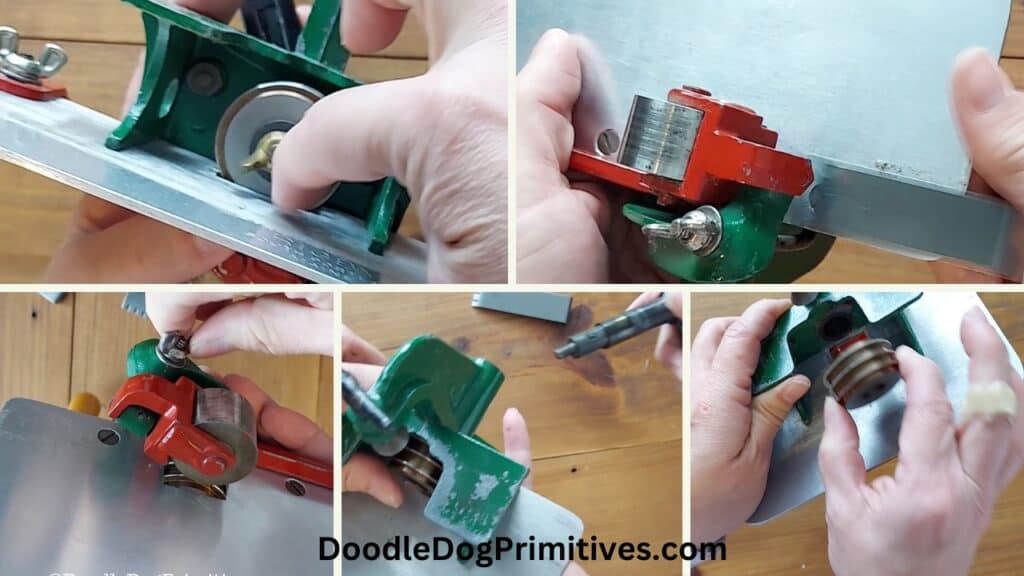
To change to a new blade, insert the new cutting blade and slide the handle back in. There is a groove on each that match up. Put the washer and wingnut back on the blade and slide on the corresponding finger. The grooves on the finger will line up with the blades on the cutter.
Adjust the red fabric guide. If using a #8 blade, you want the inside edge of the fabric guide to be 1/4″ away from the first blade. You would adjust this based on the blade you are using so it cuts the correct width for that first strip. There is a wingnut on the bottom you can loosen, move the fabric guide, and then tighten it back up.
Using the Rigby Strip Cutter:
Use the clamp on the bottom to clamp the Rigby strip cutter to the edge of a table.
When cutting worms for rug hooking, it is easier to cut with the grain of the fabric. You can cut or tear a strip of felted wool.
Guide the edge of the wool along the edge of the fabric guide and turn the handle to move the fabric through the cutter.
Don’t forget to tighten the wingnut on top for the roller. Don’t get it too tight – you don’t want to damage the blades! Tighten it a little, run the fabric through and see how it is cutting. You can keep tightening as needed a little at a time until it is cutting nicely. You will probably still have to pull the worms apart – but that is easy to do.
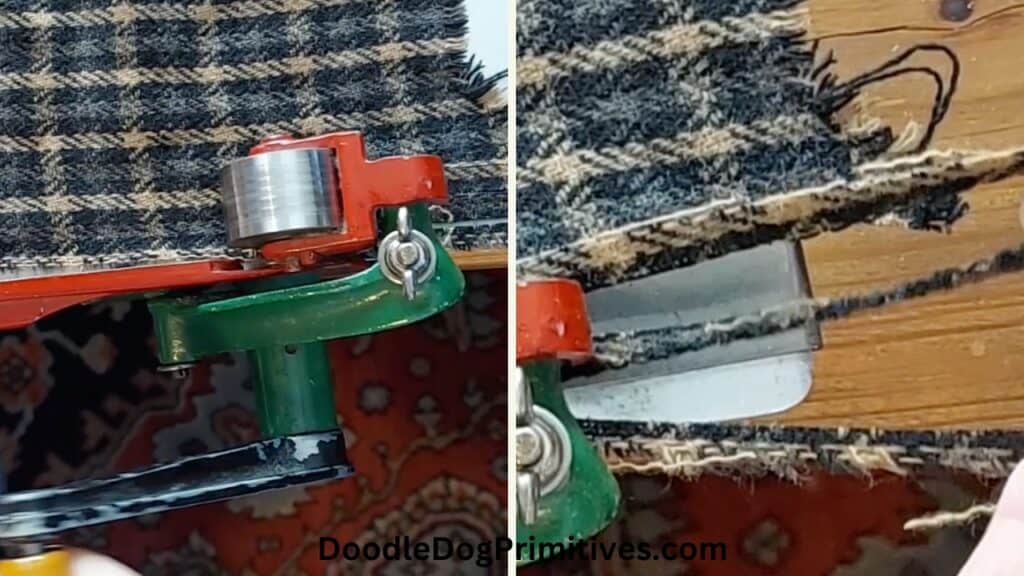
When you get finished cutting, don’t forget to loosen the roller wingnut!
The strip cutter is going to get dirty with wool lint as you use it. You can use compressed air to blow off the lint.
I hope you found that helpful. Be sure to check out our other rug hooking tutorials.
Pin this Rug Hooking Tutorial:
