We are almost finished with our sample punch needle project.
We have already transferred the pattern to weavers cloth,
put the weavers cloth into the locking hoop,
selected and prepared the threads,
and punched the whole project.

Age the Punch Needle Project:
Before I finish the edges of a project,
I sometimes over dye it with coffee.
This part is completely optional – skip this step if you don’t want the finished punch needle project to look old!
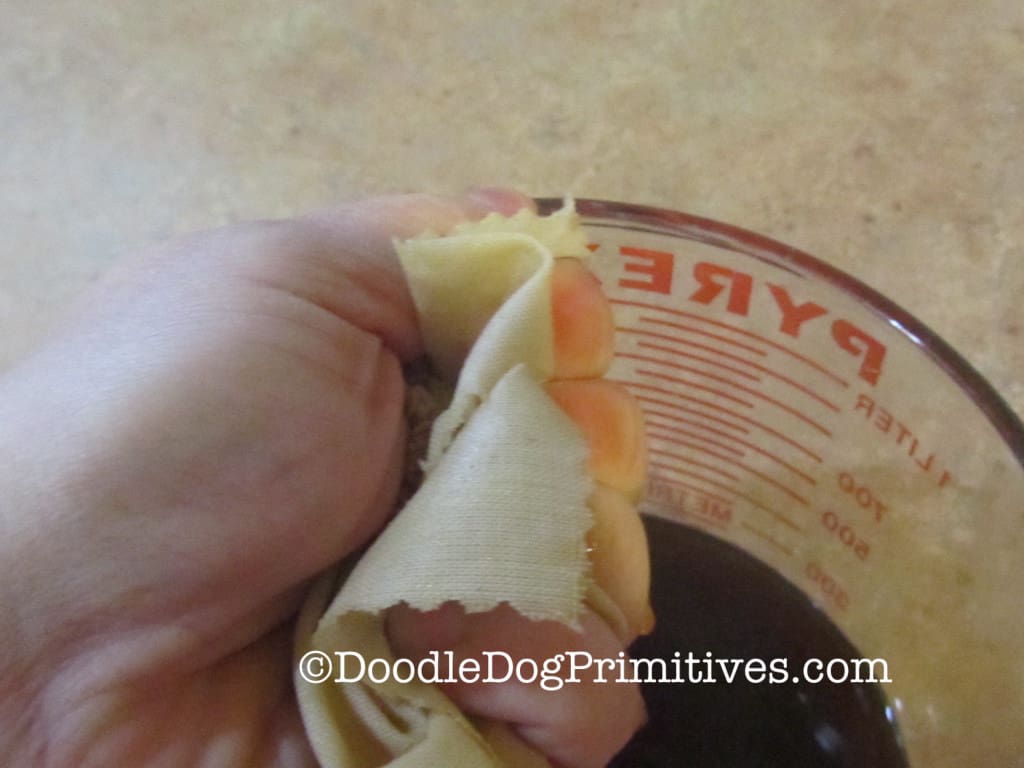
To coffee dye, wet the punched project with water
then dip it into a bowl of coffee.
(Instant coffee will make it look older than brewed coffee.)
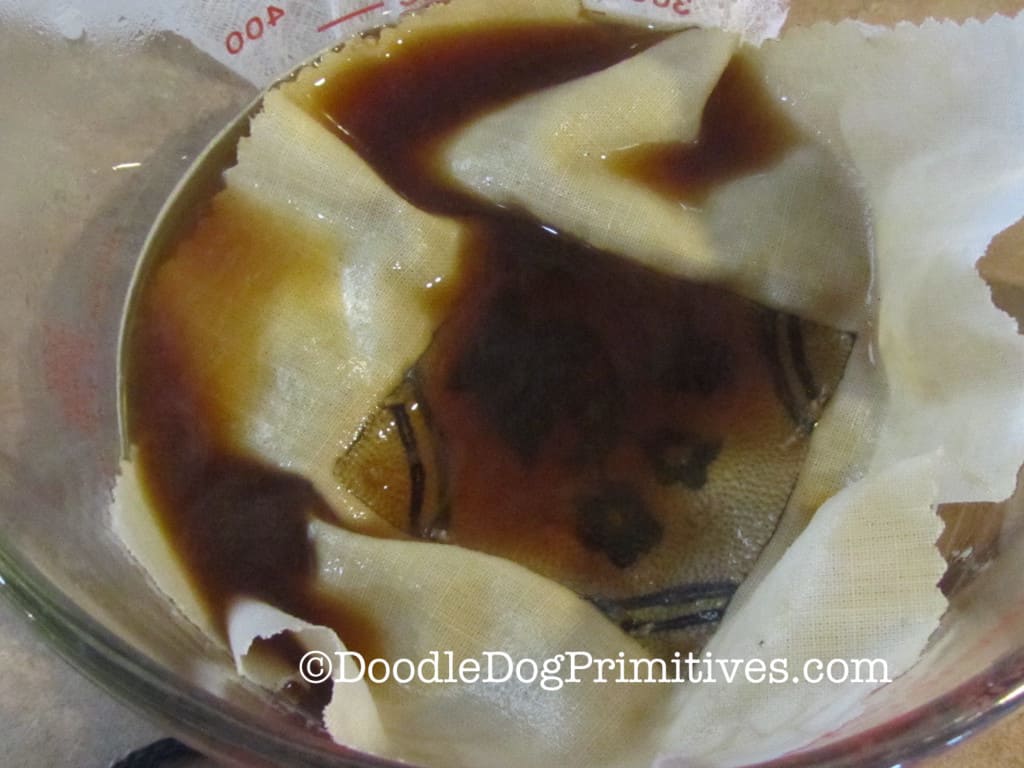
You can leave it there as along as you like.
The longer you leave it, the darker it will be.
If you take it out and it is darker than you like, you can rinse it with water to make it lighter.
Squeeze out the excess liquid.
Lay it out flat to dry.
Finishing a Punch Needle Project:
This is just one of many different ways you can finish a punch needle project.
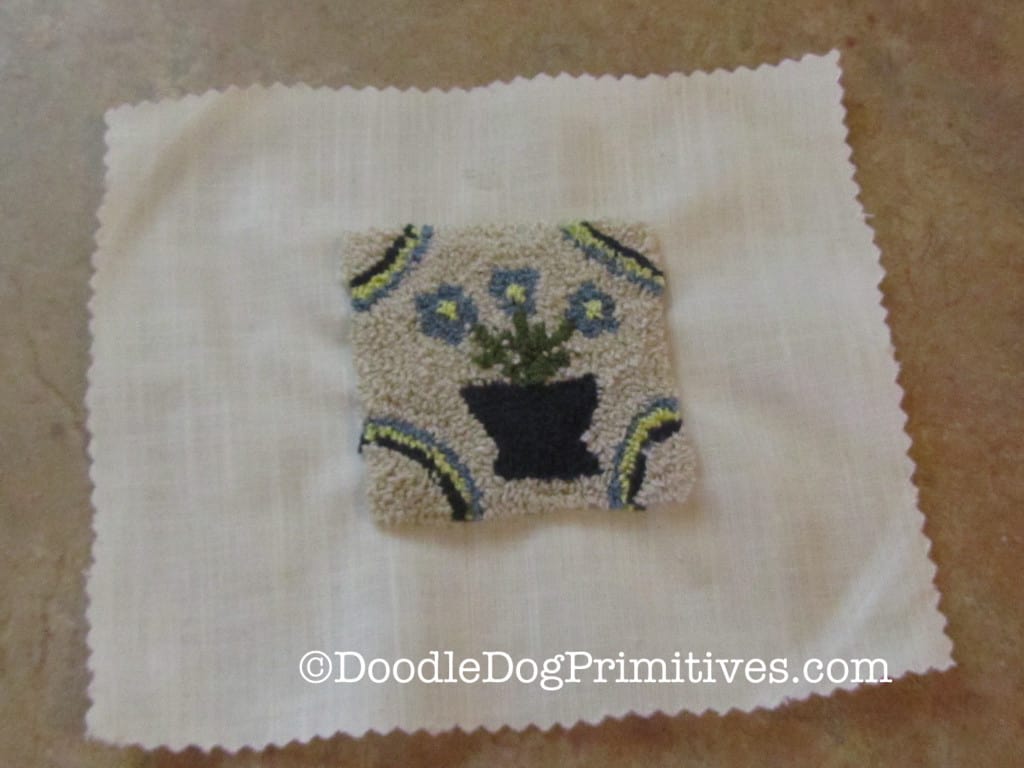
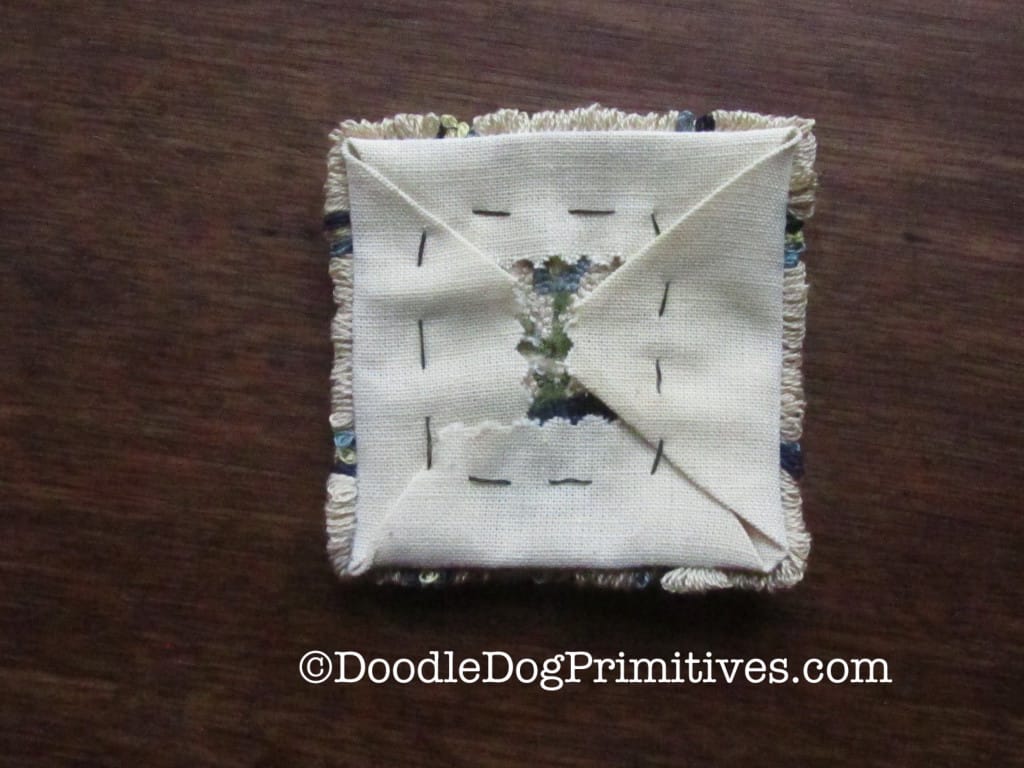
Press it from the back side using a pressing cloth.
Trim the excess weavers cloth to 1/2″ to 1″ all the way around.
Press the edges to the back.
With a square project, press the corners in first.

Then press in the sides.
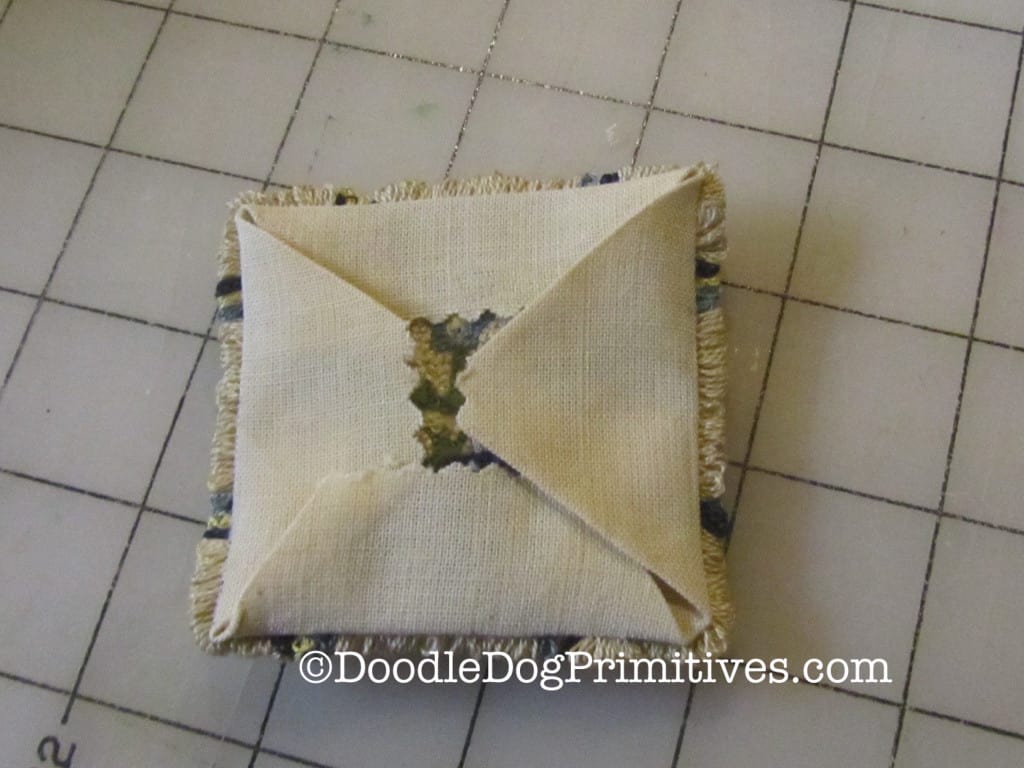
Baste in place.
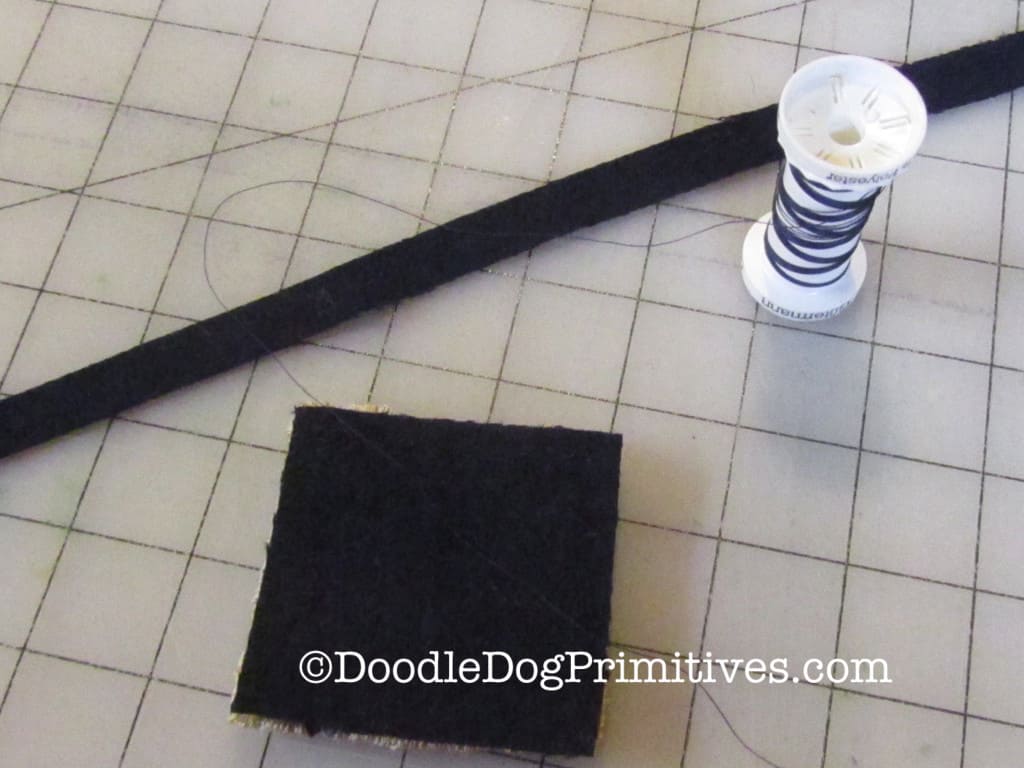
Cut a piece of felted wool the same size as your punch project.

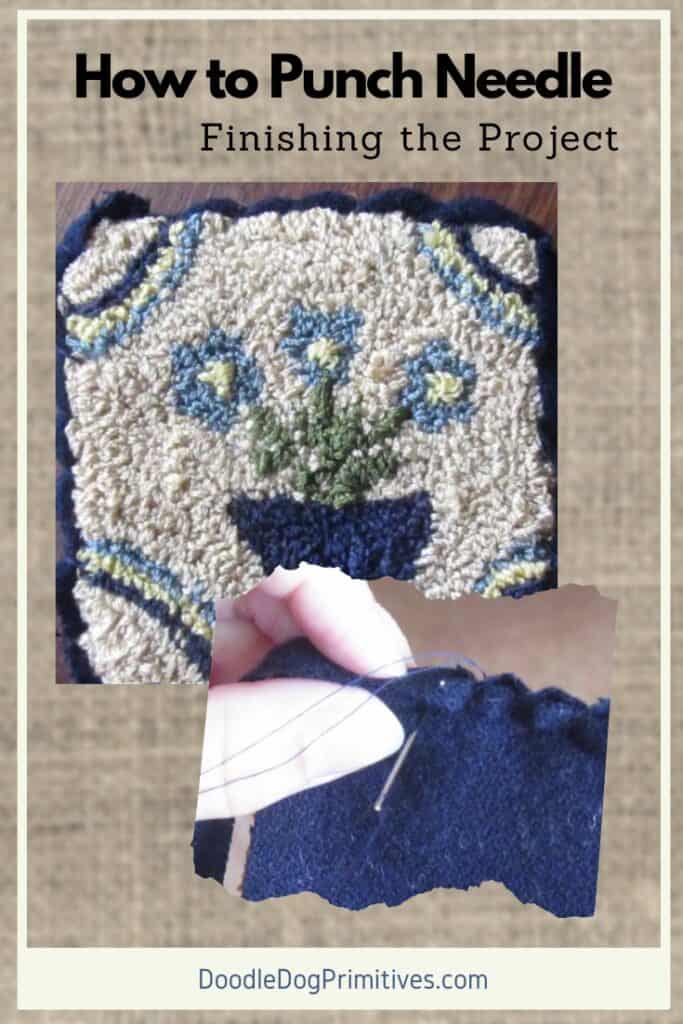
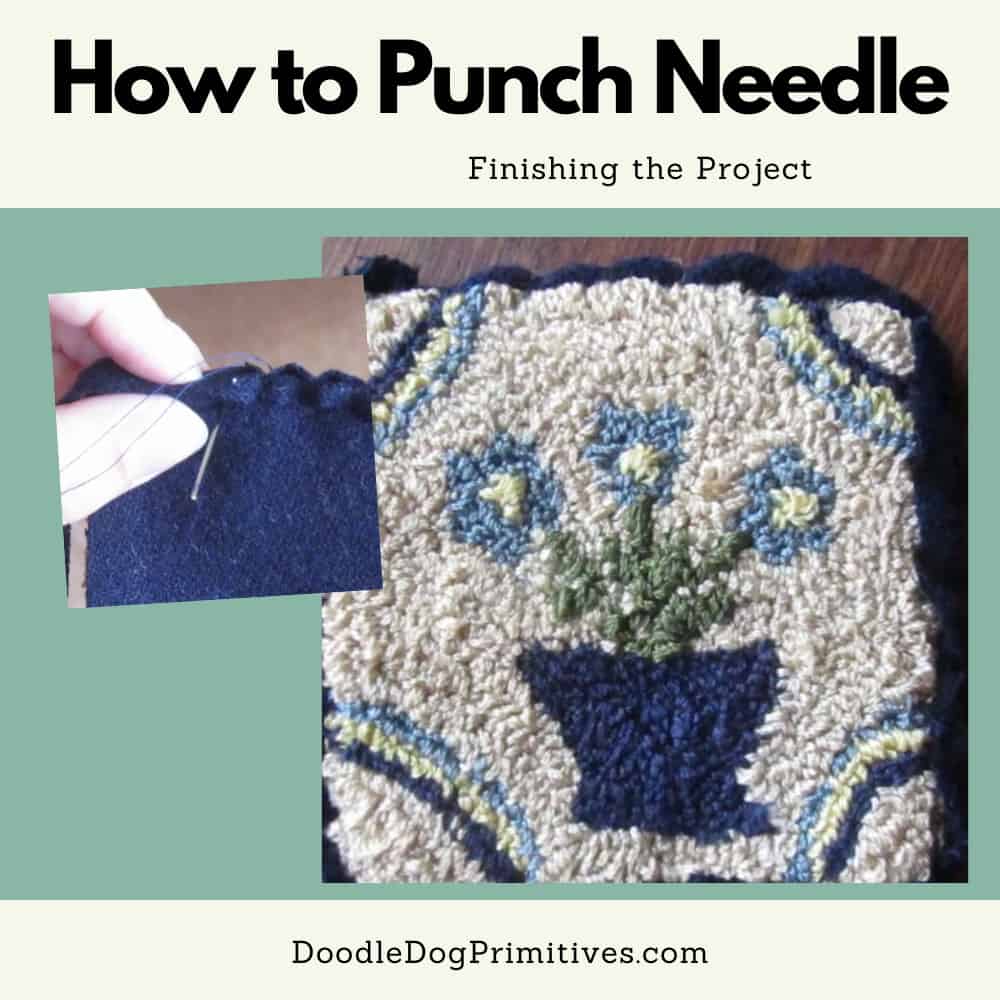
Adding a Wool Edging:
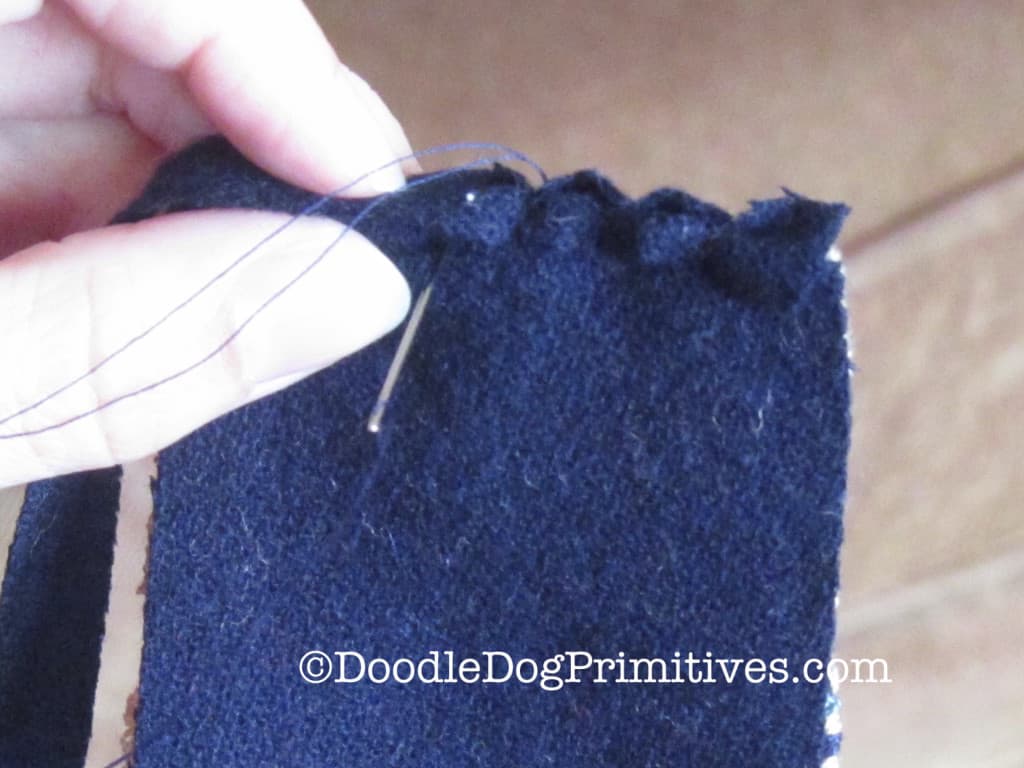
You will also need a strip of wool long enough
to go all the way around the edges.
For this project, I am using a 1/2″ strip of felted wool.
For a larger project, I might use a wider strip.
Position the wool backing on the back of the punch project.
Place the wool strip along the bottom edge of the project.
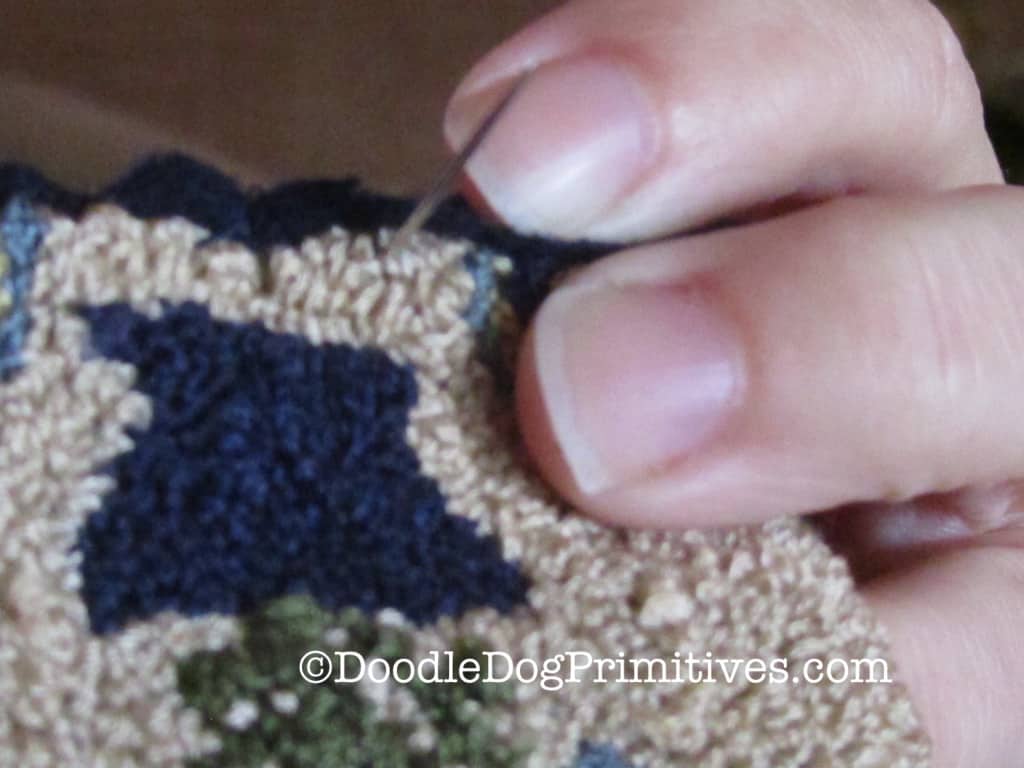
Using a thread to match the wool fabric,
whipstitch diagonally around the project.
You will want to go over the wool strip and catch the edge of the embroidery piece / wool backing with your needle.
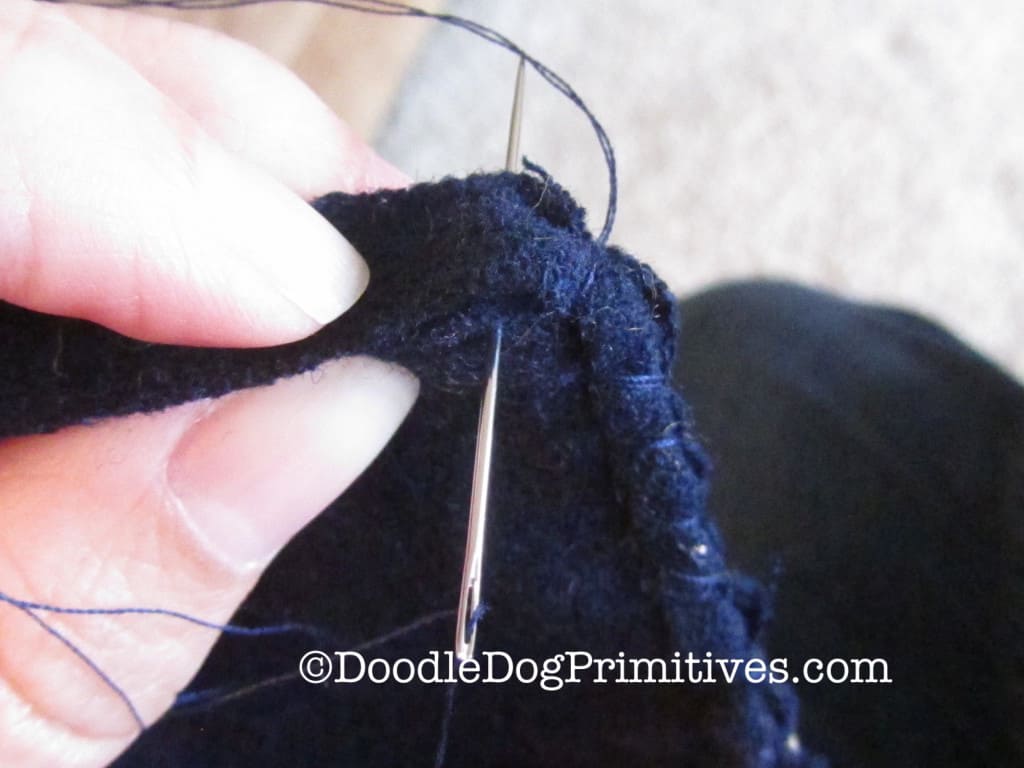
When you get back to the beginning, overlap the wool strip a little and cut off any extra.
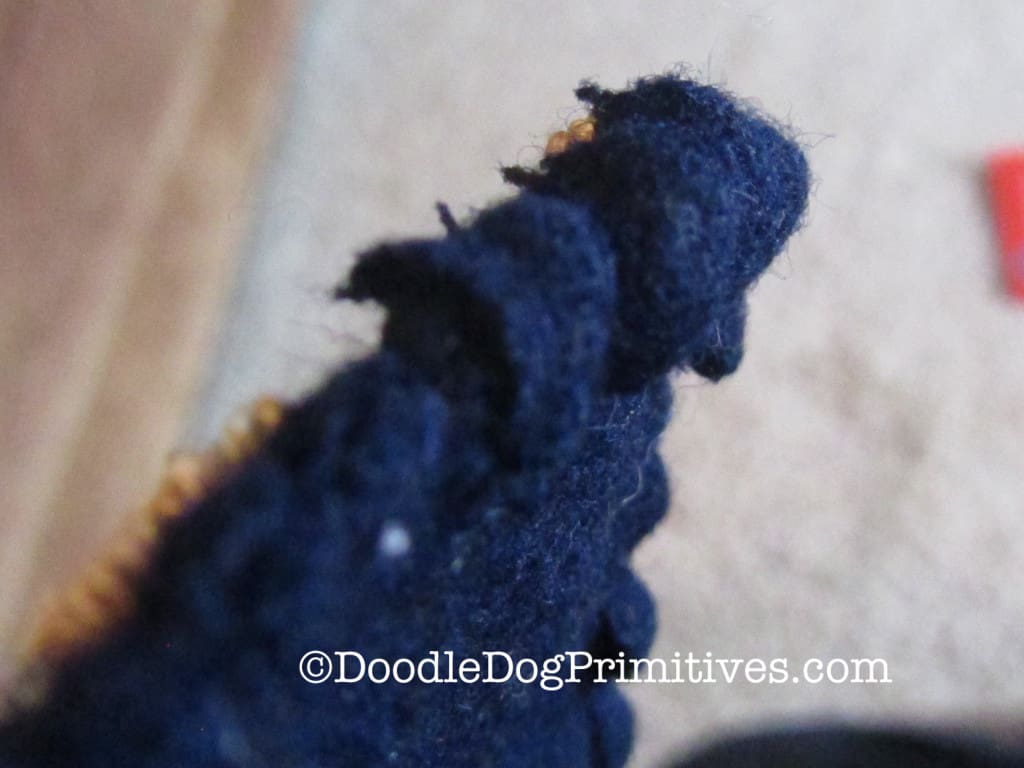
Continue whipstitching until you have completed over the overlap.
Secure your thread.
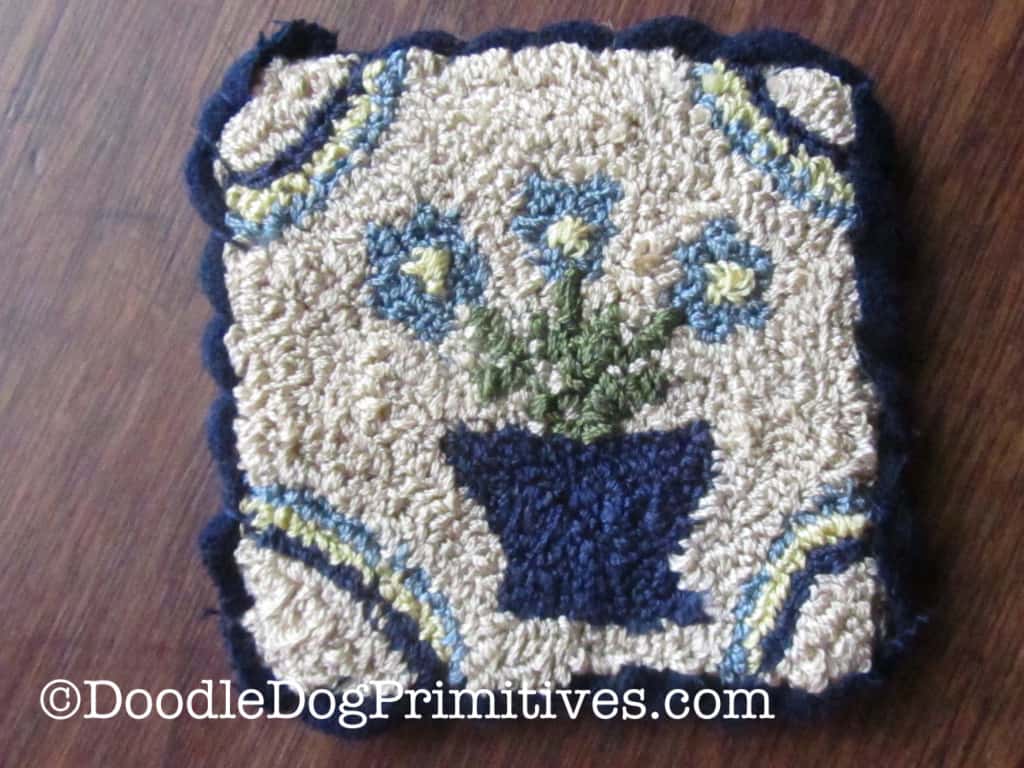
And it is complete!
Blessings~
Amy
Pin this Finishing the Punch Needle Project Tutorial: