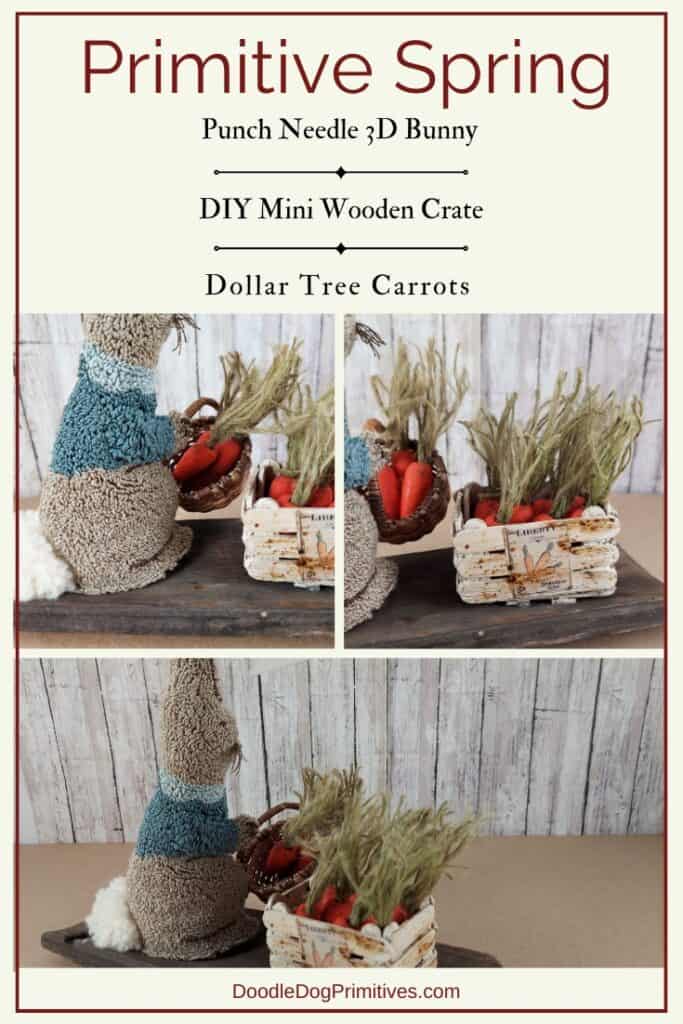
A few weeks ago at an auction, I bought some antique wooden buckets that are falling apart. I got them in order to use a wooden bucket stave as a base for a primitive spring display with a 3D stand alone punch needle bunny.
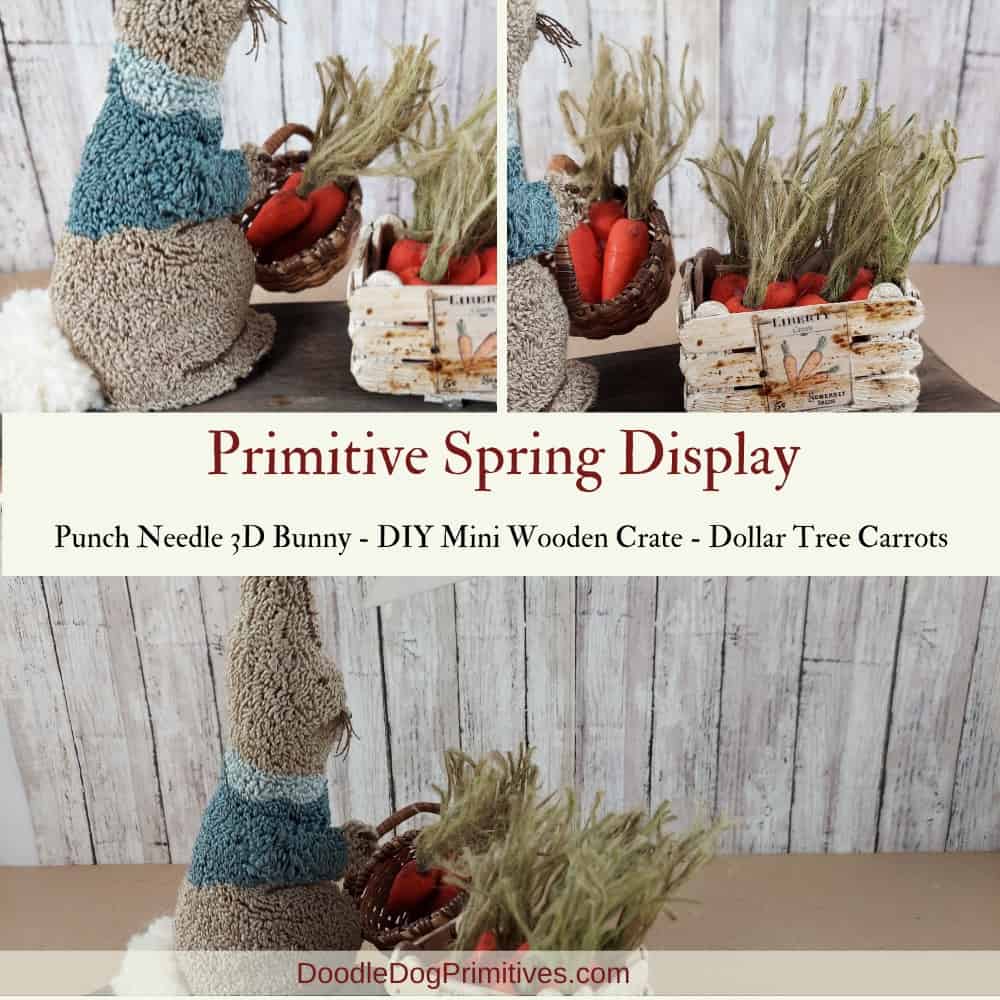
I cleaned up the wooden stave but left it unfinished. I punched this Mrs. McGregor pattern, made a wooden carrot crate, and “aged” some Dollar Tree carrots to finish the spring display.
Watch the Video:
This post may contain affiliate links for your convenience, which means if you make a purchase after clicking a link I will earn a small commission but it won’t cost you a penny more. For more information, please visit our Privacy Policy.
Punch Needle Bunny:
Mrs. McGregor has a flat bottom so she will stand alone in my spring display. She also has a separate arm so she will be able to carry a basket filled with carrots. I did add a thick piece of cardboard between the backing and her arm so it wouldn’t be saggy.
I sewed the wool backing onto the punched piece by hand, stuffed the bunny, and added some stuffing pellets to the bottom to help her stand upright before sewing on the wool bottom. Read more about finishing stand alone punch needle figures here.

Dollar Tree Carrots:
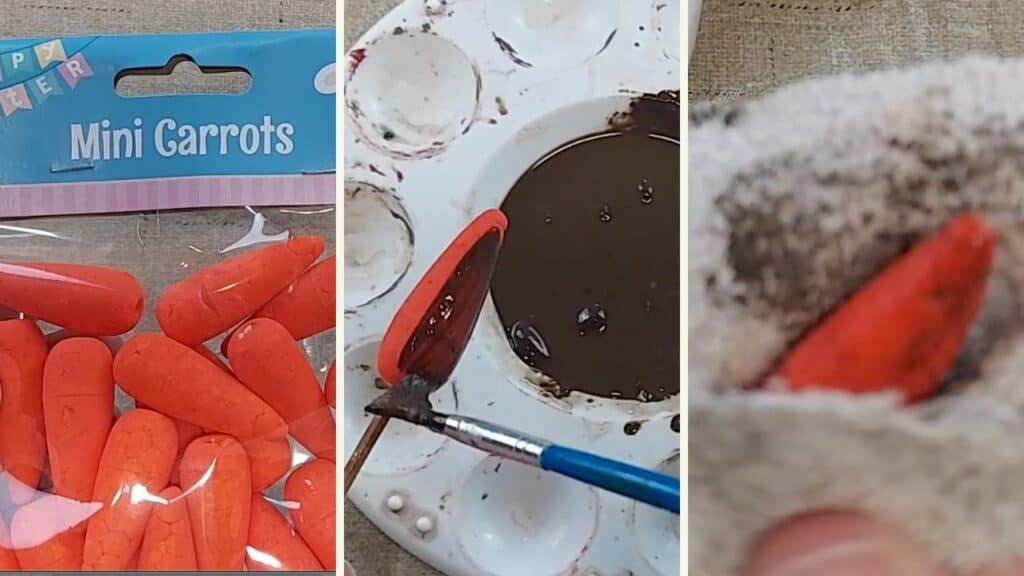
I bought an 18 pack of small styrofoam carrots from Dollar Tree. They were too bright of an orange for my display so I toned them down with some Folk Art Antiquing Medium in Cocoa Bean color. I painted on some watered down antiquing medium and rubbed it off with a soft rag.
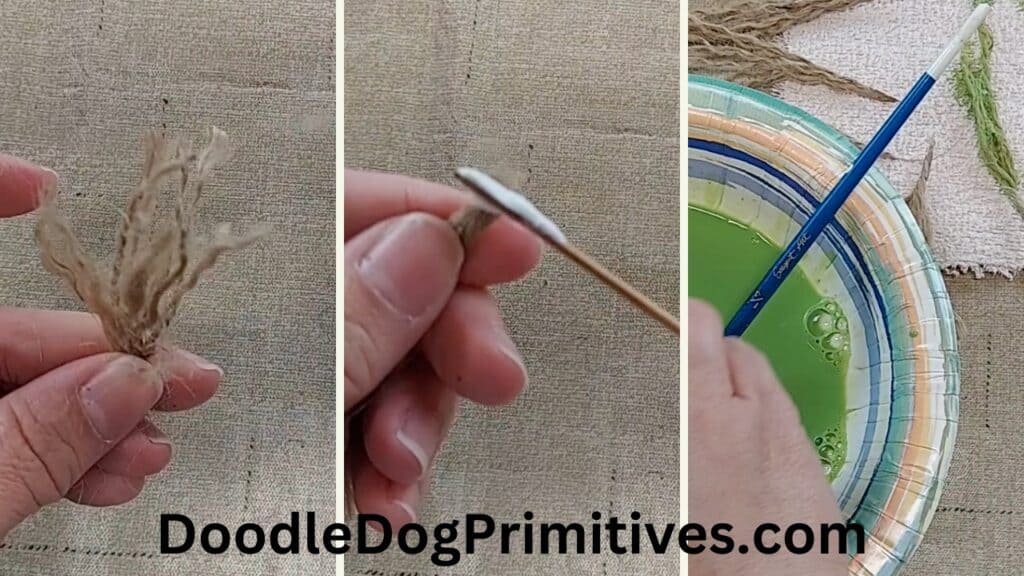
To make a carrot top, I cut 3 pieces of jute 3-1/2″ long. I untwisted the pieces of jute, lined them all up in a bundle, and rubbed some glue onto the tip of one end to hold them all together.
After the glue was dry, I dipped the other unglued end of the jute into some watered down Apple Barrel Leaf Green craft paint and set it aside to dry.
When the paint was dry, I fluffed the carrot tops and glued them into the holes on the carrots. I trimmed the carrot tops as needed.
Carrot Crate:
I used popsicle sticks to make the miniature wooden carrot crate.
I used 9 sticks that are 2-1/2″ long and 16 pieces cut to 1-1/2″ long.
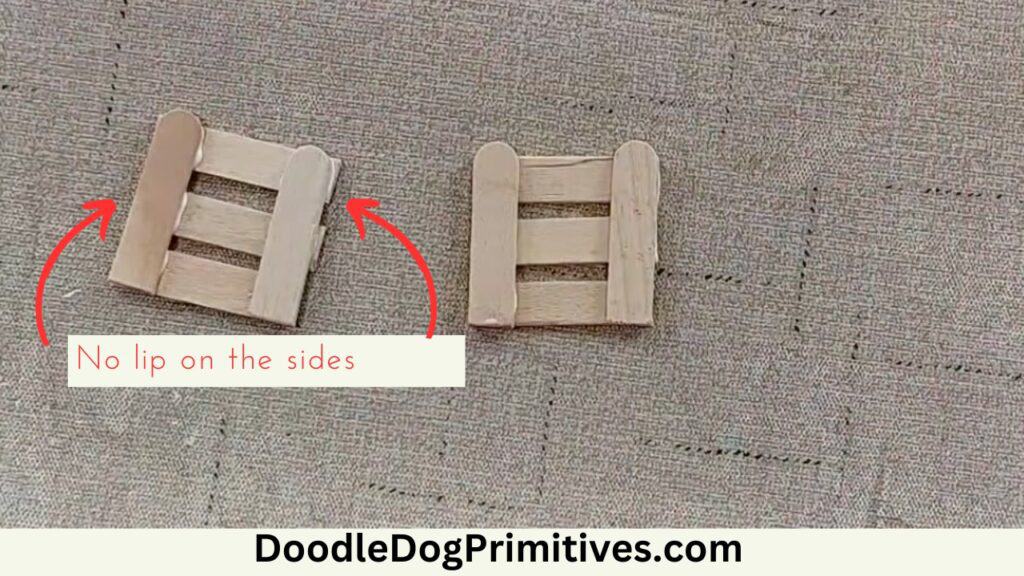
For each of the 2 sides, glue two 1-1/2″ pieces onto three 2-1/2″ pieces, leaving some of the sides of the longer pieces exposed. See photo below.

For each of the ends, glue two 1-1/2″ pieces onto three 1-1/2″ pieces, lining up the edges of the 3 horizontal pieces with the vertical pieces. See photo below.
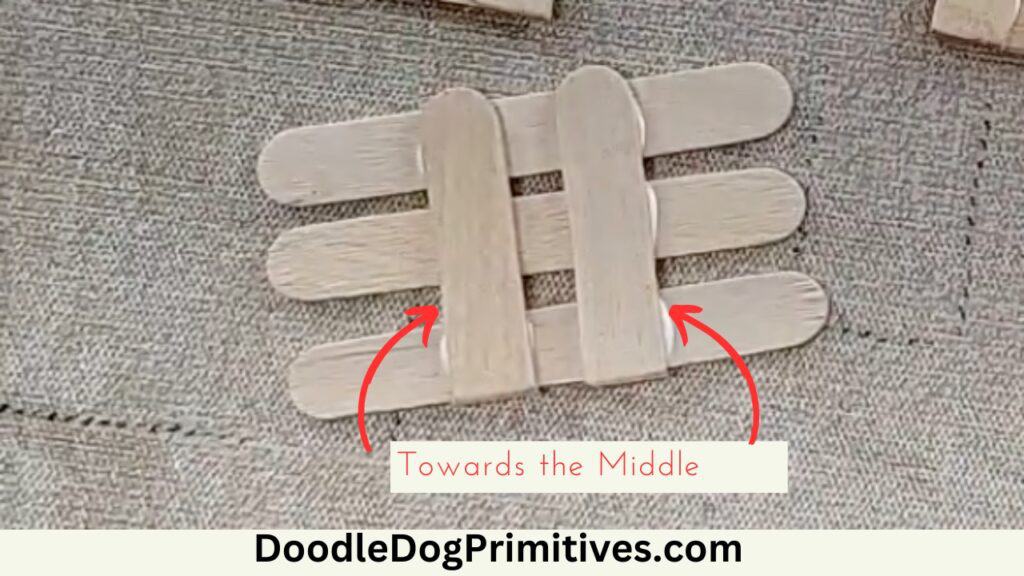
For the bottom of the wooden crate, glue two 1-1/2″ pieces onto three 2-1/2″ pieces, putting the shorter pieces towards the middle of the longer pieces. See photo below.
Let all of these pieces completely dry.
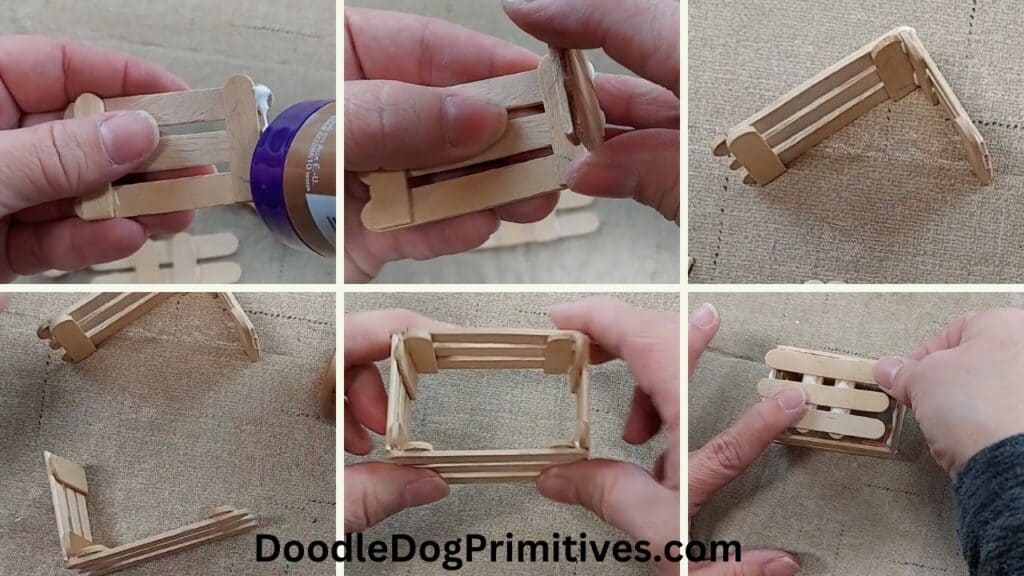
Put glue on on a lip of one of the sides and attach an end piece to it at a 90 degree angle. Repeat for the other side and end, making sure you have all of the pieces going in the correct way so they will fit together. Apply glue to the two remaining side lips and put all of the crate sides together. When the sides are dry, glue on the bottom of the crate.
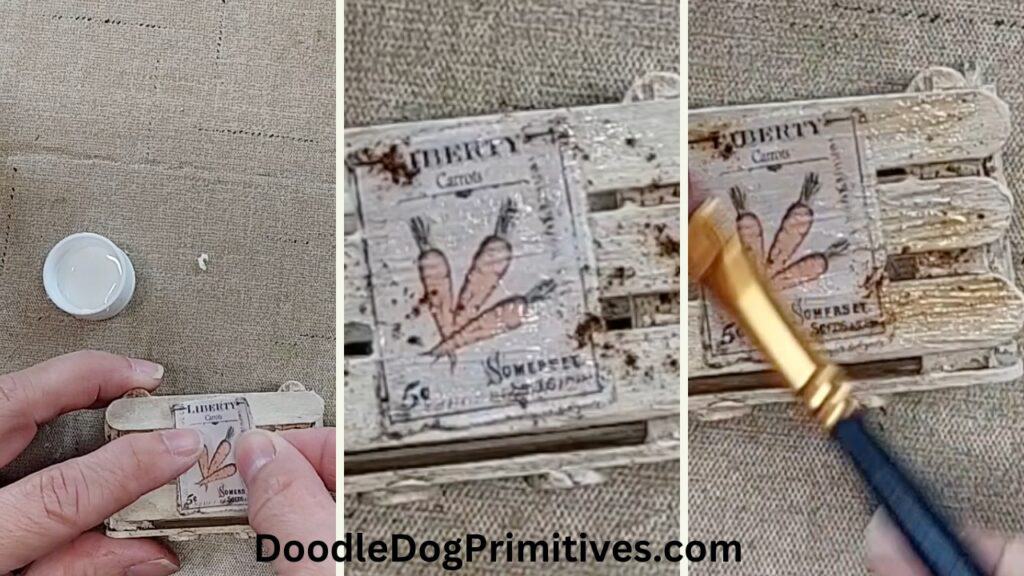
I painted the miniature wooden crate with Folk Art Vintage White craft paint and antiqued it with Folk Art Antiquing Medium in Cocoa Bean color.
I re-sized the carrot label from this printable to be 1″ tall and printed 2 of them. I folded along the edges and tore them out, grunged them with some stamp ink, and mod-podged them onto the sides of the wooden crate.
I then applied more mod podge to the crate and sprinkled on some instant coffee in places where I wanted it to look dirty. I then applied more mod podge over the coffee.
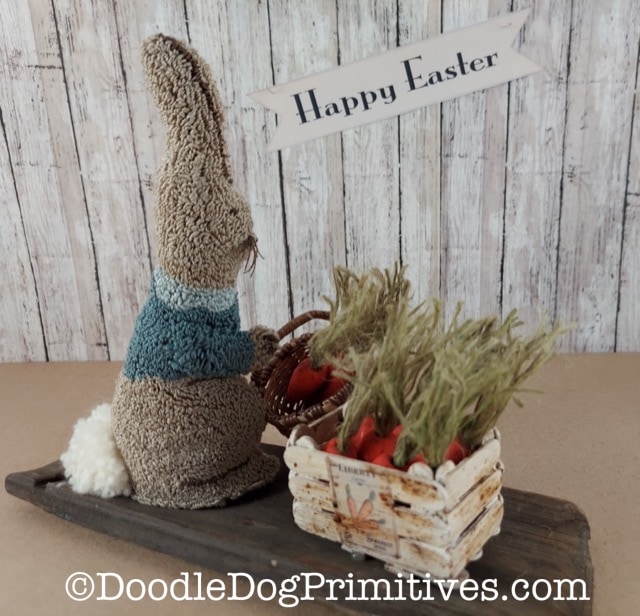
Assemble the Primitive Spring Display:
I sewed a small basket onto bunny’s arm and added some carrots to the basket. I glued some more carrots into the crate. I then hot glued the bunny and carrot crate onto the wooden bucket stave.
Last year, I used this same punch needle bunny in a different garden scene.
Pin this Primitive Display Idea: