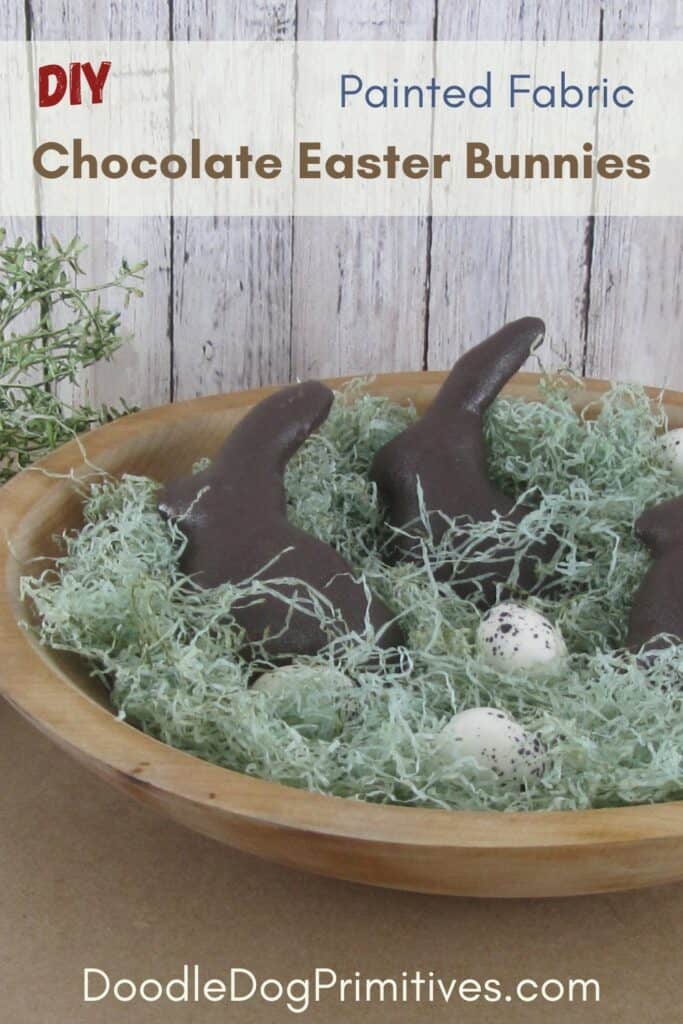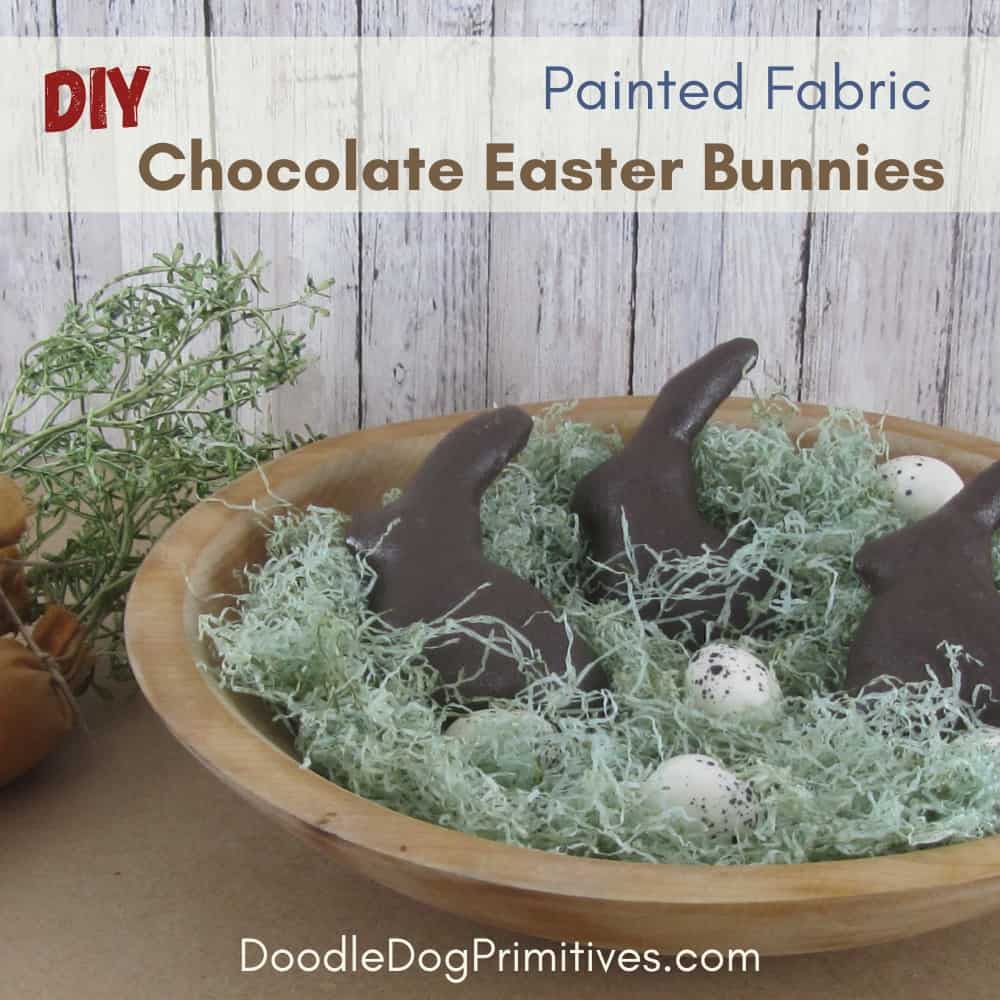
I love decorating with bunnies in the spring! They are just so much fun. I have wool bunnies, punch needle bunnies, hooked rug bunnies, and wax bunnies. Perhaps I have a bunny problem! In this tutorial, I will show you how you can make your own chocolate Easter bunny bowl fillers. These are made by painting the muslin fabric after sewing and stuffing the bowl fillers.
Gather Supplies:
This project doesn’t take very many supplies – in fact, if you do much crafting, you will probably already have most of the items in your stash.
This post may contain affiliate links for your convenience, which means if you make a purchase after clicking a link I will earn a small commission but it won’t cost you a penny more. For more information, please visit our Privacy Policy.
Sewing Supplies:
I used a white muslin fabric for this project. You could also use a natural colored muslin fabric. The bowl fillers were stuffed with stuffing. You will also need a sewing machine and basic sewing supplies.
Painting Supplies:
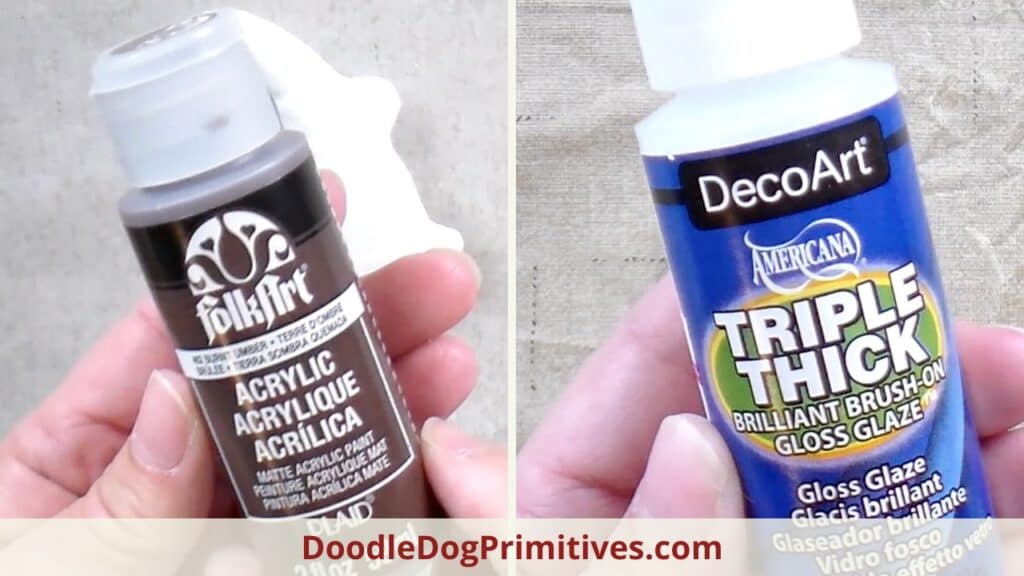
To make the bunnies look like chocolate, you will need some brown paint and a paintbrush. I used FolkArt Burnt Umber craft paint. To give the bunnies some shine, I also added a coat of DecoArt Americana Triple Thick Brush on Gloss Glaze. If you already have a spray on gloss sealer or other gloss craft paint finish, that should work also.
Bunny Pattern:
I looked through my punch needle patterns and found a bunny I thought would work well. If you don’t have a suitable bunny in your patterns, you can do a search for bunny clipart. The best pattern is a simple design that will be easy to turn and that you can tell from just the outline that it is a bunny.
Resize the pattern to be the correct size for your project. The bunny pattern I used for these bowl fillers was about 4″ tall.
Watch the Video:
Trace the Pattern:
Trace the pattern onto the muslin fabric. You only need to trace the outline of the bunny. The fabric I used was light enough I was able to just place the pattern underneath the fabric and trace the bunny. If your fabric is thicker, you can use a window or light box.
Sew the Bunny:
Cut the fabric around the bunny into a rectangle-ish shape. Cut another piece of fabric the same size so you have a double layer of fabric.
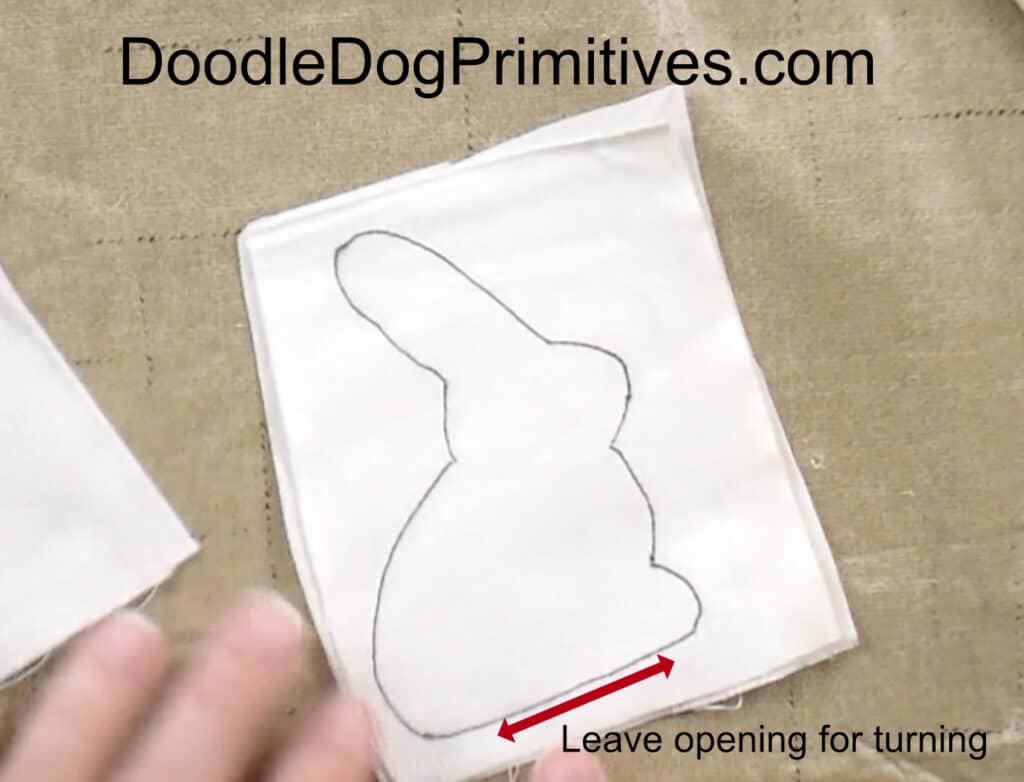
Sew on the drawn line all the way around the bunny, leaving an opening at the bottom for turning.
(You should have right sides of the fabric together.)
Use pinking shears to trim all the way around the bunny 1/8″ – 1/4″ away from the sewing line.
With regular scissors, clip the inner corners almost to the stitching line.
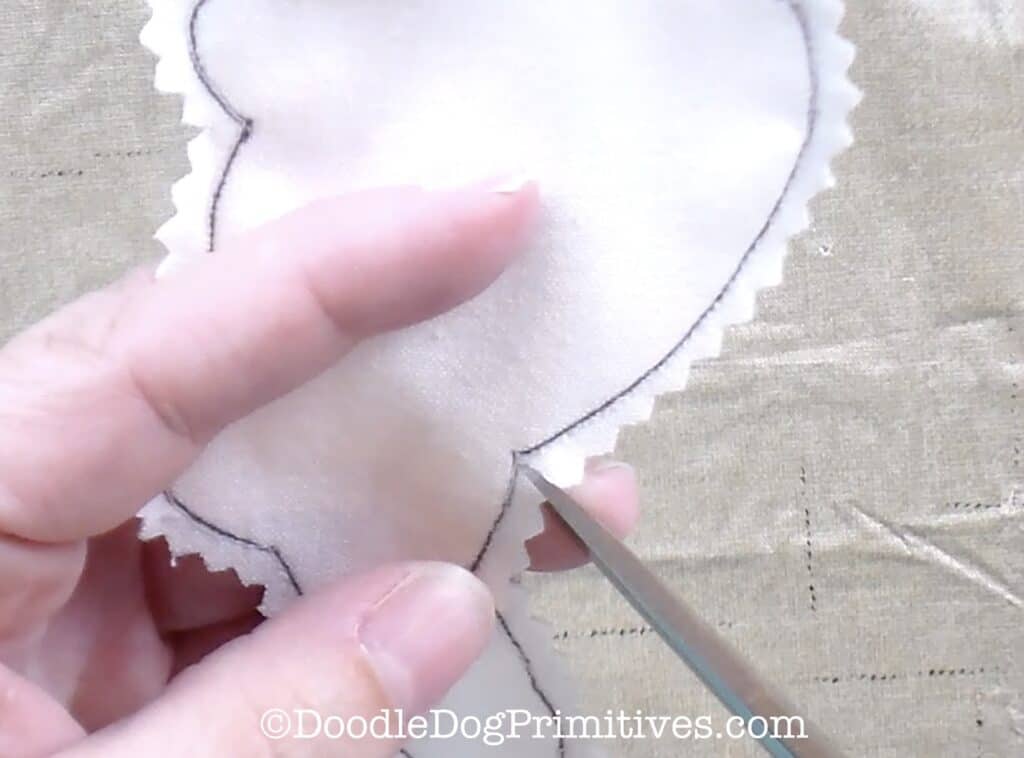
Turn the bunny bowl filler right sides out. Don’t worry if you can still see the drawn line. It will be covered up by paint.
Stuff the bunny with stuffing. Fold under the raw edges and whipstitch the opening closed.
Paint the Bunny Bowl Filler:
Paint both sides of the bunny brown. I used FolkArt Burnt Umber craft paint. I had to touch up the paint with a second coat in some spots.
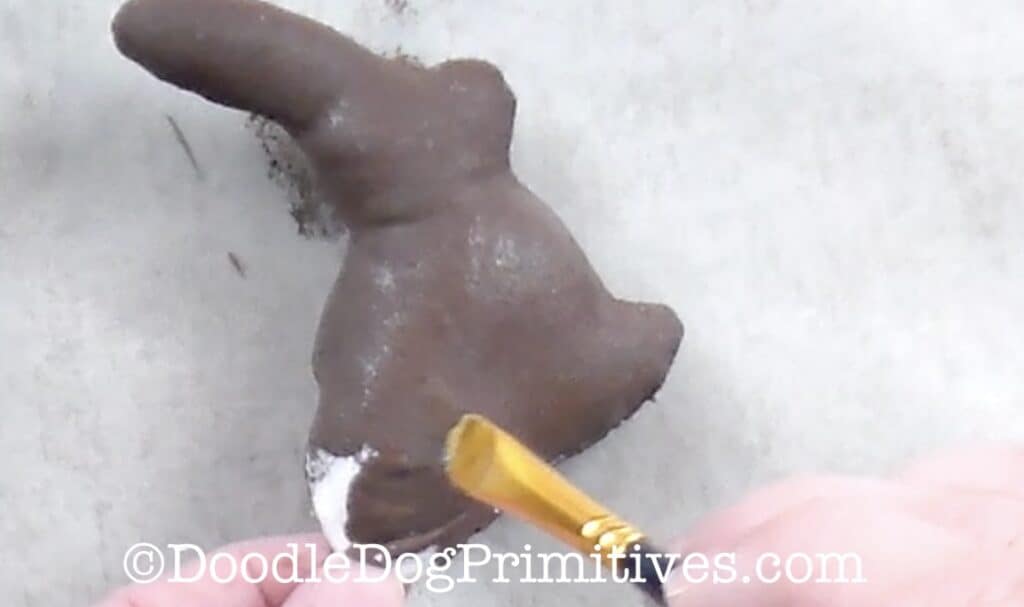
After the paint is completely dry, add a gloss sealer. I used DecoArt Americana Triple Thick Brush on Gloss Glaze because that is what I had on hand. A spray on sealer or a different gloss craft paint finish would also work well. Allow the sealer to dry completely and enjoy your chocolate Easter bunny bowl fillers.
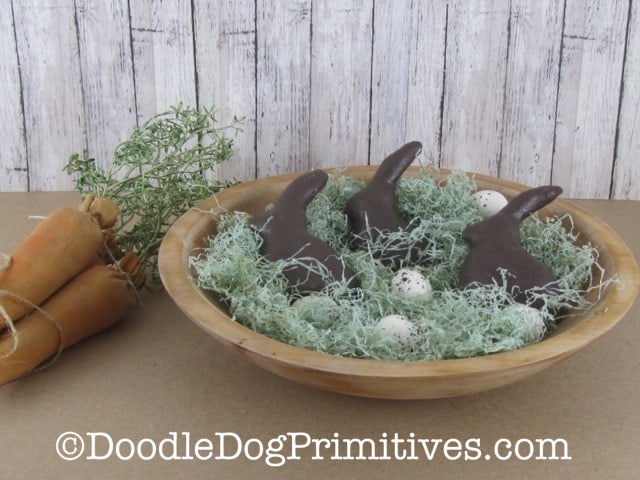
If you enjoyed making these painted fabric bunnies, you might also enjoy making some fabric painted carrots and aging some Easter grass.
Blessings~
Amy
Be sure to Pin this Craft Tutorial:
