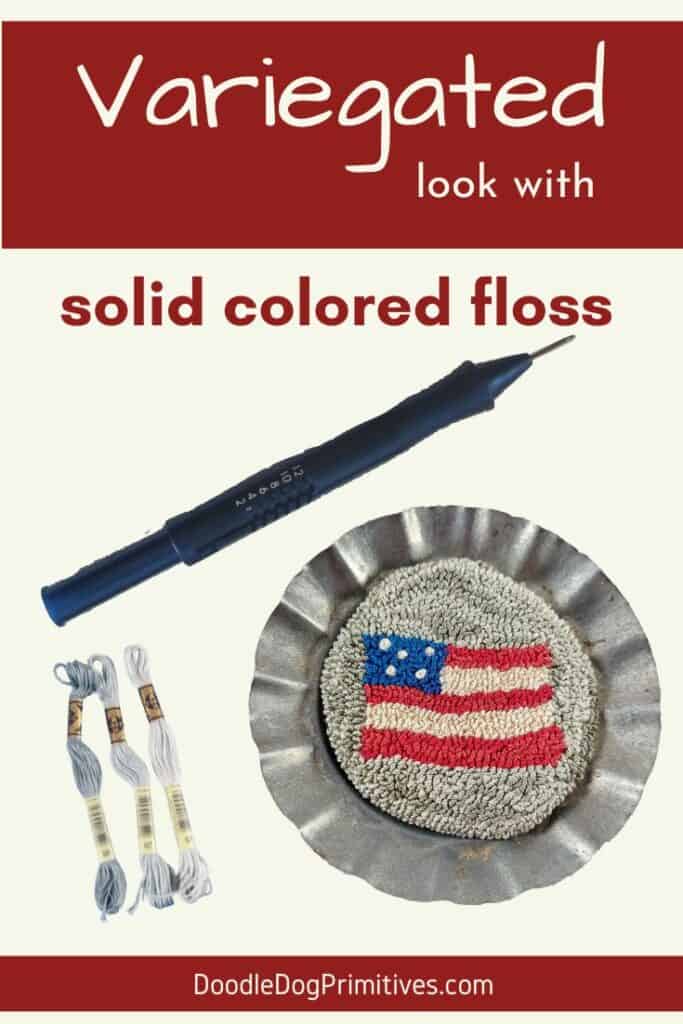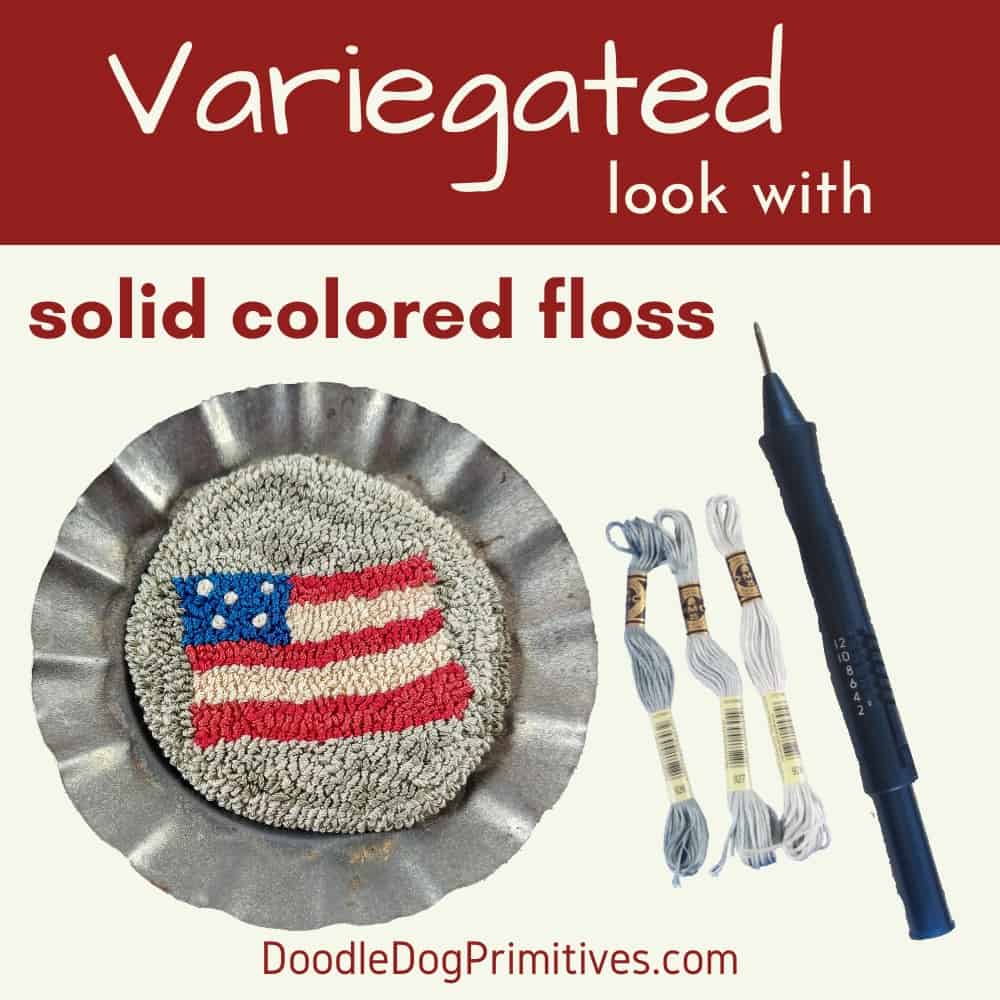
I love punching with variegated threads! But, sometimes, I don’t have just the right color in my stash for my punch needle project. I have done some trial and error and figured out an easy way to create the look of a variegated punch needle project using solid DMC embroidery floss.
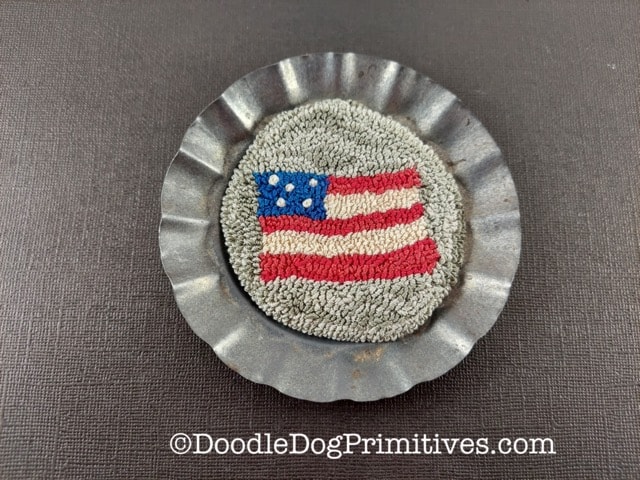
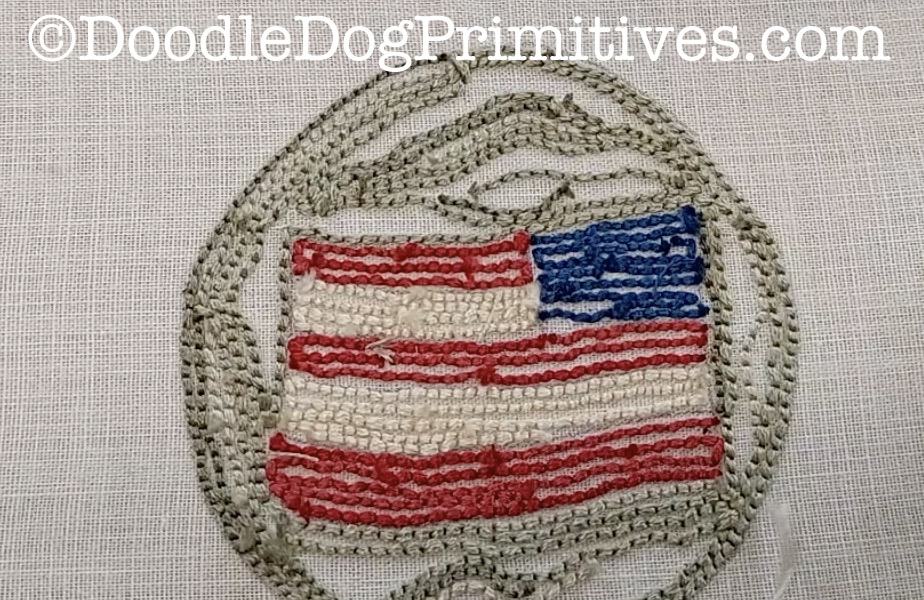
I used this technique on both the flag and background of this punch needle project.
Using solid colors of floss, you can also create a mottled look, add a few swirls to create texture, or add blocks of a coordinating color to break up large chunks of punching.
Watch the Video:
Punching the Flag with Solid Floss:
This project was punched using 6 strands of DMC embroidery floss. I punched the red, cream, and blue of the flag with two different shades of each color.
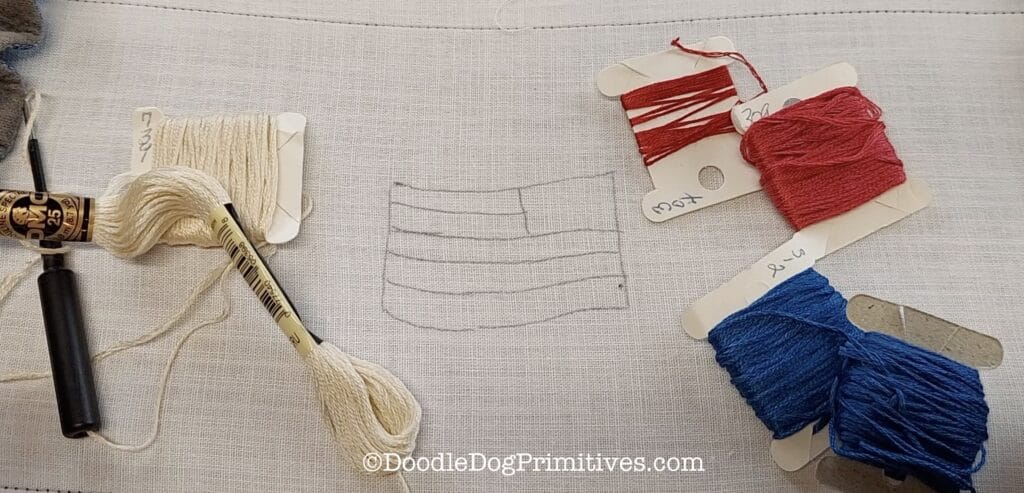
Because the flag areas are so small, I punched lines across in random places with one of the shades of cream and then filled in with the other shade of cream. I repeated this process for the red and blue embroidery floss to complete the punched flag.
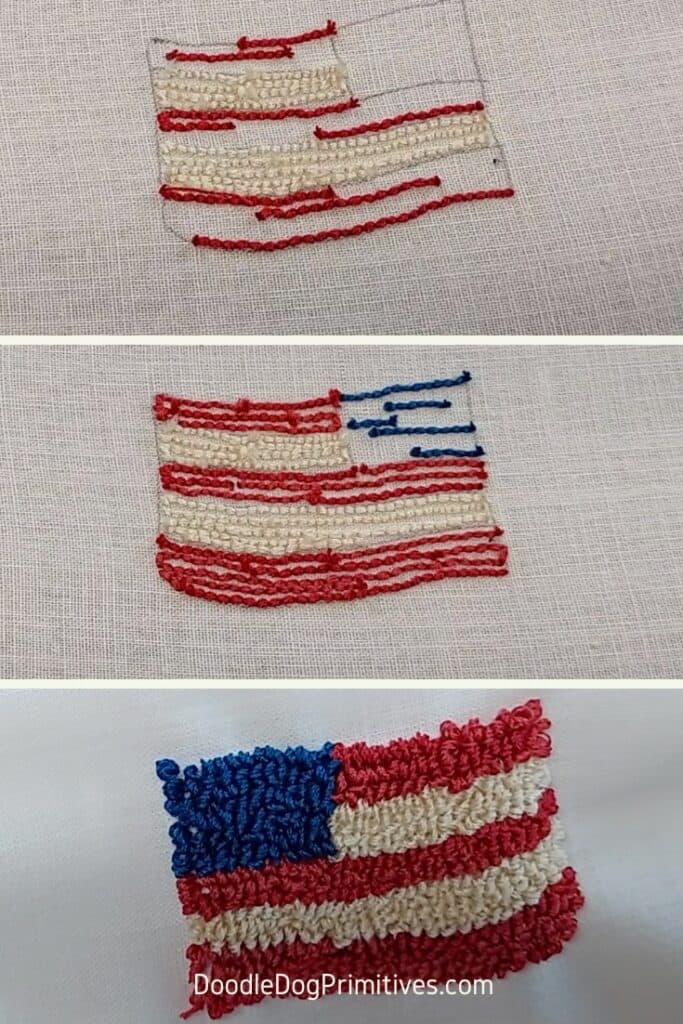
Using the two different shades gives the flag some interest and a little bit of an aged look.
Punching small projects like this is a great way to use up small bits of embroidery floss and leftover bits of weavers cloth.

Choosing Floss Colors:
A good way to choose floss colors that will look good together is to look for consecutive numbers of DMC floss that are in the same color family.
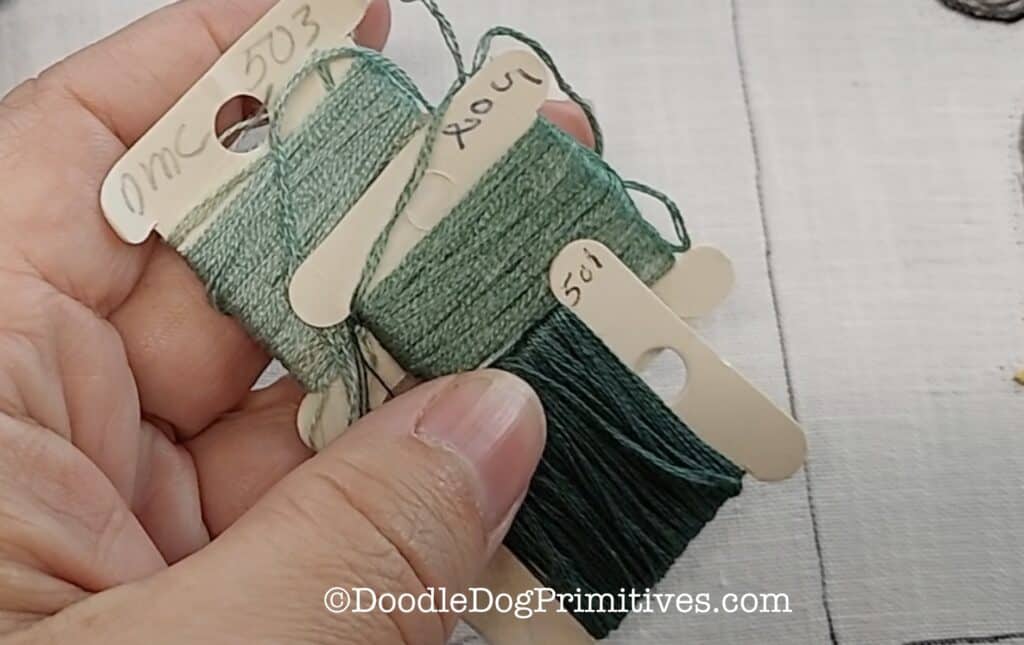
But, of course you can choose any floss colors that go well together and work for the effect you desire.
Punch the Background:
I have chosen to punch the background with DMC 3022, 3023, and 3024.
With the lightest shade, 3024, I punched some random wavy lines in various places on the background.
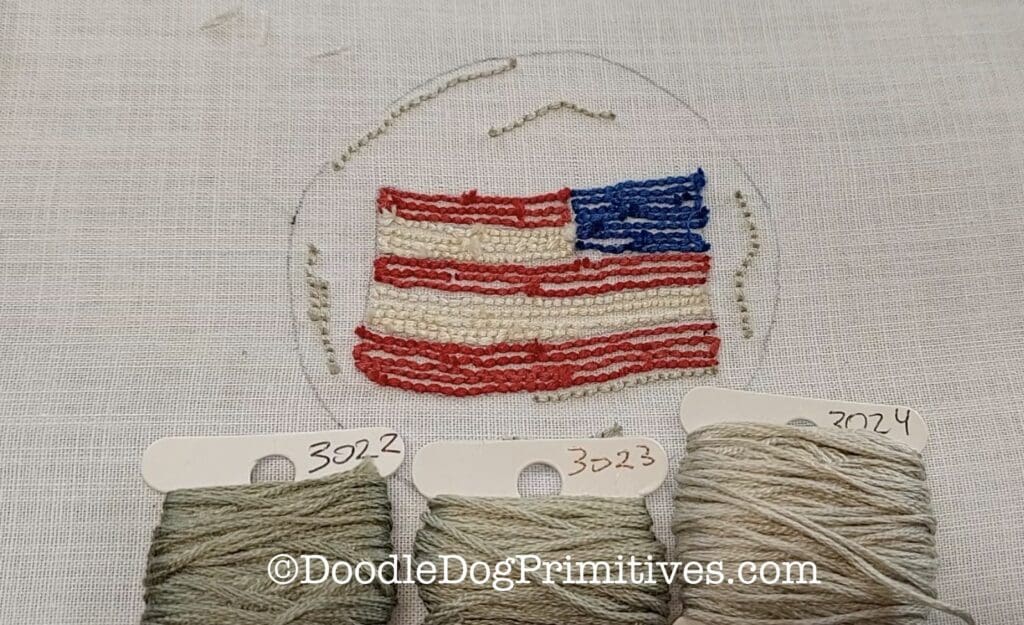
Next, I punched using 3022, the darkest floss.
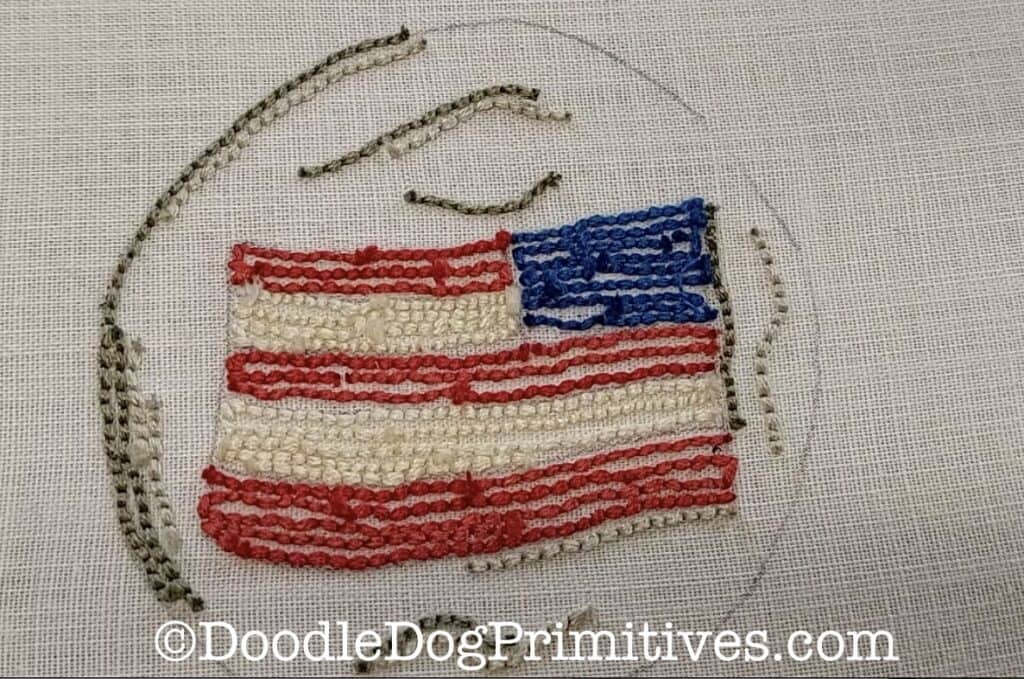
The trick to this process is to punch random lines with each shade of floss. Don’t punch back and forth in straight lines – unless that is the look you want or the area is small like the flag.
Then, I punched with the medium shade of 2023. I punched quite a bit with this color, leaving some random holes to fill in with the other two shades. (Mainly because I was almost out of 2032.) I think it turned out better because I added more dark and light than I have pictured above.
Just keep looking at the project from the front to see how it looks and what it still needs.
I used french knots for the stars and mounted it in a vintage metal fluted tin.
Be sure to check out our other punch needle tutorials.
Blessings~
Amy
Pin this Punch Needle Tutorial: