I love finding a bargain and saving money- whether it is at an estate sale, auction, or just in the grocery store! In this post I will share five easy things you can do to save money on punch needle projects.
Watch the Video:
1: Use Small Pieces of Weavers Cloth:
Small leftover pieces of weavers cloth are often left over after the completion of a punch needle project. Save these pieces!
Use small pieces of weavers cloth to make ornaments, bowl fillers, pins, or other small items.
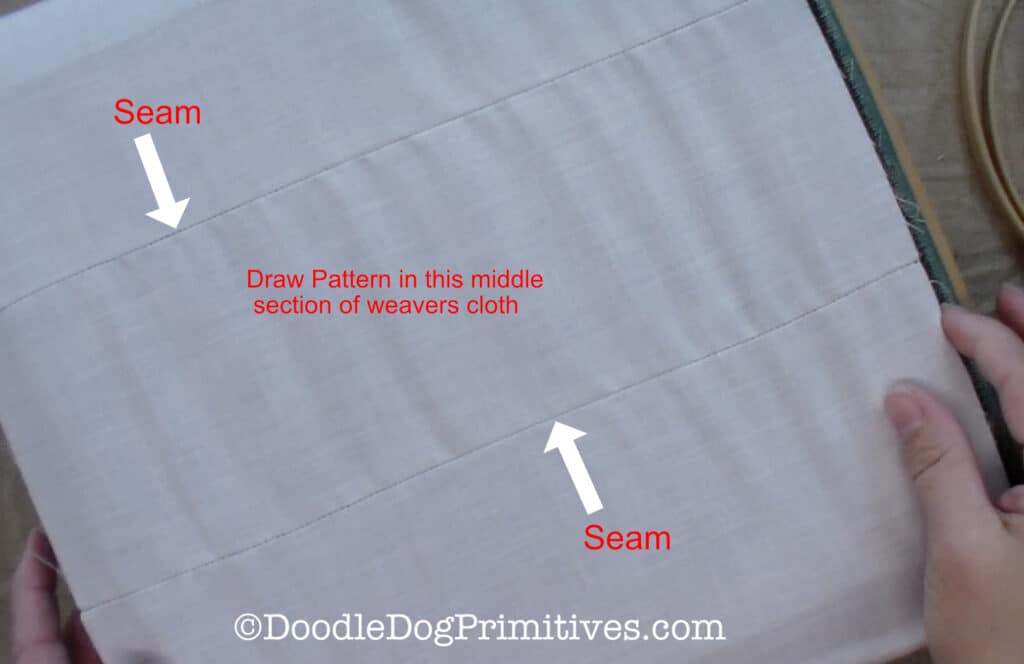
You can sew small pieces of weavers cloth together to make them big enough to fit on your gripper strip frame or non-slip hoop. Draw the punch needle pattern so it is completely on one piece of weavers cloth. Don’t punch over the seams!
You can read more about this method of saving money on punch needle projects in this blog post about using small pieces of weavers cloth.
2: Reuse Floss:
If When you have to remove embroidery floss from a punch needle project, don’t throw it away!
The floss will be crinkly when you first pull it out of the weavers cloth but don’t let that keep you from rolling it back up onto a spool or floss bobbin.
After it has been wound back up, the crinkles will straighten out and the floss will be as good as new and ready to be punched again.

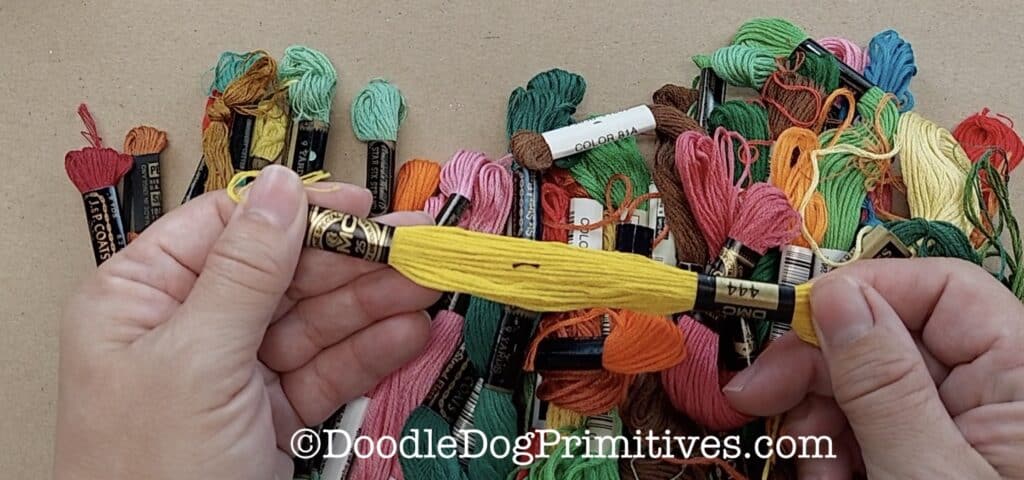
3: Use Gifted or Thrifted Floss:
It seems like once people know I use a lot of embroidery floss, many have some to share. Embroidery floss is also frequently found at estate sales.
Gifted floss often comes to me in vibrant colors and I prefer a more primitive look to my finished punch needle pieces. In order to utilize the floss anyway, I will tea or coffee dye the floss before punching.
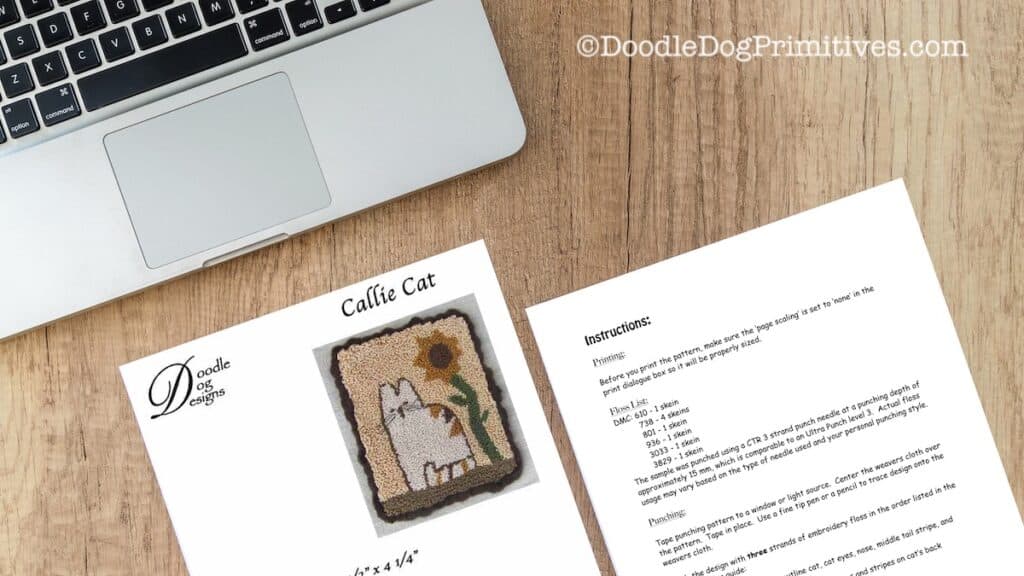
4: Digital Patterns
Another way to save money on punch needle projects is to purchase digital patterns. They are generally cheaper than paper patterns and you can also save on shipping costs.
If you don’t have a printer, most public libraries will allow you to print copies for a reasonable fee.
5: Use Floss Leftover from Other Projects
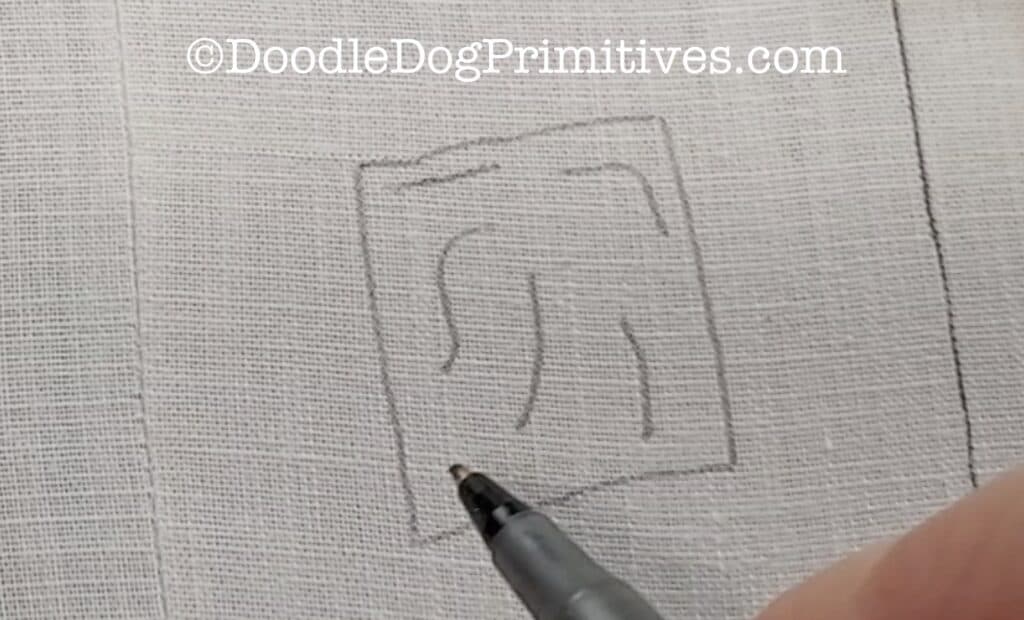
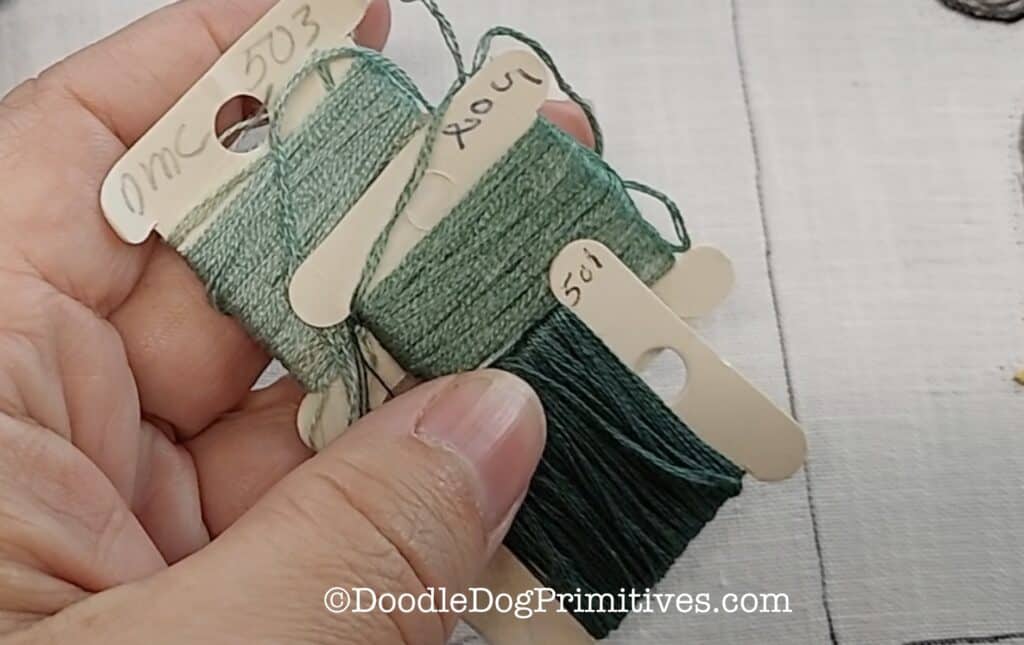
You can use up small amounts of leftover floss by pairing similar colors and punching a section with two or three shades of color.
The trick to this is to punch the two or three colors randomly. For example, if I was going to punch this square with these three shades of floss, I might draw some random lines and punch with one shade. Then, punch some other random lines with the second shade and finally fill in with the last shade.
Not only does this use up small amounts of embroidery floss, it also creates a nice variegated look that gives the project dimension.
In the DMC embroidery floss line, consecutive numbers often go well together. But you can pair together any floss that looks good together.
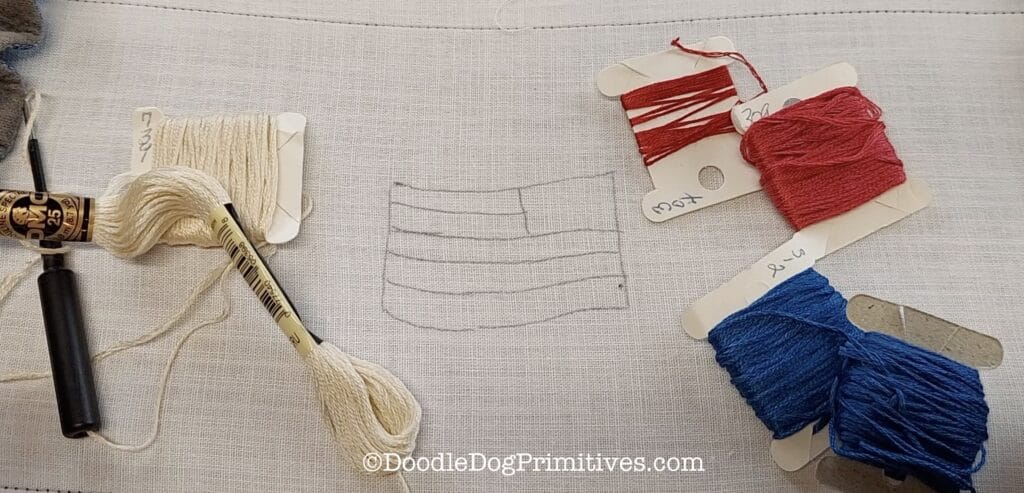
To show you an example of this, I chose two different shades of reds, creams, and blues to punch this flag.
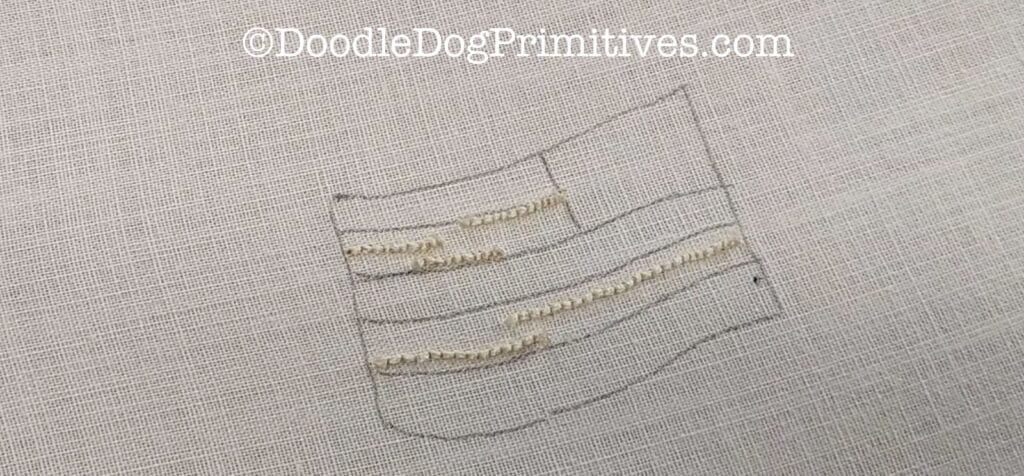
Since the flag sections were fairly small, I punched random straight lines (instead of swirls) of the first cream color.
And then filled in with the other cream. I did the same process for the red stripes and blue square.
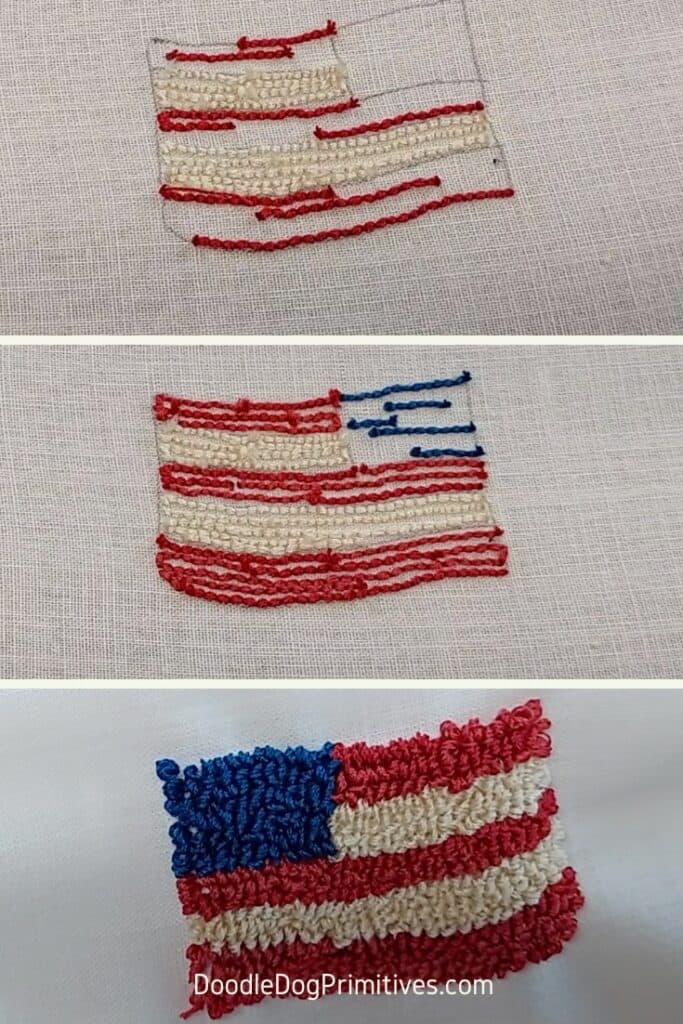
Since I chose shades of floss that were very similar in color, the color changes adds some movement and texture to the flag.
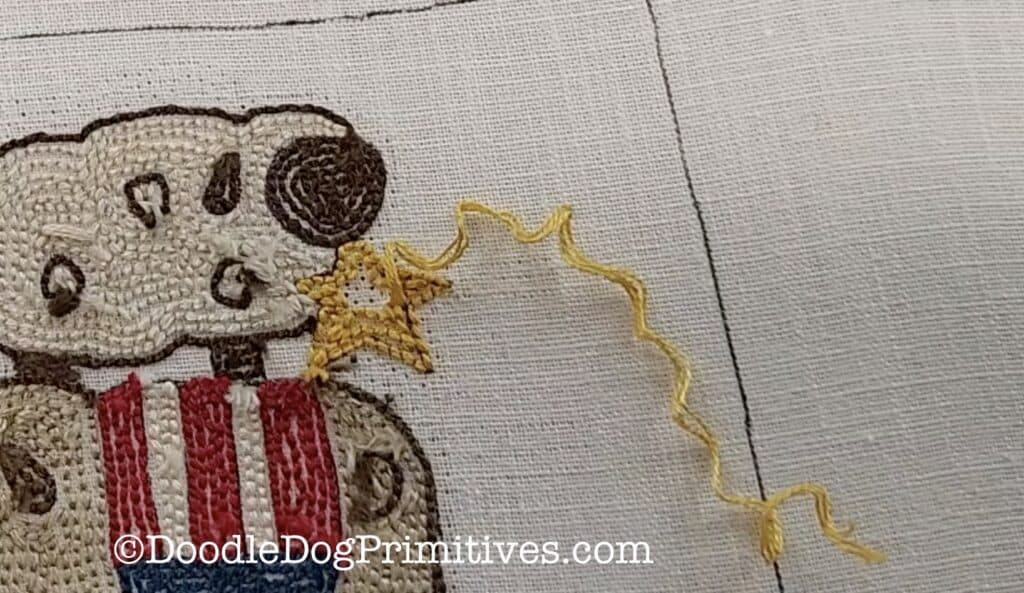
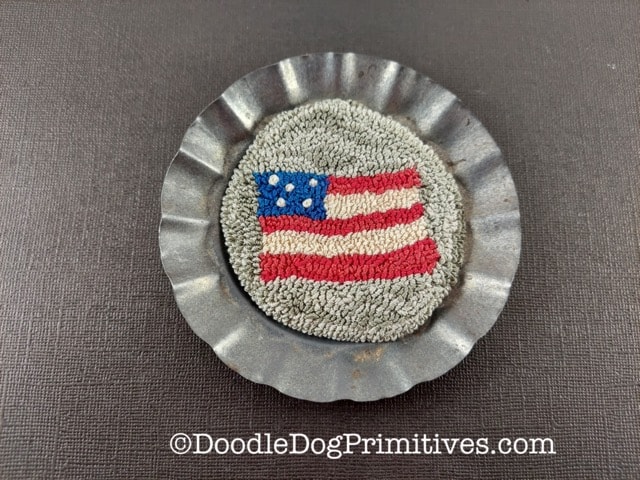
I added some french knots for stars on the flag.
I used three different shades of DMC floss for the background around the flag punching in a similar process with wavy lines instead of straight ones.
Be sure to check out our other punch needle tutorials.
Blessings~
Amy
Be sure to Pin these Money Saving Ideas: