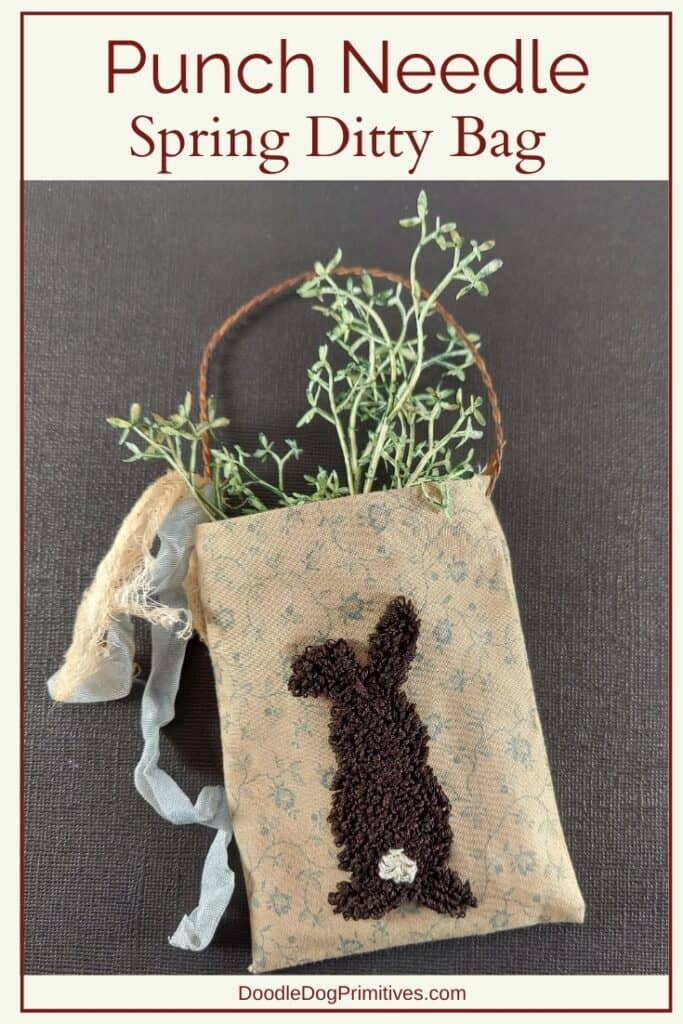
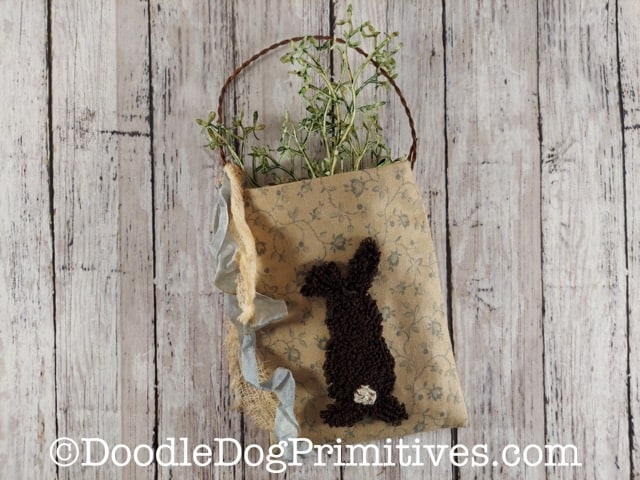
Today, I want to show you a spring punch needle project idea. See how I made this punch needle spring bunny ditty bag. I used a bunny from one of my other punch needle patterns and punched it onto some quilting cotton fabric.
Watch the Punch Needle Video Tutorial:
This post may contain affiliate links for your convenience, which means if you make a purchase after clicking a link I will earn a small commission but it won’t cost you a penny more. For more information, please visit our Privacy Policy.
Punch Needle on Cotton Fabric:
I chose to use the bunny from this punch needle pattern. I enlarged the bunny pattern to be about 3″ tall.
In the past, I have punched onto cotton fabric using weavers cloth and heat and bond. This time, I decided to use a different method.
I used Pellon SF-101, Shape-Flex. It is a fusible, cotton woven interfacing. I transferred the punch needle pattern onto the interfacing using my light box.
I cut a piece of cotton fabric 4″ x 10″. This will be both the front and back of the ditty bag. I ironed the interfacing (following the instruction sheet that came with the interfacing) pattern onto the back side of the fabric, centered side to side and placed where I liked it on one half of the length.
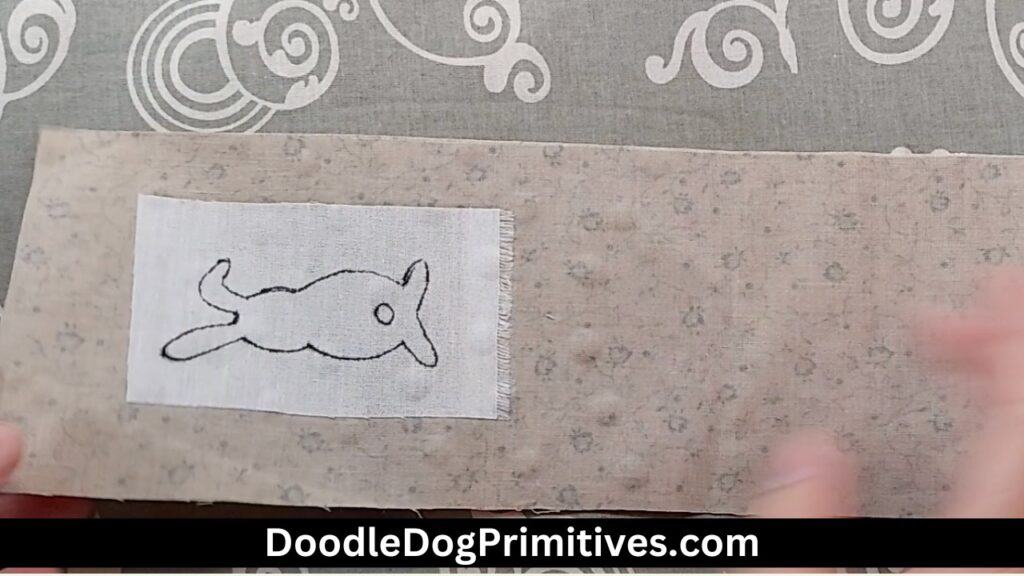
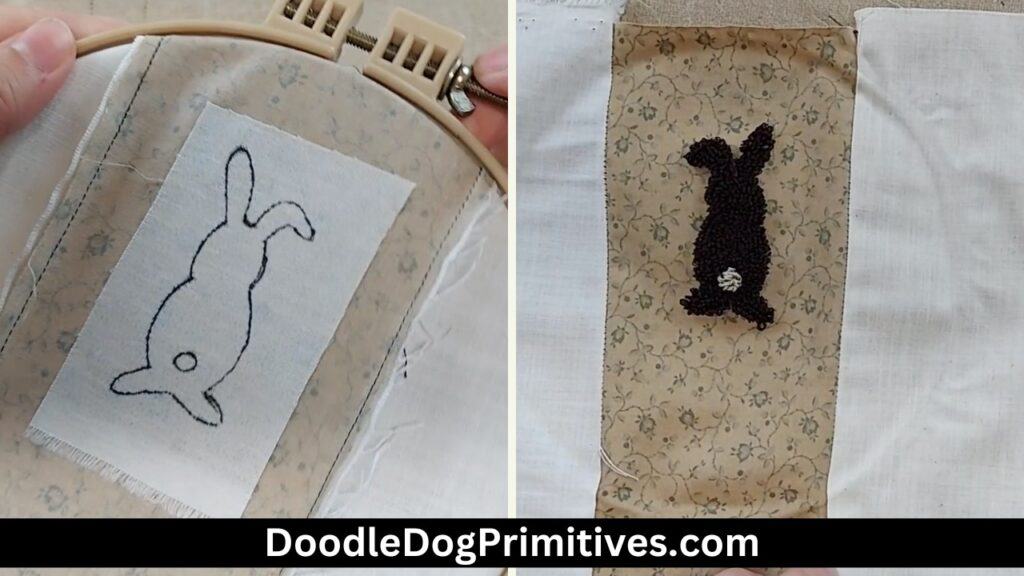
This piece of cotton fabric wasn’t large enough to put in my no-slip hoop so I sewed a strip of fabric to each side to make it larger.
I punched the bunny with DMC 3371 and the bunny’s tail with 3033. I used my Smart Punch needle at a punching depth of #1 for the bunny’s body and #2 for the tail.
Probably because of the extra layer of fabric, it was a bit harder to punch.
Sew the Spring Ditty Bag:
For the lining, I cut another piece of fabric 4″ x 10″. Fold both pieces of fabric in half lengthwise, right sides together and sew a quarter inch seam along each side. Clip the bottom corners for easier turning.
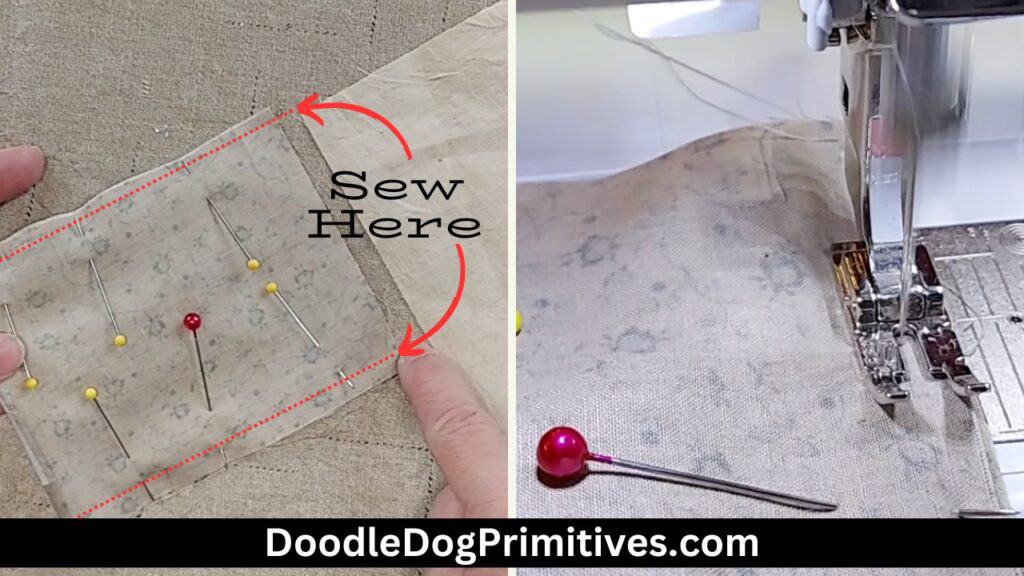
Turn both pieces right side out and press the seams.
Turn the lining back inside out and place the punched cotton piece inside the lining. The right side of the outer fabric should be touching the right side of the lining. Line up the seams and pin together.
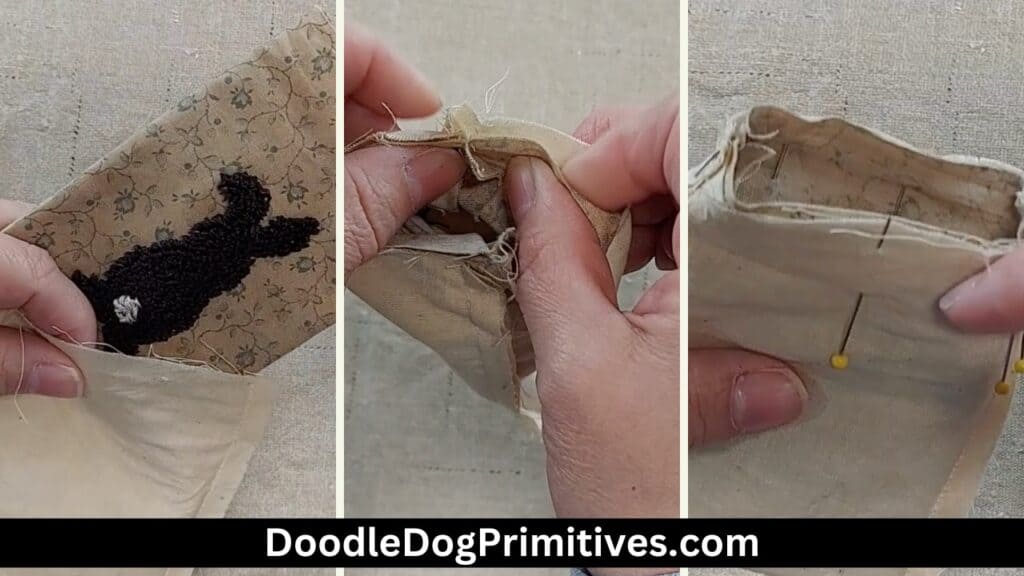
Sew the top of the bag, leaving an opening on the back side for turning. Turn the bag right side out, press, and hand sew the opening closed.
Accessorize the Punch Needle Bag:
I added a rusty, pre-twisted wire for a hanger and a crinkle ribbon tied on with a coffee dyed strip of cheese cloth. I added some spring looking greenery to the inside of the bag.
I hope you enjoy making this spring punch needle project. Be sure to check out our other punch needle tutorials.
Pin this Punch Needle Project:
